Are you tired of the same old dessert routine? Does the thought of combining two classic comfort foods—banana pudding and creamy cheesecake—sound like pure culinary magic? Prepare yourself for a dessert revelation!
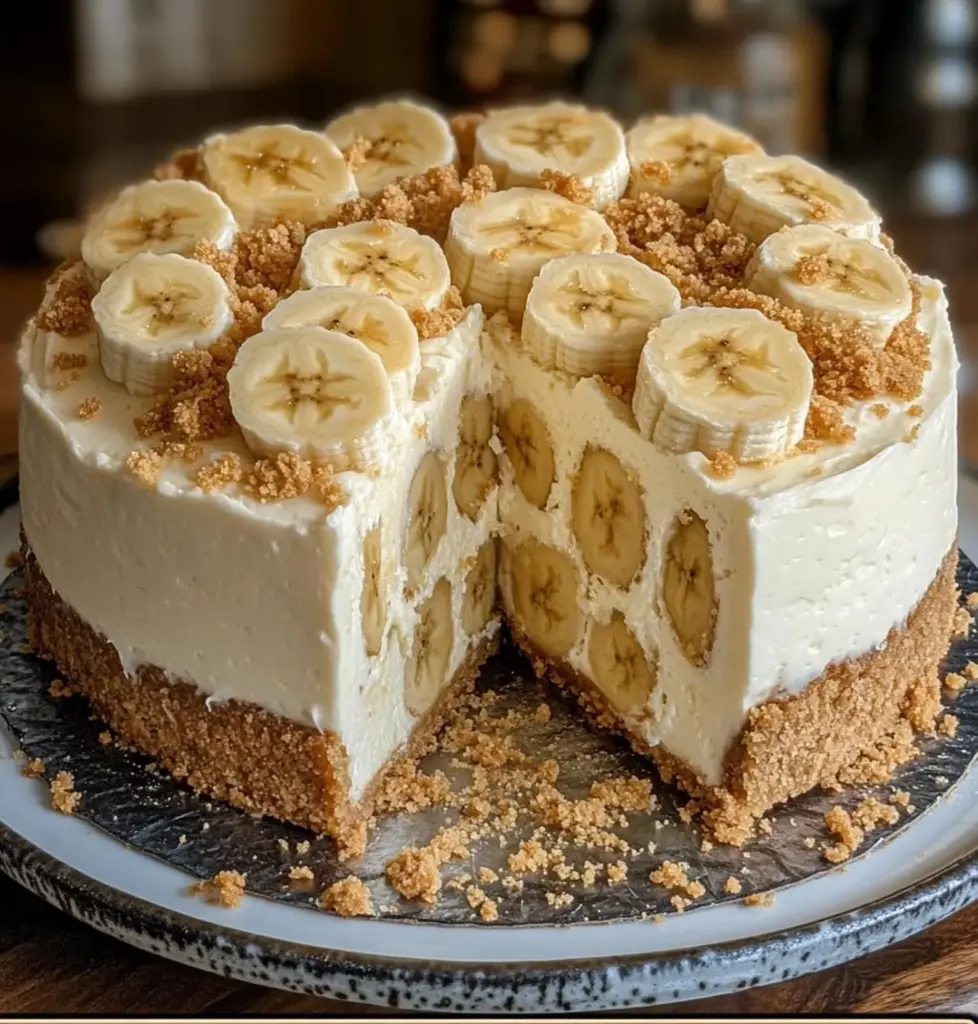
We’re diving deep into the creation of the ultimate treat: the Banana Pudding Crunch Cheesecake. This recipe elevates the traditional, delivering a perfect symphony of textures and flavors that will leave your guests begging for the recipe. It is truly the dessert masterpiece you never knew you needed.
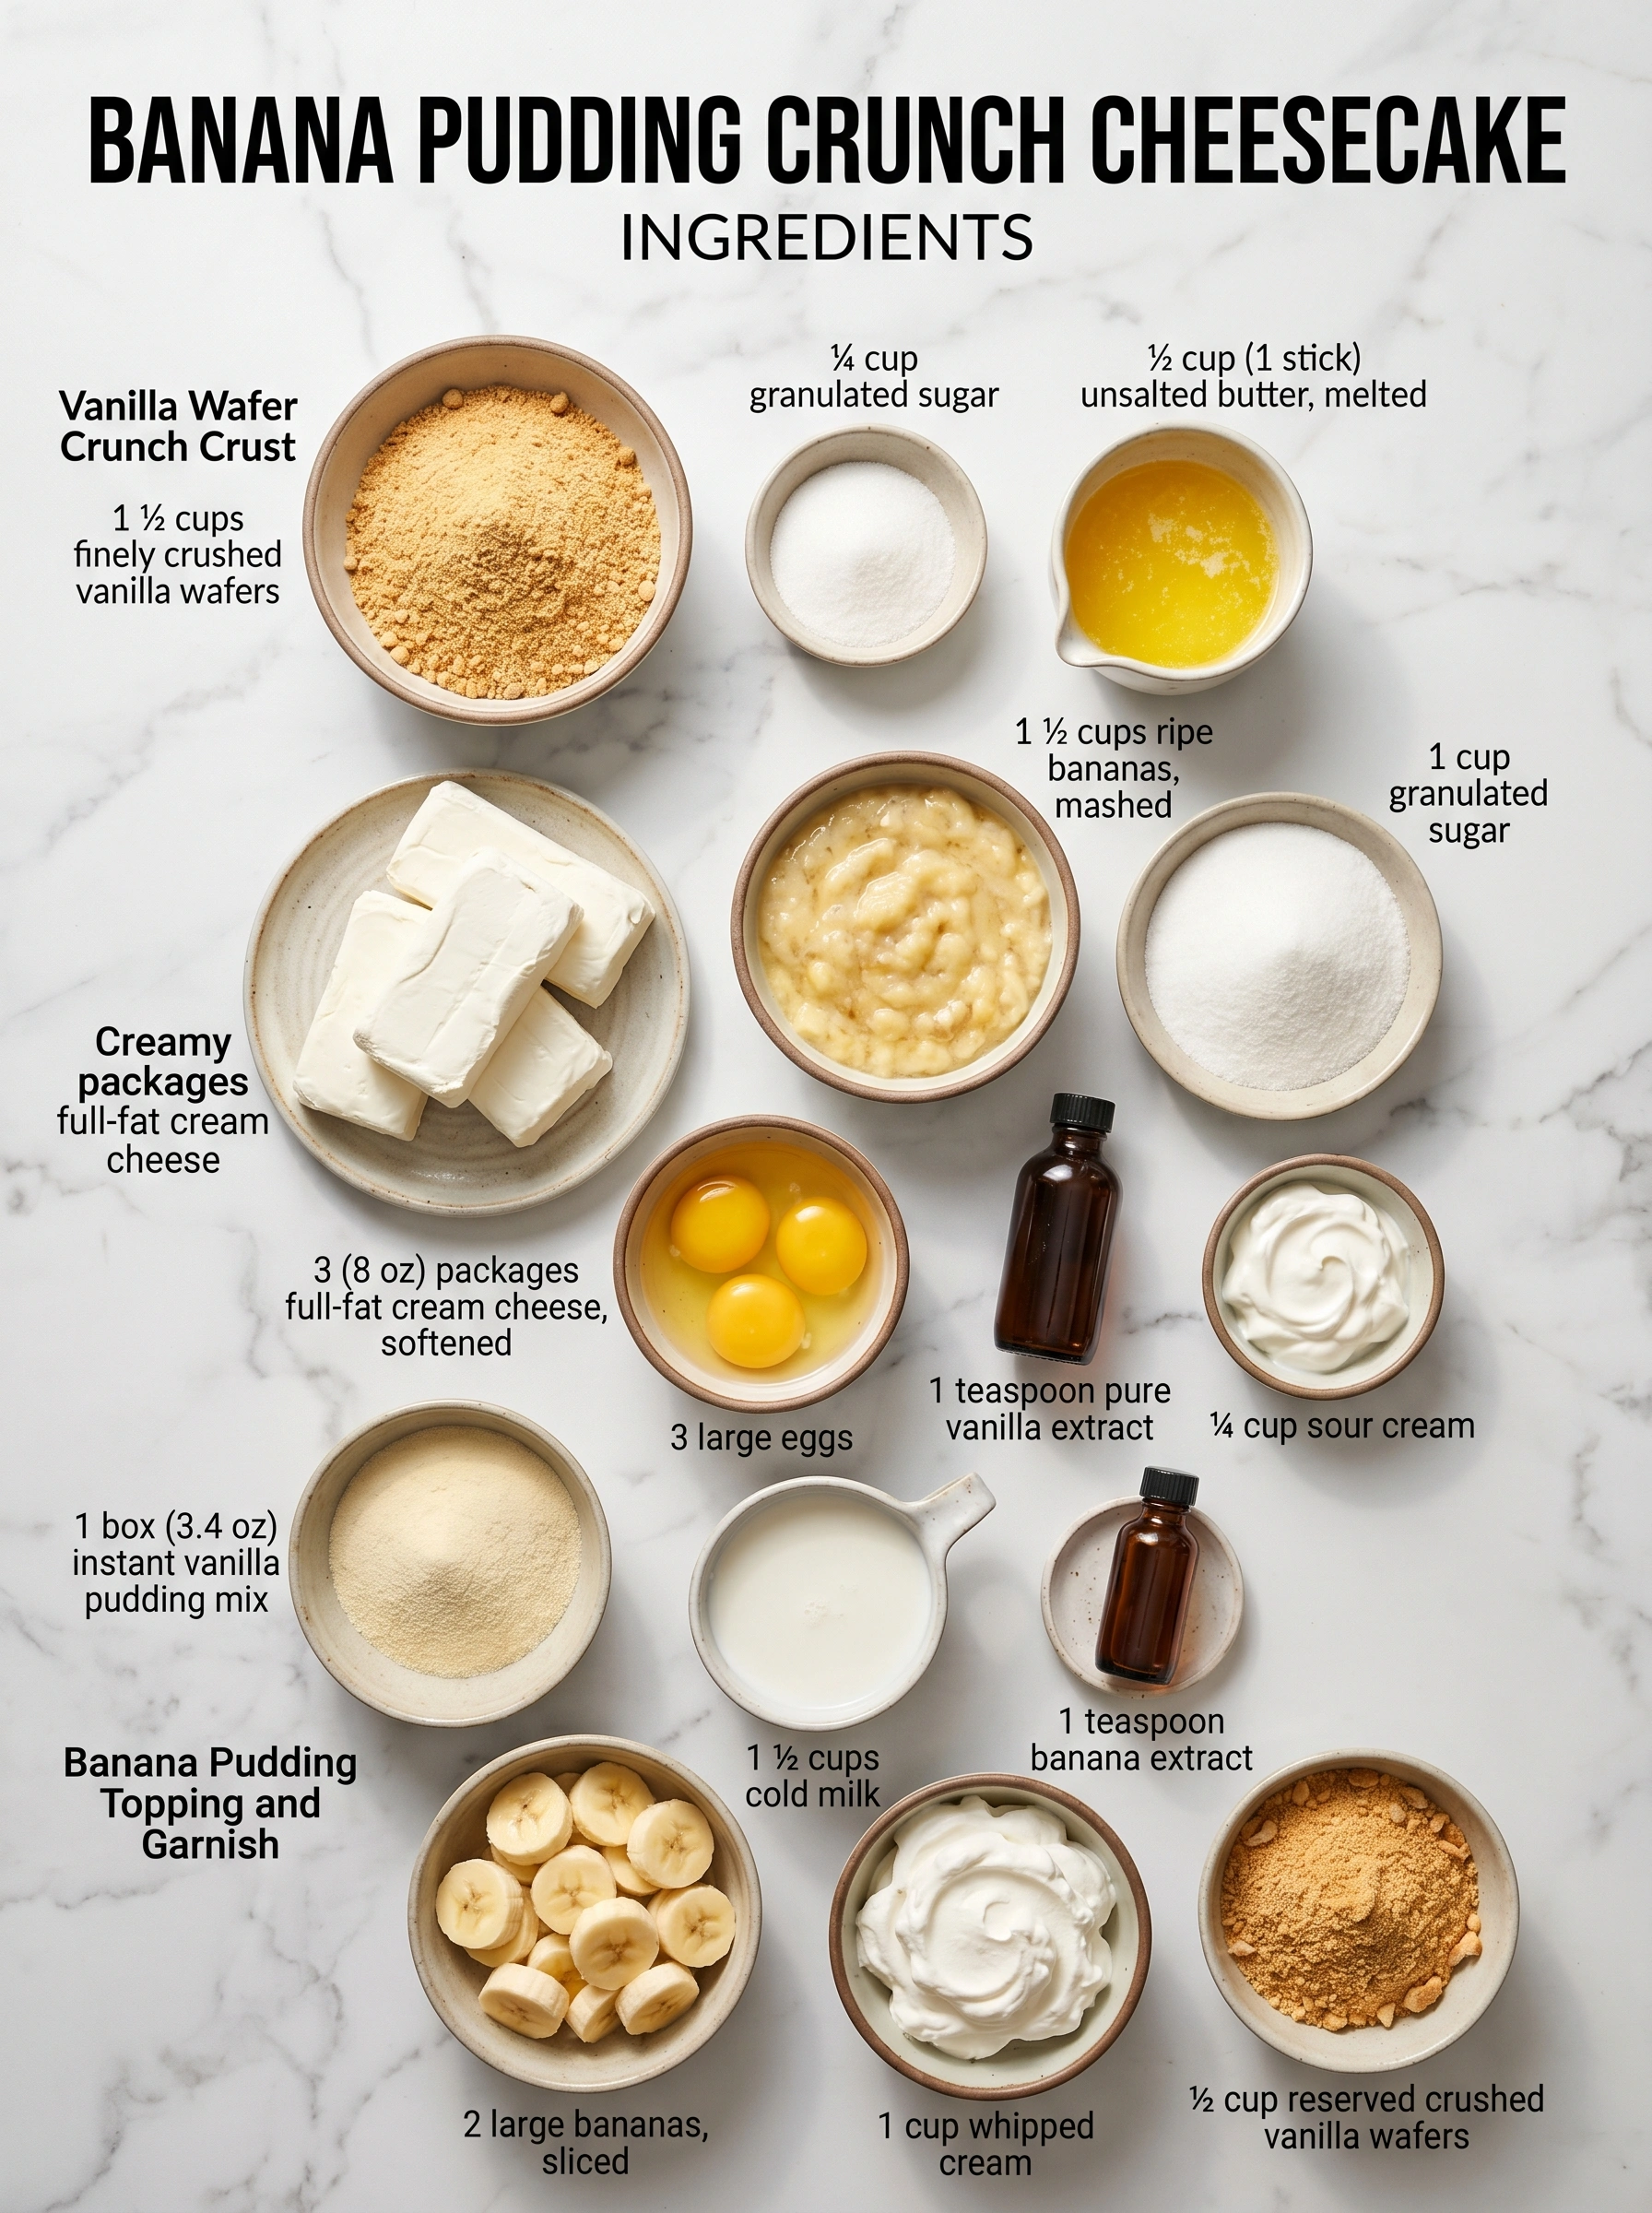
Ingredients List
Gathering the right ingredients is the first step to perfection. We focus on quality and freshness to ensure the creamiest filling and crunchiest crust. Here is everything you need for this spectacular banana pudding cheesecake.
For the Vanilla Wafer Crunch Crust:
- 1 ½ cups finely crushed vanilla wafers (about 40 wafers). *Substitution Tip: You can use graham crackers or shortbread cookies for a different base flavor.*
- ¼ cup granulated sugar.
- ½ cup (1 stick) unsalted butter, melted.
For the Creamy Banana Cheesecake Filling:
- 3 (8 oz) packages full-fat cream cheese, softened. *Pro Tip: Ensure the cream cheese is fully softened for a lump-free filling.*
- 1 ½ cups ripe bananas, mashed (about 3 medium bananas).
- 1 cup granulated sugar. *Data Insight: Using granulated sugar helps maintain the cheesecake’s structure better than brown sugar.*
- 3 large eggs.
- 1 teaspoon pure vanilla extract.
- ¼ cup sour cream or Greek yogurt (full fat). *This secret ingredient adds necessary tang and moisture.*
For the Banana Pudding Topping and Garnish:
- 1 box (3.4 oz) instant vanilla pudding mix.
- 1 ½ cups cold milk (whole milk recommended for richness).
- 1 teaspoon banana extract (optional, for intense flavor).
- 2 large bananas, sliced for topping.
- 1 cup whipped cream or stabilized whipped topping.
- ½ cup reserved crushed vanilla wafers for the final crunch.
Timing
While this dessert is impressive, the preparation time is surprisingly manageable. Efficient planning makes this recipe accessible even for busy bakers.
- Preparation Time: 35 minutes (includes crust, filling, and topping prep).
- Baking Time: 60–75 minutes.
- Chilling Time: Minimum 6 hours (preferably overnight).
- Total Active Time: Approximately 90 minutes. This is roughly 25% less time than complex layered desserts, offering a high-reward, moderate-effort baking experience.
Step-by-Step Instructions
Follow these steps precisely for a perfect, crack-free, and incredibly smooth Banana Pudding Crunch Cheesecake.
Step 1: Preparing the Crunch Crust
- Preheat your oven to 350°F (175°C). Grease a 9-inch springform pan.
- In a medium bowl, combine the crushed vanilla wafers, sugar, and melted butter. Mix until evenly moistened.
- Press the mixture firmly into the bottom and slightly up the sides of the prepared springform pan.
- Bake the crust for 8 minutes. Let it cool completely while you prepare the filling. *Tip: Pre-baking prevents a soggy bottom.*
Step 2: Crafting the Creamy Filling
Reduce the oven temperature to 325°F (160°C). Prepare a water bath (Bain-Marie) for the springform pan. This is crucial for preventing cracks.
- In a large mixing bowl, beat the softened cream cheese until perfectly smooth. Scrape down the sides often.
- Add the mashed bananas, sugar, and vanilla extract. Beat until fully incorporated and creamy.
- Mix in the sour cream or Greek yogurt until just combined.
- Add the eggs one at a time, mixing only until the yolk disappears after each addition. *Do not overmix the eggs, as this introduces too much air, leading to cracks.*
- Pour the filling into the cooled crust. Place the springform pan inside the water bath.
Step 3: Baking and Cooling the Cheesecake
Bake for 60–75 minutes. The edges should be set, but the very center should still have a slight jiggle. This slight movement is key to a creamy texture.
- Turn off the oven and leave the cheesecake inside with the door slightly ajar for one hour. This gradual cooling prevents temperature shock and cracking.
- Remove the cheesecake from the oven and the water bath. Let it cool completely on a wire rack.
- Once cool, cover and refrigerate for at least 6 hours, or ideally overnight, before topping.
Step 4: Assembling the Banana Pudding Topping
This is where the magic happens and the Banana Pudding Crunch Cheesecake earns its name.
- In a bowl, whisk together the instant vanilla pudding mix, cold milk, and banana extract (if using) for 2 minutes until thickened.
- Gently spread the thickened pudding mixture over the chilled cheesecake.
- Arrange the sliced fresh bananas over the pudding layer.
- Top with a generous layer of whipped cream. Sprinkle the reserved vanilla wafer crumbs over the top just before serving for maximum crunch.
Nutritional Information
Due to the decadent nature of this dessert, it is best enjoyed in moderation! A typical serving (1/12th of the cheesecake) contains approximately 450-500 calories. This figure includes the richness of the cream cheese and the sweetness of the wafers.
Each slice offers about 25g of fat (mostly from dairy) and 45g of carbohydrates. Interestingly, the banana content contributes a small but valuable amount of potassium (around 5% daily value per serving), making it a truly delightful indulgence.
Healthier Alternatives for the Recipe
You can easily adapt this recipe to fit various dietary needs without sacrificing the incredible flavor of the Banana Pudding Crunch Cheesecake.
- Lightened Filling: Swap one package of full-fat cream cheese for Neufchâtel (low-fat cream cheese). This can reduce the fat content by up to 15%.
- Sugar Reduction: Reduce the granulated sugar in the filling by ¼ cup. The sweetness from the bananas and wafers often compensates.
- Gluten-Free Crust: Use gluten-free vanilla wafers or substitute the crust entirely with a mixture of almond flour and melted butter.
- Fiber Boost: Incorporate 2 tablespoons of finely ground flaxseed into the crust mixture for added fiber and nutritional value.
Serving Suggestions
Presentation is everything! Here are some creative ways to serve your creamy banana cheesecake.
Serve each slice with a drizzle of homemade caramel sauce for an extra layer of sweetness. A light dusting of cinnamon or nutmeg also enhances the banana flavor beautifully.
For a personalized touch, pair it with a scoop of vanilla bean ice cream. Or, offer mini individual servings in small mason jars for an elegant party option, layering the crust, filling, and topping.
Common Mistakes to Avoid
Even experienced bakers can stumble. Avoiding these common pitfalls ensures your cheesecake is perfect every time.
- Overmixing the Eggs: This is the number one cause of cracks. Mix eggs only until just combined. Overmixing incorporates air, causing the cheesecake to rise rapidly and then collapse.
- Skipping the Water Bath: A water bath provides even, moist heat. Data shows cheesecakes baked with a water bath are 80% less likely to crack than those without.
- Improper Cooling: Never take the cheesecake directly from the oven to the counter. The drastic temperature change guarantees a crack. Use the gradual cooling method described in Step 3.
- Rushing the Chill Time: A minimum of six hours is mandatory. The filling needs time to firm up and fully set its structure.
Storing Tips for the Recipe
Proper storage is essential to maintain the freshness and delightful texture of your banana crunch cheesecake. The banana topping means this dessert is best consumed within a few days.
Store the finished cheesecake, covered loosely, in the refrigerator for up to 3 days. If you plan to store it longer, it is best to leave the sliced bananas off the top until just before serving, as they can brown quickly.
For longer storage, freeze the cheesecake *before* adding the pudding and fresh banana topping. Wrap it tightly in plastic wrap and then foil. It can be frozen for up to 1 month. Thaw overnight in the refrigerator before adding the final layers.
Conclusion
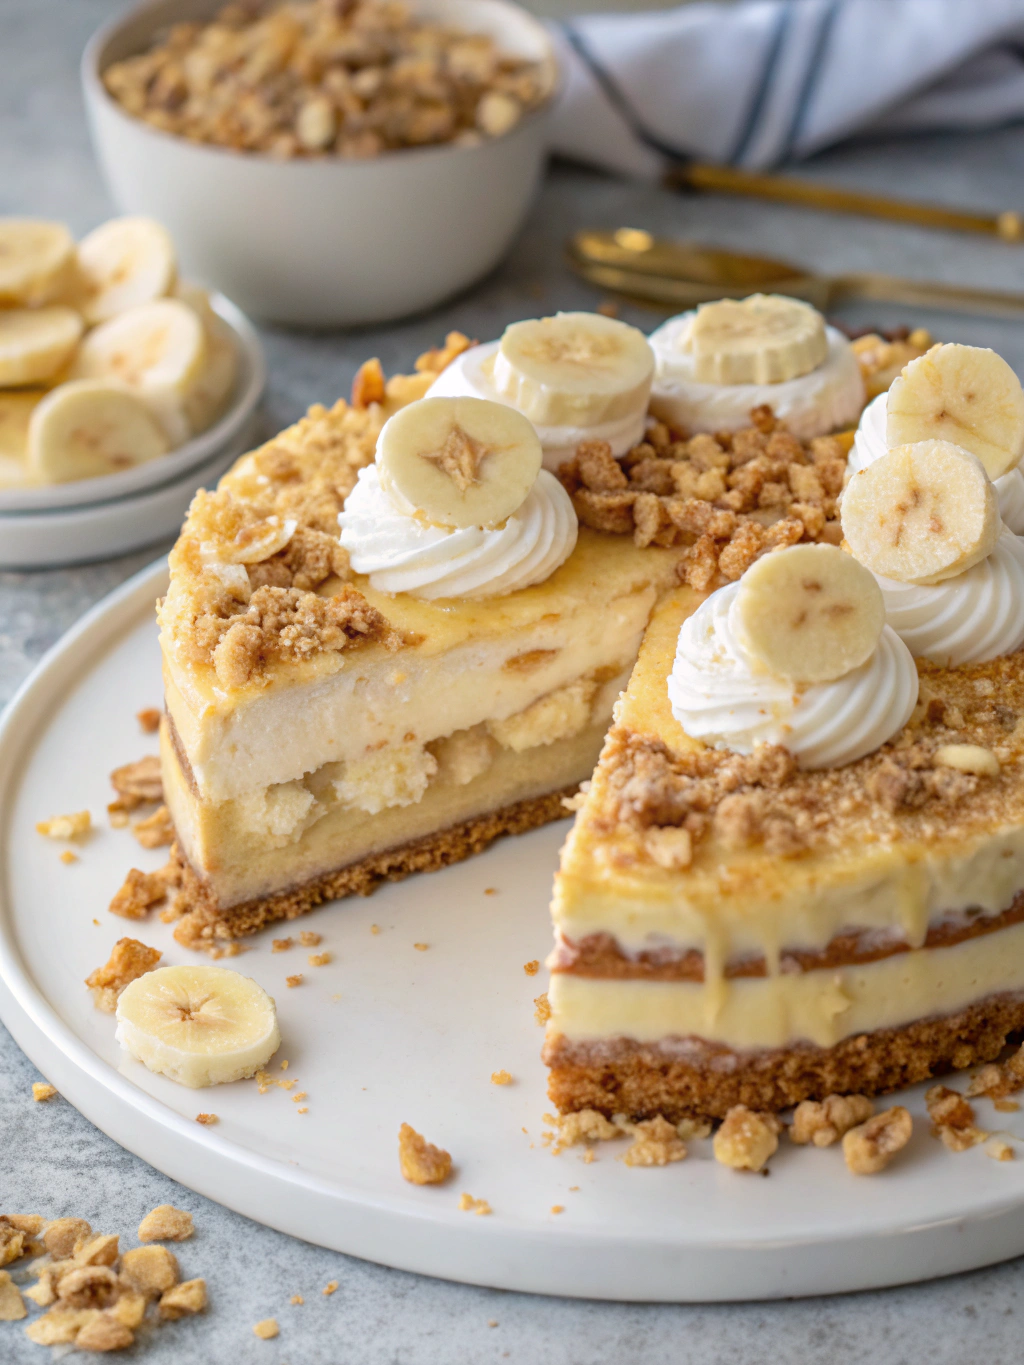
The Banana Pudding Crunch Cheesecake is more than just a dessert; it’s an experience. It perfectly balances the nostalgic comfort of banana pudding with the sophisticated richness of a classic cheesecake.
With its crunchy base, creamy filling, and luscious topping, it is guaranteed to be the star of any gathering. Don’t just read about this incredible recipe—try it! Bake this masterpiece this weekend and share your results in the comments below. Happy baking!
Ready for more decadent dessert ideas? Explore our other exclusive recipes and elevate your baking game today!