Ever wondered if you could enjoy a decadent dessert that actually supports your fitness goals instead of sabotaging them? What if your favorite cheesecake could deliver a whopping 30 grams of protein while still satisfying your sweet tooth?
These High Protein Cheesecake Jars are the answer to the seemingly impossible question of having your cake and eating it too—literally. Perfect for meal prep, these portable, delicious treats combine the creamy indulgence of traditional cheesecake with the nutritional profile of a post-workout snack.
Whether you’re looking to build muscle, recover from exercise, or simply incorporate more protein into your diet without sacrificing dessert, these customizable jars will become your new favorite guilt-free indulgence.
Ingredients List

These High Protein Cheesecake Jars require simple ingredients you might already have in your pantry and refrigerator, especially if you’re into fitness nutrition. Each component contributes to both flavor and function:
For the Crust:
- 1 cup graham cracker crumbs (or crushed protein cookies for extra protein)
- 3 tablespoons melted coconut oil or light butter
- 1 tablespoon honey or maple syrup
- Pinch of salt
For the Protein Cheesecake Filling:
- 2 cups (16 oz) low-fat cream cheese, room temperature
- 1 cup Greek yogurt (0% or 2% fat)
- 3 scoops (about 90g) vanilla whey protein powder
- ¼ cup honey or maple syrup (adjust to taste)
- 2 tablespoons fresh lemon juice
- 1 teaspoon vanilla extract
- 2 tablespoons cornstarch (optional, for thickening)
Optional Toppings:
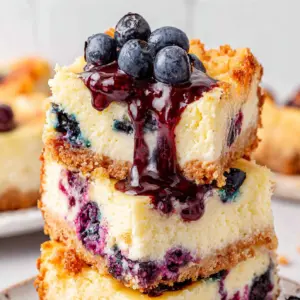
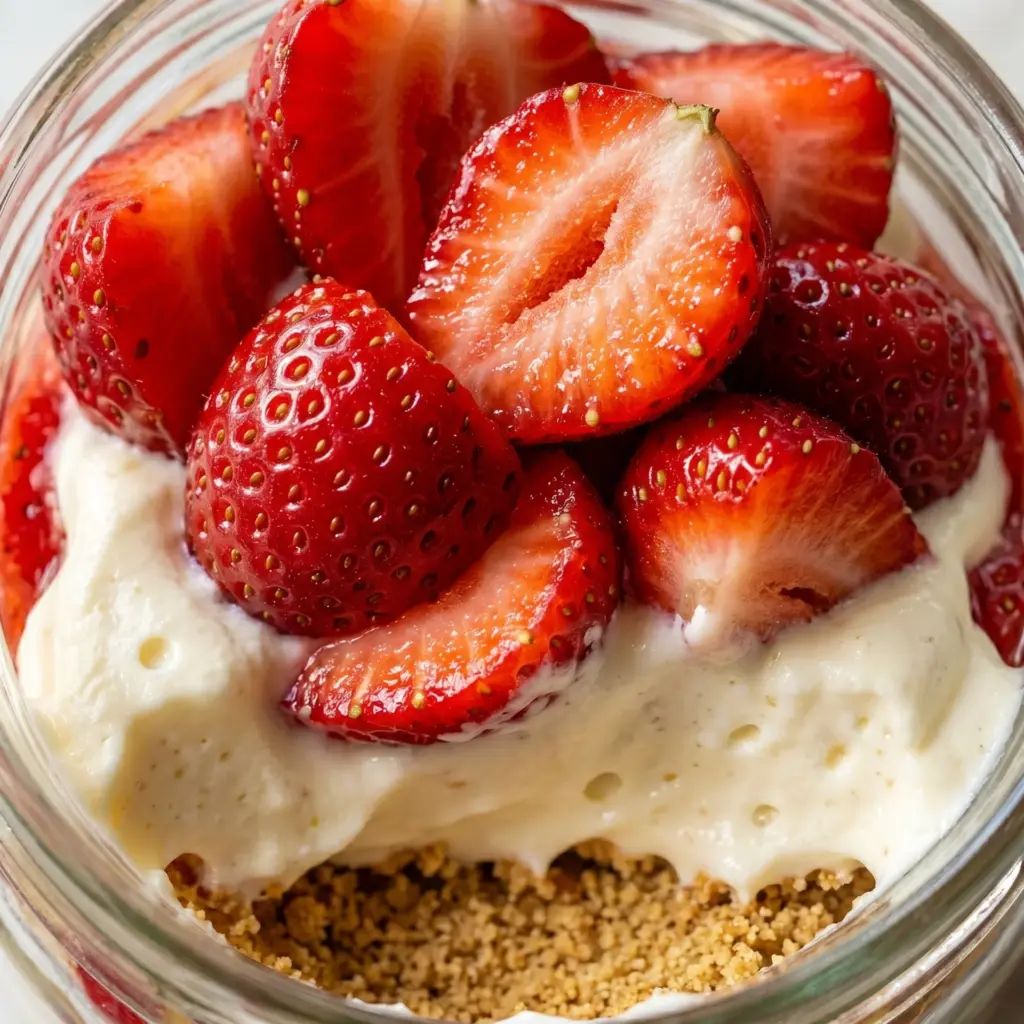
- Fresh berries (strawberries, blueberries, raspberries)
- Sugar-free fruit compote
- Chopped nuts for added crunch and healthy fats
- Dark chocolate shavings (70% or higher)
- Additional Greek yogurt swirl
Substitution tip: For a dairy-free version, use dairy-free cream cheese and coconut yogurt. For a gluten-free base, substitute graham crackers with crushed gluten-free cookies or a mixture of almond flour and dates.
Timing
- Preparation time: 20 minutes
- Chilling time: Minimum 4 hours (preferably overnight)
- Total time: 4 hours 20 minutes
While traditional cheesecake recipes often require over an hour of baking plus extended cooling time, this no-bake protein cheesecake cuts your active kitchen time by approximately 60%. The make-ahead nature of these jars also saves you valuable time during busy weekdays, offering instant healthy dessert gratification.
Step-by-Step Instructions

Step 1: Prepare Your Jars
Gather 6-8 small mason jars (8oz each) or similar containers with lids. Ensure they’re clean and completely dry before starting. These portable containers are perfect for portion control and meal prep convenience.
Step 2: Create the Protein-Packed Crust
In a medium bowl, combine graham cracker crumbs, melted coconut oil, honey, and salt. Mix until the texture resembles wet sand that holds together when pressed. Divide the mixture evenly among your jars (about 2 tablespoons per jar) and press firmly to create a solid base.
- For extra protein in the crust, use crushed protein cookies instead of graham crackers.
- Press with the back of a spoon or the bottom of a shot glass for an even, compact layer.
Step 3: Blend the Cheesecake Filling
In a large bowl, beat the cream cheese with an electric mixer until smooth and fluffy, about 2 minutes. Add Greek yogurt and continue mixing until well incorporated. Gradually add protein powder, sweetener, lemon juice, and vanilla extract, beating on low speed to avoid lumps.
Pro tip: If your protein powder tends to clump, sift it before adding to the mixture. Room temperature cream cheese is essential for a smooth texture—cold cream cheese will create lumps that are difficult to eliminate.
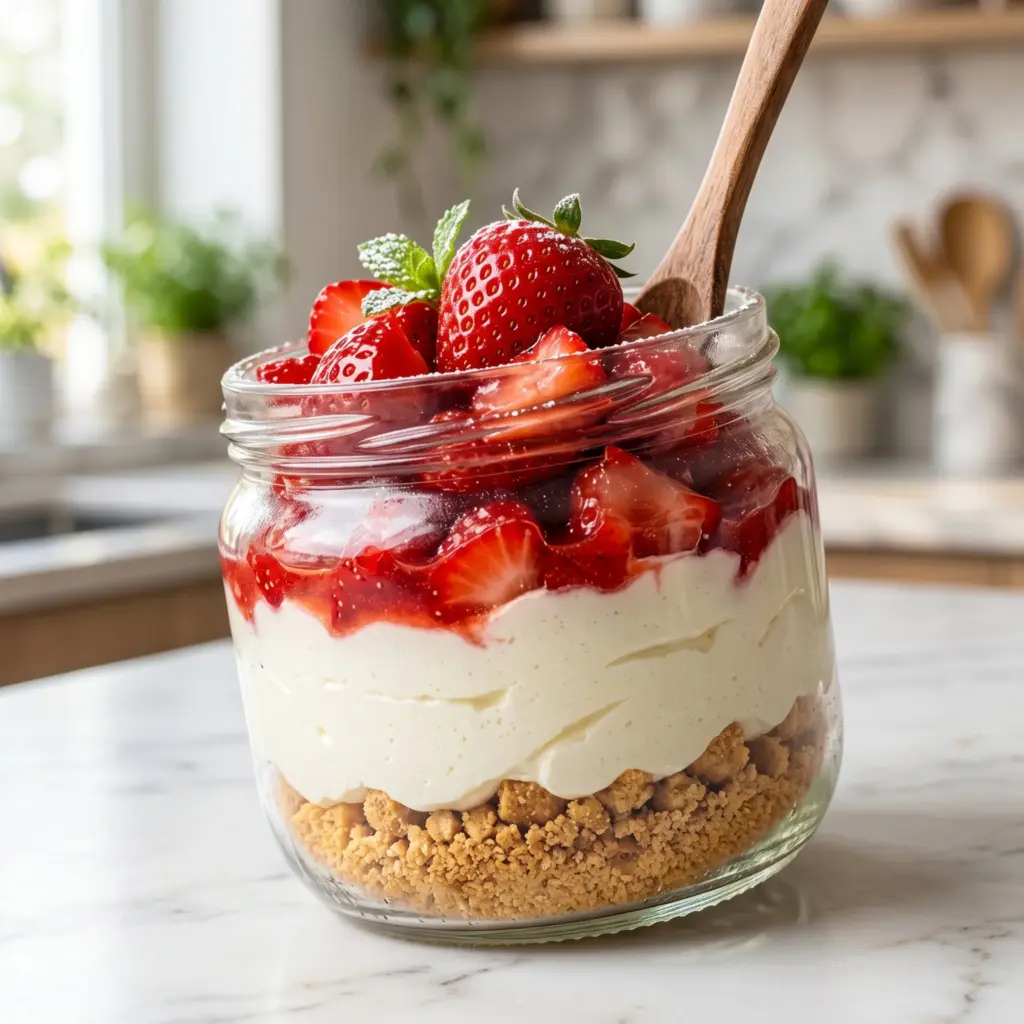
Step 4: Assemble Your Jars
Spoon or pipe the cheesecake mixture evenly into each jar, leaving about ½ inch of space at the top for toppings. Tap jars gently on the counter to remove air bubbles and smooth the surface with the back of a spoon.
Step 5: Chill and Set
Cover each jar with its lid and refrigerate for at least 4 hours, preferably overnight. The longer they chill, the firmer and more cheesecake-like the texture becomes. This waiting period allows the flavors to meld and the proteins to set properly.
Step 6: Add Toppings and Serve
Just before serving, add your choice of toppings. Fresh berries provide antioxidants and natural sweetness, while a sprinkle of chopped nuts adds healthy fats and textural contrast. For chocolate lovers, a few dark chocolate shavings deliver polyphenols without excessive sugar.
Nutritional Information
Each High Protein Cheesecake Jar (based on 6 servings) provides approximately:
- Calories: 320
- Protein: 30g
- Carbohydrates: 20g
- Fiber: 1g
- Sugar: 15g (can be reduced with sugar-free sweeteners)
- Fat: 15g (6g saturated)
- Calcium: 20% DV
- Vitamin D: 15% DV (from fortified protein powder)
These protein-packed jars contain approximately 250% more protein than traditional cheesecake slices, which typically offer only 7-10g of protein while delivering nearly twice the calories and three times the sugar content. The balanced macronutrient profile makes these jars suitable for post-workout recovery or as a satisfying snack that won’t spike blood sugar levels dramatically.
Healthier Alternatives for the Recipe
These High Protein Cheesecake Jars are already nutritionally optimized, but here are some modifications to suit specific dietary needs:
- Lower carb version: Replace honey/maple syrup with monk fruit sweetener or stevia. Use almond flour and butter for the crust instead of graham crackers.
- Higher protein version: Add an extra scoop of protein powder and use fat-free cream cheese to push the protein content to nearly 35g per serving.
- Vegan adaptation: Substitute with plant-based cream cheese, coconut yogurt, and vegan protein powder. Ensure your protein powder is heat-stable for proper setting.
- Lower fat option: Use fat-free cream cheese and Greek yogurt, and reduce the oil in the crust to 2 tablespoons.
For those monitoring sodium intake, look for low-sodium cream cheese options or balance your daily sodium intake accordingly, as cream cheese can contain significant sodium levels.
Serving Suggestions
Transform your protein cheesecake jars from simple desserts into versatile culinary experiences:
- Breakfast parfait: Layer with additional Greek yogurt and fresh fruit for a protein-packed morning meal that feels indulgent.
- Post-workout fuel: Consume within 30 minutes after exercise to maximize protein synthesis and glycogen replenishment.
- Dessert board feature: Place several mini jars on a dessert charcuterie board with various toppings for guests to customize.
- Frozen treat: Freeze for 2 hours before serving for a texture similar to frozen cheesecake ice cream. Allow to thaw for 10 minutes before eating.
For special occasions, create a “build-your-own cheesecake jar” station with various toppings, allowing everyone to personalize their protein-packed dessert while still maintaining the nutritional benefits.
Common Mistakes to Avoid
- Using cold ingredients: Room temperature cream cheese and Greek yogurt are essential for a smooth, lump-free filling. Cold ingredients will create a grainy texture that’s difficult to fix.
- Overmixing after adding protein powder: This can cause the mixture to become too thick or rubbery. Fold in gently until just combined.
- Choosing the wrong protein powder: Not all protein powders work equally well in no-bake applications. Whey isolate or a whey-casein blend typically yields the best texture and flavor.
- Not adjusting sweetness: Different protein powders have varying levels of sweetness. Always taste your mixture before jarring and adjust accordingly.
- Rushing the chilling process: The protein needs time to hydrate and set properly. Shortcutting the chilling time results in a softer, less cheesecake-like texture.
Storing Tips for the Recipe
One of the greatest advantages of these protein cheesecake jars is their meal-prep friendly nature:
- Refrigerator storage: Properly sealed jars will stay fresh for up to 5 days in the refrigerator. The flavor often improves after 24 hours as ingredients meld.
- Freezer storage: These jars freeze beautifully for up to 3 months. Leave ½ inch of headspace for expansion and thaw overnight in the refrigerator before enjoying.
- Topping strategy: Add perishable toppings like fresh fruit just before serving rather than during prep to maintain optimal freshness and texture.
- Travel tip: These jars are perfect for on-the-go nutrition. Pack in an insulated lunch bag with an ice pack for a portable protein-rich dessert or snack.
For best results, store jars in the back of the refrigerator where the temperature remains most consistent, avoiding the door area where temperature fluctuations occur frequently.
Conclusion
These protein-packed cheesecake jars represent the perfect marriage of indulgence and nutrition. With 30 grams of muscle-building protein per serving and endless customization options, they prove that dessert can be both delicious and supportive of your fitness goals.
The no-bake preparation makes them accessible even to novice cooks, while their meal-prep friendly nature saves you time throughout the week. Whether you’re looking to refuel after a workout, satisfy a sweet craving without derailing your nutrition plan, or simply enjoy a healthier version of a classic dessert, these jars deliver on all fronts.
Have you tried making these high-protein cheesecake jars? Share your favorite flavor combinations or topping ideas in the comments below! And if you’re looking for more protein-packed dessert options, be sure to check out our other fitness-friendly recipes that prove healthy eating never has to be boring.