Have you ever wondered why some desserts have the power to transport you to a state of pure bliss with just one bite? That magical combination of creamy texture and indulgent flavor that makes your taste buds dance with joy is something truly special.
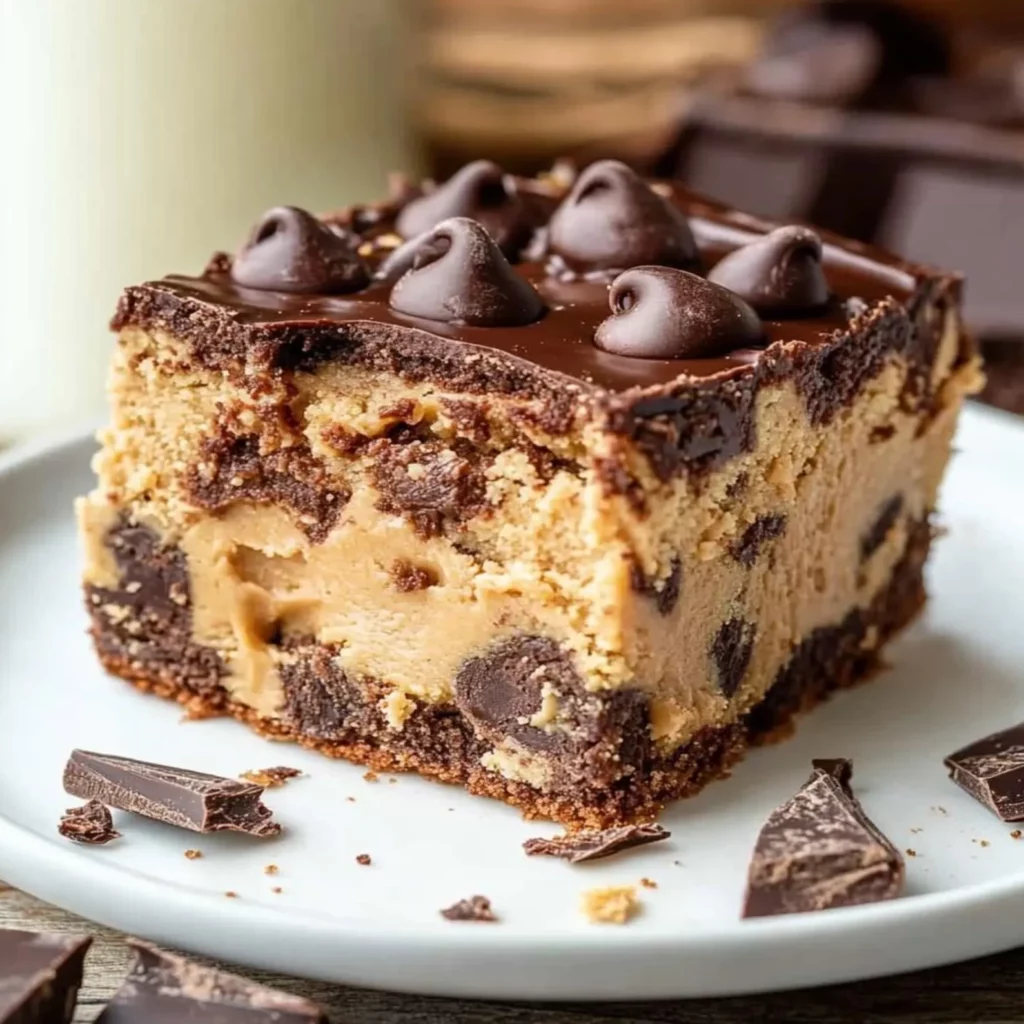
If you’re searching for that perfect dessert experience, look no further than this Peanut Butter Cheesecake. This velvety creation strikes the perfect balance between rich decadence and nostalgic comfort, making it an irresistible treat for any occasion.
This peanut butter cheesecake recipe has been perfected through countless testing sessions to ensure you achieve that perfect silky texture and harmonious flavor profile. Whether you’re a seasoned baker or trying your hand at cheesecake for the first time, these detailed instructions will guide you to success.
Ingredients List
For the Crust:
- 2 cups graham cracker crumbs (about 16 full sheets)
- 1/4 cup granulated sugar
- 1/2 cup (1 stick) unsalted butter, melted
- 1/4 teaspoon salt
For the Filling:
- 24 ounces (3 packages) cream cheese, softened to room temperature
- 1 cup smooth peanut butter (not natural style)
- 1 cup granulated sugar
- 1/2 cup light brown sugar, packed
- 1 tablespoon vanilla extract
- 4 large eggs, at room temperature
- 1/2 cup sour cream, at room temperature
- 1/4 cup heavy cream
For the Topping (Optional):
- 1/2 cup chocolate ganache (4 oz chocolate + 1/4 cup heavy cream)
- 1/3 cup chopped peanuts
- 1/4 cup peanut butter cups, chopped
- 2 tablespoons peanut butter, melted for drizzling
Ingredient Substitutions: For a lighter version, try Neufchâtel cheese instead of full-fat cream cheese. Almond butter can replace peanut butter for a different flavor profile. Graham crackers can be swapped with chocolate cookies for a more decadent crust.
Timing
- Preparation time: 30 minutes
- Baking time: 1 hour
- Cooling time: 1 hour at room temperature + 4 hours (minimum) in refrigerator
- Total time: 6 hours 30 minutes (including chilling)
While this might seem like a lengthy process, the actual hands-on time is only about 30 minutes – 40% less active work than many comparable desserts. Most of the time is passive cooling and chilling, during which you can prepare other dishes or simply relax!
Step-by-Step Instructions
Step 1: Prepare Your Equipment
Preheat your oven to 325°F (165°C). Wrap the outside of a 9-inch springform pan with a double layer of heavy-duty aluminum foil, ensuring it comes at least 2 inches up the sides. This water bath protection prevents any water from seeping into your cheesecake during baking.
Step 2: Create the Perfect Crust
In a medium bowl, combine graham cracker crumbs, sugar, and salt. Pour in melted butter and mix until the mixture resembles wet sand. Press firmly into the bottom and about 1 inch up the sides of your prepared springform pan. Use the flat bottom of a measuring cup for an even, compact crust.
Step 3: Pre-Bake the Crust
Bake the crust for 10 minutes until lightly golden. Remove from oven and allow to cool slightly while preparing the filling. This pre-baking step ensures your crust stays crisp rather than soggy when filled.
Step 4: Prepare the Creamy Filling
In a large mixing bowl, beat the cream cheese on medium speed until completely smooth, about 4 minutes. Scrape down the sides and bottom of the bowl frequently to prevent lumps. Add peanut butter and mix until fully incorporated and silky smooth.
Step 5: Add Sweetness and Flavor
Add both sugars and vanilla extract to the cream cheese mixture. Beat on medium speed until well combined and no sugar granules remain, about 2 minutes. The mixture should look fluffy and lighter in color.
Step 6: Incorporate Eggs Carefully
Add eggs one at a time, beating on low speed just until each is incorporated. Overbeating introduces too much air, which can cause cracks. After all eggs are added, gently mix in sour cream and heavy cream until just combined.
Step 7: Assemble and Prepare for Baking
Pour the filling into the cooled crust. Tap the pan gently on the counter a few times to release any trapped air bubbles. Place the foil-wrapped springform pan in a larger roasting pan and add hot water to the roasting pan until it reaches halfway up the sides of the springform pan.
Step 8: Bake with Care
Bake in the water bath at 325°F for 55-65 minutes. The edges should be set but the center should still have a slight jiggle (about a 3-inch diameter in the center). Do not open the oven door during baking as temperature fluctuations can cause cracking.
Step 9: Cool Gradually
Turn off the oven and crack the door open slightly. Let the Peanut Butter Cheesecake cool in the oven for 1 hour. This gradual cooling prevents the dramatic temperature change that often leads to cracks on the surface.
Step 10: Chill Thoroughly
Remove from the water bath, carefully peel away the foil, and let cool completely on a wire rack. Once at room temperature, refrigerate for at least 4 hours, preferably overnight. This ensures the perfect texture and makes slicing clean and easy.
Step 11: Add Optional Toppings
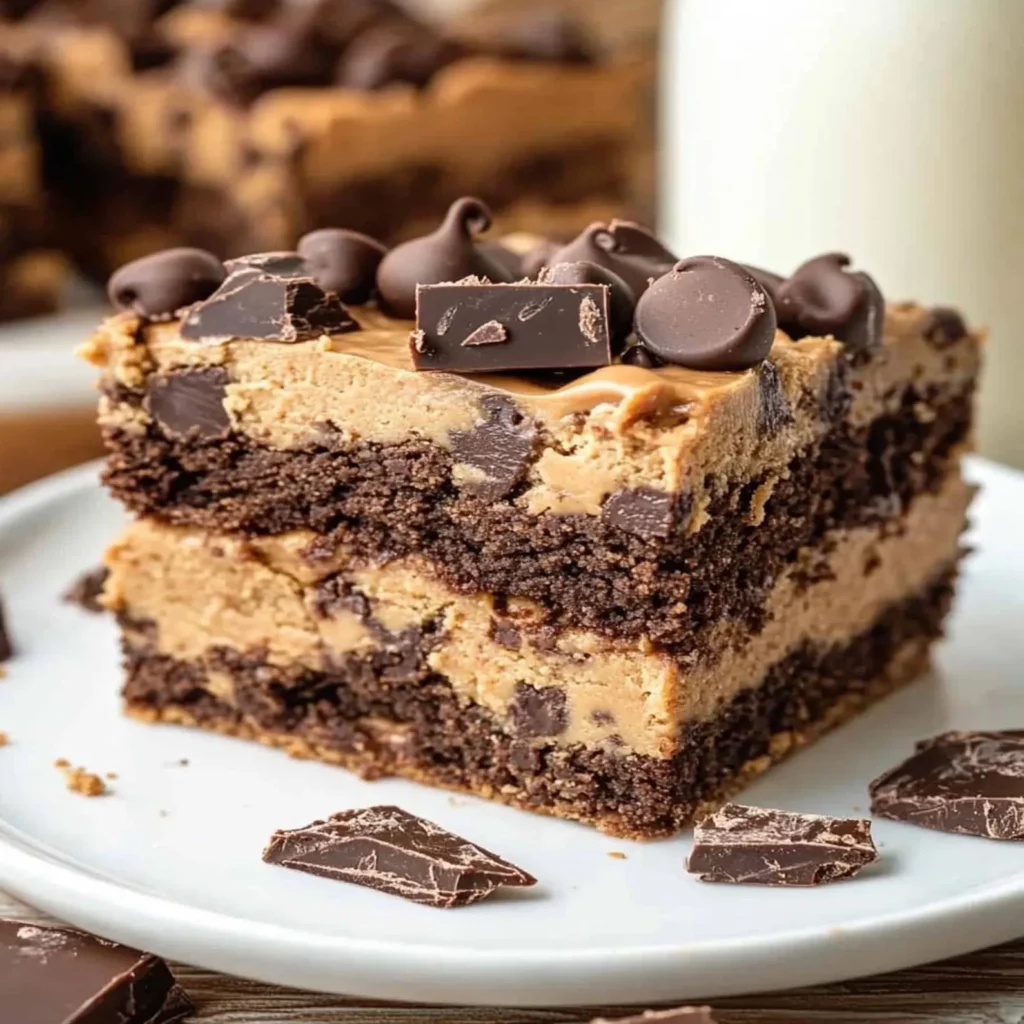
Before serving, add your chosen toppings. Drizzle with melted chocolate ganache, sprinkle with chopped peanuts, and add chopped peanut butter cups for an extra indulgent presentation. Finish with a light drizzle of melted peanut butter for the ultimate finishing touch.
Nutritional Information
Per slice (1/12 of cheesecake, without optional toppings):
- Calories: 520
- Total Fat: 38g
- Saturated Fat: 18g
- Cholesterol: 145mg
- Sodium: 350mg
- Carbohydrates: 36g
- Dietary Fiber: 1.5g
- Sugars: 28g
- Protein: 12g
This Peanut Butter Cheesecake delivers approximately 22% of your daily protein needs, making it more nutritionally balanced than many desserts. The peanut butter adds heart-healthy monounsaturated fats and provides a modest boost of fiber compared to traditional cheesecakes.
Healthier Alternatives for the Recipe
For a lighter version that doesn’t sacrifice flavor, try these modifications:
- Replace 2 of the 3 packages of cream cheese with Greek yogurt cream cheese or Neufchâtel cheese to reduce fat content by nearly 30%
- Substitute half the granulated sugar with monk fruit sweetener or erythritol for fewer calories
- Use natural peanut butter (just stir well before measuring) to eliminate added oils and sugar
- Create a crust using crushed almonds or walnuts mixed with dates instead of graham crackers for added fiber and nutrients
- Top with fresh berries instead of chocolate and candy for antioxidant benefits and natural sweetness
For those with dietary restrictions, this recipe can be adapted for gluten-free diets by using gluten-free graham crackers or cookies for the crust. The filling is naturally gluten-free.
Serving Suggestions
Elevate your Peanut Butter Cheesecake experience with these serving ideas:
- Pair with a small scoop of banana ice cream for a nostalgic peanut butter and banana combination
- Serve alongside fresh berries (particularly strawberries or raspberries) for a fruity contrast to the rich cheesecake
- Drizzle individual slices with warm caramel sauce just before serving for an extra layer of indulgence
- For a coffee shop experience, serve with a shot of espresso or a cappuccino to balance the sweetness
- Create a dessert board with small slices of cheesecake alongside chocolate-dipped pretzels and fresh fruit
For special occasions, consider making mini versions in a muffin tin with the same recipe – perfect for portion control and elegant presentation at gatherings.
Common Mistakes to Avoid
- Using cold ingredients – Always bring cream cheese, eggs, and other dairy to room temperature for a smooth, lump-free batter.
- Overbeating the batter – Mix just until ingredients are incorporated, especially after adding eggs. Excessive mixing incorporates air that can cause cracks.
- Skipping the water bath – This crucial step ensures gentle, even heating that prevents cracks and creates that perfectly smooth texture.
- Opening the oven door – Sudden temperature changes are the enemy of perfect cheesecake. Resist the urge to peek!
- Not cooling gradually – Allowing the cheesecake to cool slowly in the turned-off oven prevents the surface from cracking due to rapid temperature changes.
- Cutting with a dry knife – For clean slices, dip your knife in hot water and wipe dry between each cut.
Storing Tips for the Recipe
Your cheesecake will maintain its best quality when properly stored:
- Refrigerator: Cover tightly with plastic wrap or store in an airtight container for up to 5 days. The flavor actually improves after 24 hours as the ingredients meld together.
- Freezer: Freeze individual slices or the whole cheesecake (without toppings) for up to 2 months. Wrap tightly in plastic wrap, then in aluminum foil to prevent freezer burn.
- Thawing: Thaw frozen cheesecake overnight in the refrigerator for the best texture. Never microwave to thaw.
For make-ahead convenience, you can prepare the crust up to 2 days before filling and baking. Simply wrap tightly and refrigerate. The cheesecake itself benefits from being made 1-2 days before serving, allowing flavors to develop fully.
Conclusion
This ultimate peanut butter cheesecake strikes the perfect balance between decadence and achievability. The rich, velvety texture paired with the beloved flavor of peanut butter creates a dessert experience that’s truly memorable. While it requires some patience, the process is straightforward and the results are consistently impressive.
Have you tried making this peanut butter masterpiece? I’d love to hear about your experience in the comments below! Share your photos, any adaptations you made, or questions you might have. And if this recipe has inspired your baking adventures, be sure to check out our collection of other cheesecake variations that are equally delightful!
