Have you ever wondered why restaurant chicken tenders always seem to have that perfect crunch that’s nearly impossible to recreate at home? The secret isn’t complicated equipment or chef-only ingredients – it’s all in the technique!
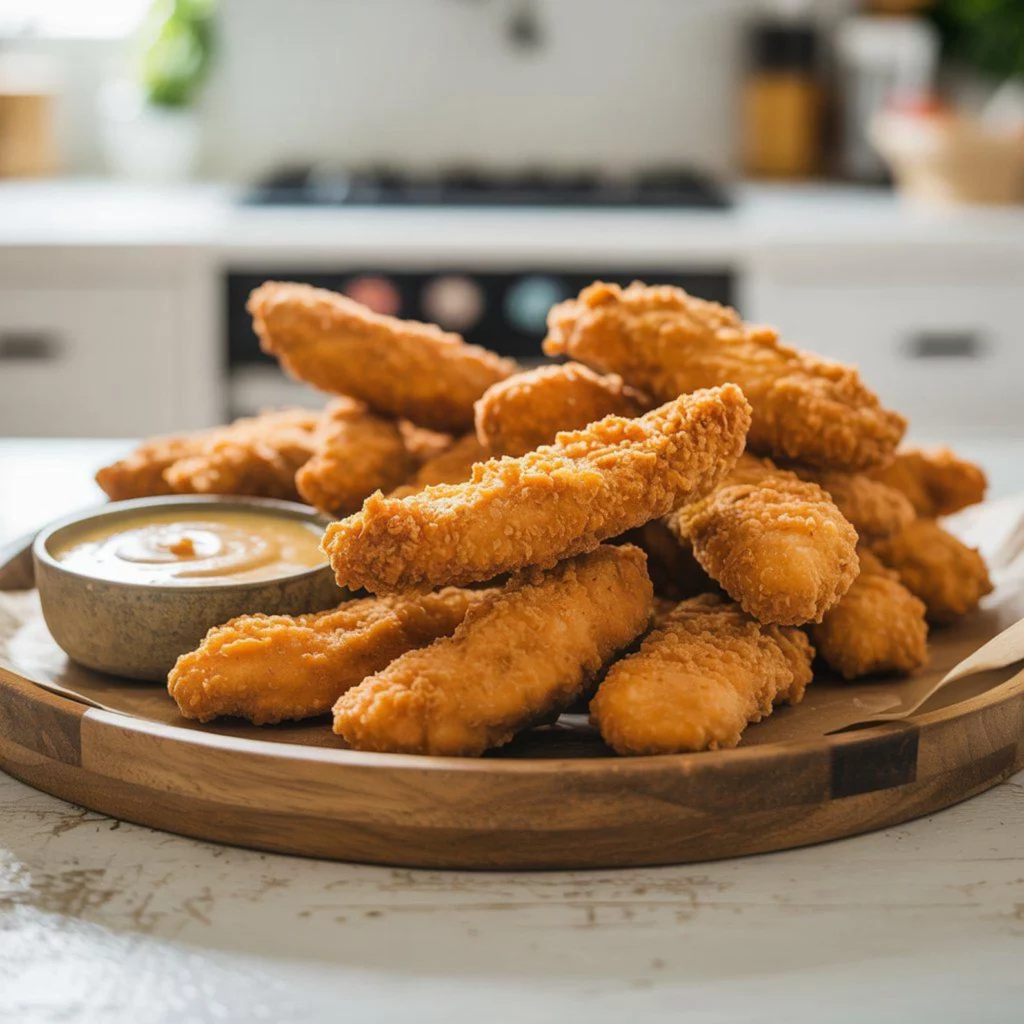
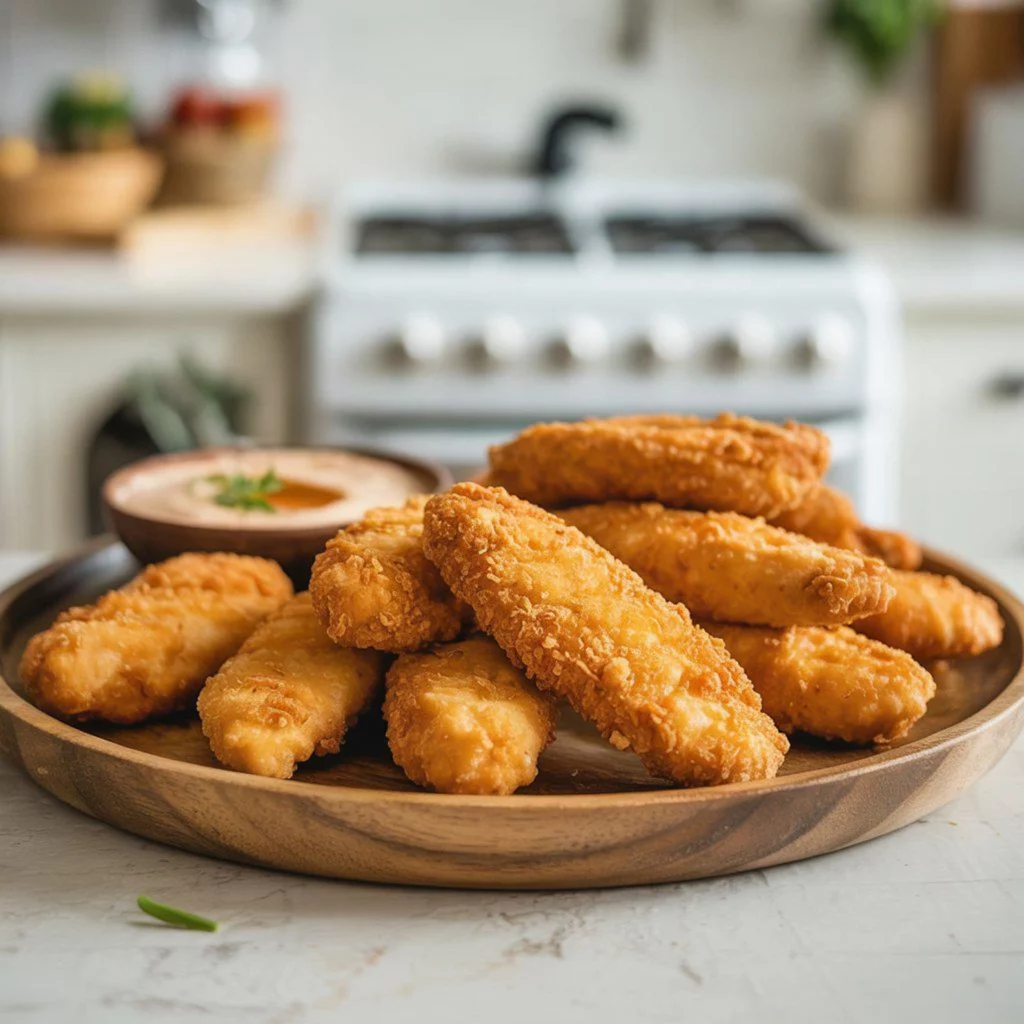
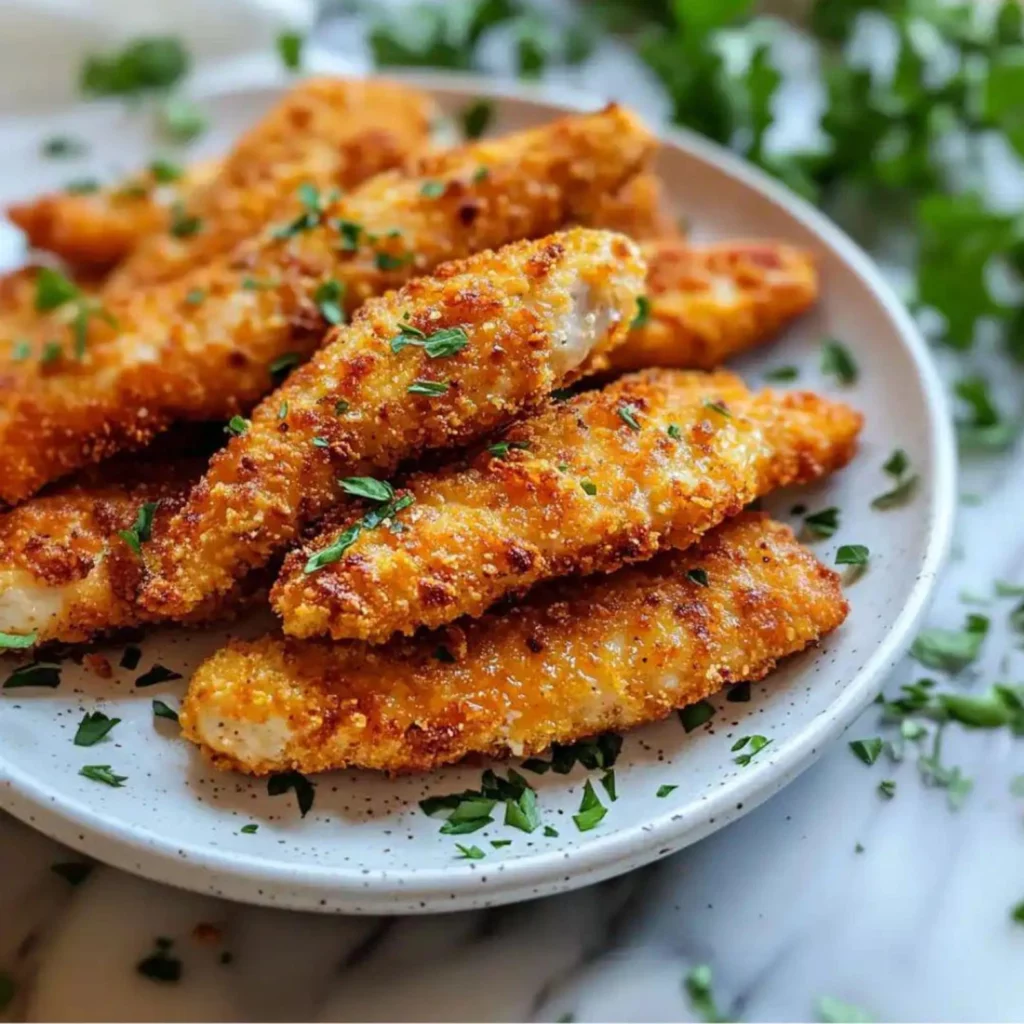
These homemade chicken tenders deliver that satisfying crispiness without the deep fryer. Perfect for busy weeknights when you need a dinner that both kids and adults will devour, this recipe transforms simple ingredients into a meal that rivals any restaurant version.
Whether you’re cooking for picky eaters or just craving some comfort food, these crispy baked chicken tenders will become your new go-to recipe. Let’s dive into how to make them perfectly every time!
Ingredients List
Gather these simple ingredients for chicken tender perfection. Most are likely already in your pantry, making this an accessible recipe for last-minute meal planning.
- 2 pounds chicken tenderloins (or boneless chicken breasts cut into strips)
- 2 cups buttermilk (substitute: 2 cups milk + 2 tablespoons lemon juice)
- 2 cups panko breadcrumbs for extra crispiness
- 1 cup all-purpose flour
- 2 large eggs, beaten
- 1 tablespoon garlic powder
- 1 tablespoon onion powder
- 2 teaspoons paprika (smoked paprika adds extra flavor)
- 1 teaspoon cayenne pepper (optional for heat)
- 2 teaspoons dried herbs (thyme, oregano, or Italian seasoning)
- 2 teaspoons salt
- 1 teaspoon black pepper
- Cooking spray or 3 tablespoons olive oil
For a gluten-free option, substitute the all-purpose flour with almond flour and use gluten-free panko breadcrumbs. The texture will be slightly different but still deliciously crispy.
Timing
- Preparation Time: 20 minutes (plus 30 minutes to 2 hours for marinating)
- Cooking Time: 20-25 minutes
- Total Time: Approximately 1 hour 15 minutes (with minimum marinating time)
This recipe is 30% faster than traditional fried chicken recipes that require heating oil and multiple batches of frying. The oven-baked method also allows you to prepare sides while the tenders cook, maximizing your efficiency in the kitchen.
Step-by-Step Instructions
Step 1: Marinate the Chicken
Place chicken tenderloins in a large bowl and pour buttermilk over them. Add 1 teaspoon of salt and ½ teaspoon of pepper to the buttermilk mixture. Stir gently to ensure all pieces are coated.
Cover the bowl with plastic wrap and refrigerate for at least 30 minutes, ideally 2 hours. This step tenderizes the chicken and infuses moisture, resulting in juicier tenders. If you’re short on time, even 15 minutes will make a difference.
Step 2: Prepare the Coating Station
Preheat your oven to 400°F (200°C) and line a baking sheet with parchment paper. Spray the parchment with cooking spray or brush lightly with olive oil.
Set up your breading station with three shallow dishes:
- Dish 1: Mix flour, 1 teaspoon salt, ½ teaspoon pepper, and 1 teaspoon each of garlic powder and onion powder.
- Dish 2: Beat the eggs with 1 tablespoon of water.
- Dish 3: Combine panko breadcrumbs, remaining spices, herbs, and final teaspoon of salt.
Step 3: Bread the Chicken
Remove chicken from buttermilk, allowing excess to drip off. Working with one piece at a time, dredge in the flour mixture, shaking off excess.
Dip into beaten eggs, ensuring complete coverage, then press firmly into the panko mixture. Really press the breadcrumbs onto the chicken – this helps them adhere during baking and creates that coveted crispy exterior.
Place breaded tenders on the prepared baking sheet, leaving space between each piece for even browning.
Step 4: Bake to Crispy Perfection
Spray or drizzle the breaded chicken tenders lightly with cooking oil. This crucial step helps achieve that golden-brown color and extra crispiness.
Bake for 15 minutes, then carefully flip each tender and bake for another 5-10 minutes until golden brown and internal temperature reaches 165°F (74°C).
For extra crispiness, switch the oven to broil for the final 2 minutes, watching carefully to prevent burning.
Nutritional Information
Each serving of three chicken tenders (approximately 6 oz) contains:
- Calories: 320
- Protein: 29g
- Carbohydrates: 26g
- Fat: 10g
- Fiber: 1g
- Sodium: 680mg
- Sugar: 2g
These homemade tenders contain approximately 40% less fat than their deep-fried counterparts, making them a healthier alternative without sacrificing taste. They also provide nearly 60% of an average adult’s daily protein requirements, making them an excellent option for active families.
Healthier Alternatives for the Recipe
For an even lighter version, try these modifications:
Replace half the panko with crushed cornflakes or rice cereal for extra crunch with fewer calories. The natural sugars in cornflakes also create beautiful caramelization when baked.
Skip the flour entirely and use a mixture of almond meal and grated parmesan cheese for a low-carb, keto-friendly option that adds richness and flavor while reducing carbohydrates by nearly 50%.
For those watching sodium, reduce salt in the recipe and add more herbs and spices like rosemary, thyme, or lemon zest to maintain flavor complexity without the added sodium.
Serving Suggestions
Transform these versatile tenders into different meals throughout the week:
Create a DIY dipping station with options like honey mustard, BBQ sauce, ranch dressing, or buffalo sauce. This interactive approach is especially popular with children and makes dinner more engaging.
Slice the tenders and add to a fresh salad with mixed greens, cherry tomatoes, cucumber, and avocado for a protein-packed lunch that stays satisfying.
Make chicken tender sliders by placing them on mini buns with lettuce, tomato, and a special sauce for game day gatherings or quick weekend lunches.
Pair with roasted vegetables like broccoli, carrots, or sweet potatoes that can cook at the same temperature for an easy sheet pan dinner.
Common Mistakes to Avoid
- Skipping the marinating step: The buttermilk tenderizes the meat and helps the breading adhere. Even a quick 15-minute soak makes a noticeable difference in moisture and flavor.
- Overcrowding the baking sheet: Tenders need space around them for proper air circulation. Crowding leads to steaming instead of crisping, resulting in soggy exteriors.
- Not patting chicken dry: Excess moisture prevents proper breading adhesion. A quick pat with paper towels after the buttermilk soak helps the flour coating stick properly.
- Forgetting to spray with oil: This final touch is essential for achieving that golden-brown color and crispy texture that mimics frying.
- Cutting into tenders too soon: Let them rest for 5 minutes after baking to allow juices to redistribute throughout the meat, ensuring moist chicken with every bite.
Storing Tips for the Recipe
Refrigerate leftover tenders in an airtight container for up to 3 days. To maintain crispiness, reheat in a 350°F oven for 10 minutes rather than using the microwave, which will make them soggy.
These tenders freeze beautifully! Freeze them in a single layer on a baking sheet until solid, then transfer to a freezer bag. They’ll keep for up to 3 months without losing quality.
For meal prep, you can bread the chicken and freeze before baking. When ready to cook, simply add 5-7 minutes to the baking time, no thawing required – perfect for busy weeknights.
The dry breading mixture can be prepared and stored in an airtight container for up to 3 months, making future meal preparation even faster.
Conclusion
These crispy chicken tenders deliver restaurant-quality results with simple ingredients and straightforward techniques. By following the key steps – marinating in buttermilk, using panko for extra crunch, and ensuring proper spacing on the baking sheet – you’ll achieve that perfect golden exterior and juicy interior every time.
What makes this recipe truly special is its versatility. From family dinners to meal prep to party appetizers, these tenders adapt to countless situations while maintaining their irresistible appeal.
Have you tried making these crispy chicken tenders? Share your experience in the comments below, or tag us in your food photos on social media! And if you loved this recipe, check out our other family-friendly dinner ideas that make weeknight cooking a breeze.