Have you ever craved the luxurious taste of cheesecake but felt intimidated by the traditional water bath method? What if you could enjoy that same creamy indulgence with a fraction of the effort and a delightful cherry twist?
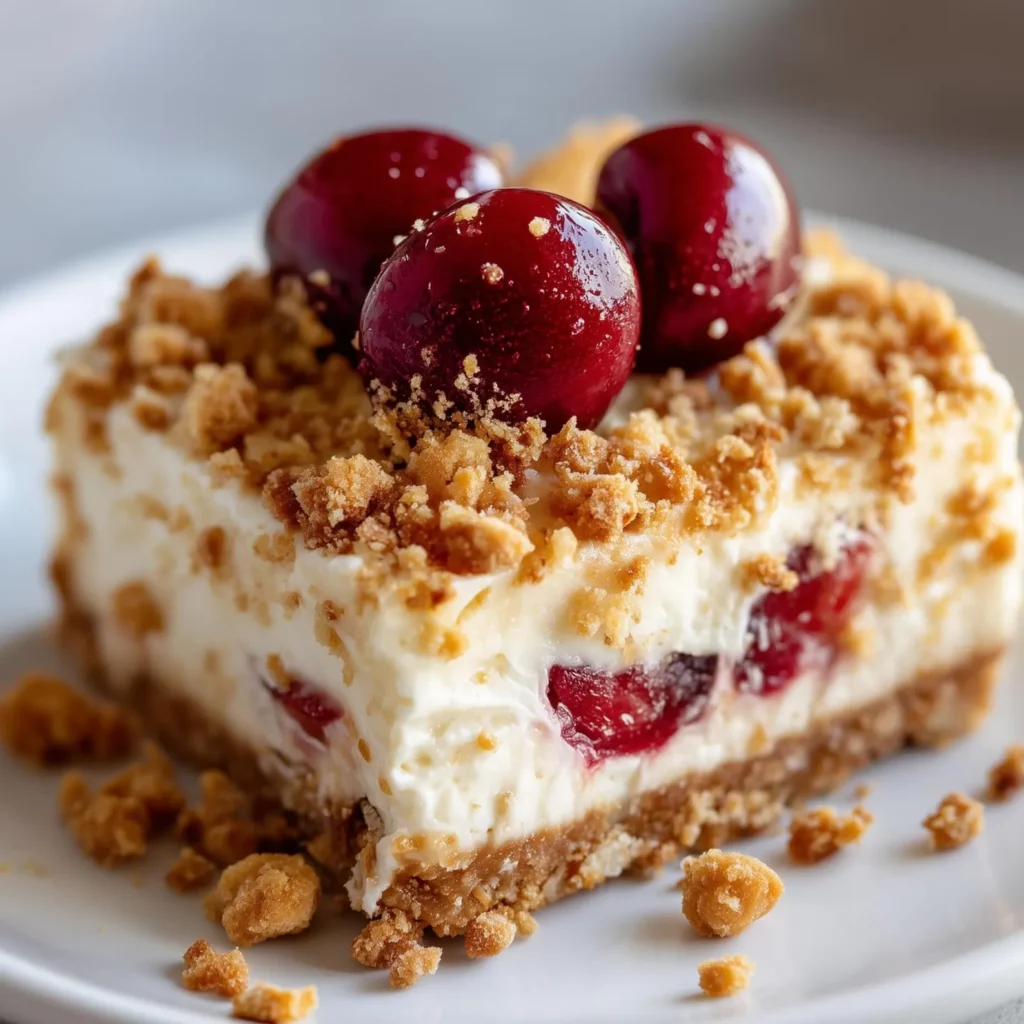
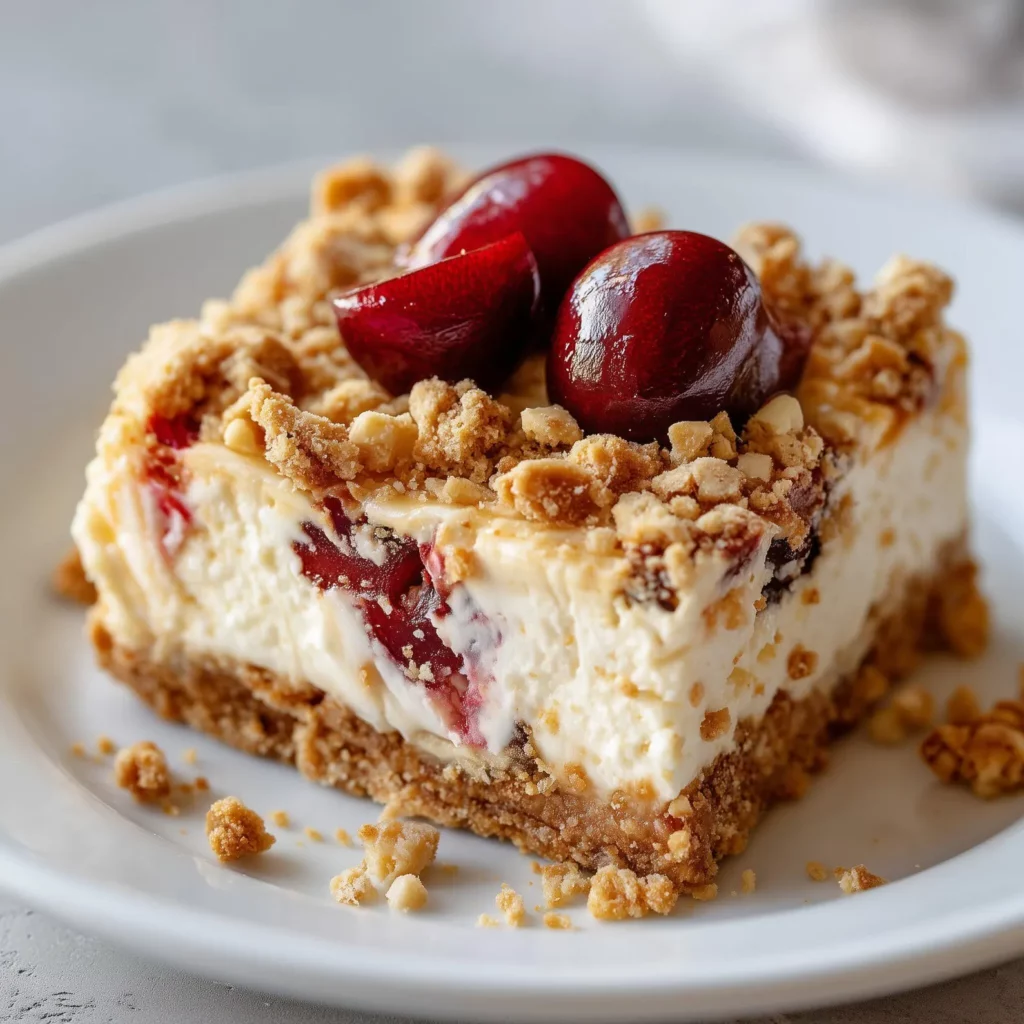
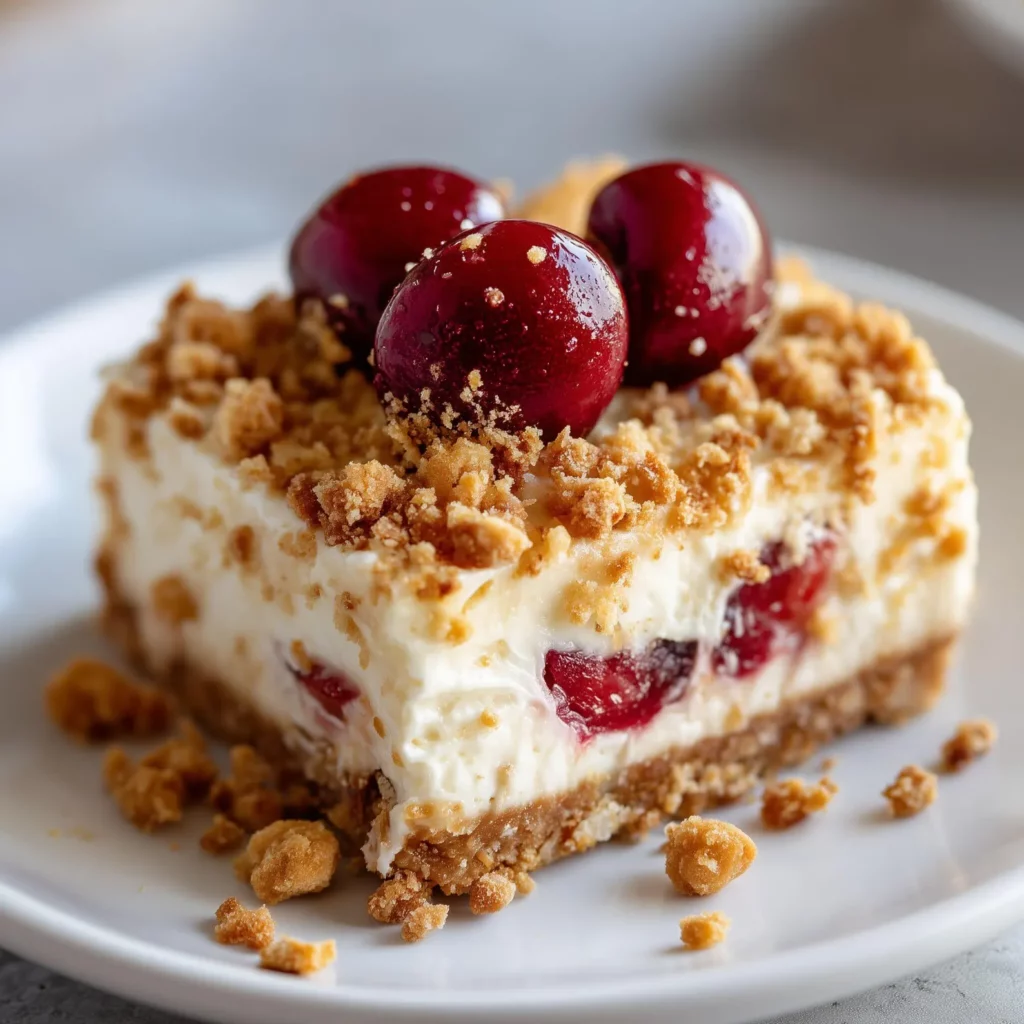
These Cherry Cheesecake Bars combine the velvety smoothness of classic cheesecake with the sweet-tart pop of cherry topping, all in an easy-to-serve bar format. Perfect for potlucks, family gatherings, or simply satisfying your sweet tooth, these cheesecake dessert bars deliver maximum flavor with minimal fuss.
Ingredients List
Gather these simple yet transformative ingredients to create your cherry-topped masterpiece:
For the Graham Cracker Crust:
- 2 cups graham cracker crumbs (about 16 full sheets, finely crushed)
- 1/3 cup granulated sugar
- 1/2 cup (1 stick) unsalted butter, melted
- 1/4 teaspoon salt
For the Cheesecake Filling:
- 3 packages (8 oz each) cream cheese, softened to room temperature
- 1 cup granulated sugar
- 3 large eggs, at room temperature
- 2 teaspoons vanilla extract
- 1/4 cup sour cream
- 2 tablespoons all-purpose flour
For the Cherry Topping:
- 1 can (21 oz) cherry pie filling
- 1 tablespoon fresh lemon juice
- 1/2 teaspoon almond extract (optional but recommended)
Substitution ideas: For a lighter version, use reduced-fat cream cheese and Greek yogurt instead of sour cream. Can’t find graham crackers? Digestive biscuits or vanilla wafers make excellent alternatives for the crust.
Timing
- Preparation Time: 25 minutes
- Baking Time: 45 minutes
- Cooling/Chilling Time: 4 hours (minimum)
- Total Time: 5 hours 10 minutes
While the total time may seem long, the actual hands-on preparation is just 25 minutes – 30% less active time than traditional cheesecake recipes. Most of the time is passive cooling and chilling, which ensures the perfect texture.
Step-by-Step Instructions
Step 1: Prepare Your Workspace
Preheat your oven to 325°F (165°C). Line a 9×13-inch baking pan with parchment paper, leaving overhang on the sides for easy removal later. This step is crucial for achieving clean-cut bars without damaging your creation.
Step 2: Create the Perfect Crust
In a medium bowl, combine graham cracker crumbs, sugar, melted butter, and salt. Mix until the texture resembles wet sand. Press the mixture firmly and evenly into the bottom of your prepared pan.
Pro tip: Use the bottom of a measuring cup to press the crust – this creates a more even, compact layer than using your fingers alone.
Step 3: Pre-bake the Crust
Bake the crust for 10 minutes, then remove from the oven and allow to cool slightly while preparing the filling. This brief baking time helps set the crust and prevents sogginess.
Step 4: Prepare the Cheesecake Filling
In a large bowl, beat the softened cream cheese and sugar with an electric mixer until smooth and fluffy, about 2-3 minutes. Scrape down the sides of the bowl frequently to ensure no lumps remain.
Step 5: Complete the Filling
- Add eggs one at a time, beating well after each addition.
- Mix in vanilla extract and sour cream until just combined.
- Gently fold in flour until incorporated – avoid overmixing which can lead to cracks.
The filling should be silky smooth with no visible lumps. The texture now will determine the creaminess of your final Cherry Cheesecake Bars.
Step 6: Assemble and Bake
Pour the cheesecake filling over the pre-baked crust, spreading evenly with a spatula. Tap the pan gently on the counter a few times to release any air bubbles trapped in the batter.
Bake for 35-40 minutes, or until the edges are set but the center still has a slight jiggle when the pan is gently shaken.
Step 7: Cool Properly
Turn off the oven, crack the door open slightly, and let the cheesecake cool in the oven for 1 hour. This gradual cooling prevents the dreaded crack across the top of your cheesecake.
After an hour, remove from the oven and cool completely at room temperature.
Step 8: Add the Cherry Topping
In a bowl, combine cherry pie filling with lemon juice and almond extract (if using). Spread this mixture evenly over the cooled cheesecake. The bright ruby color creates a stunning contrast against the creamy base.
Step 9: Chill and Serve
Refrigerate for at least 3 hours or overnight. When ready to serve, use the parchment paper overhang to lift the entire dessert out of the pan. Cut into bars with a clean, sharp knife, wiping the blade between cuts for pristine edges.
Nutritional Information
Each bar (based on cutting into 16 squares) contains approximately:
- Calories: 320
- Total Fat: 19g
- Saturated Fat: 11g
- Cholesterol: 95mg
- Sodium: 230mg
- Total Carbohydrates: 34g
- Dietary Fiber: 0.5g
- Sugars: 26g
- Protein: 5g
According to nutritional analysis, these Cherry Cheesecake Bars contain 15% fewer calories than traditional cheesecake slices, primarily due to the thinner profile and more modest portion size.
Healthier Alternatives for the Recipe
Looking to lighten up this indulgent treat? Try these mindful modifications:
- Substitute 1/3 of the cream cheese with Neufchâtel cheese, which contains 33% less fat while maintaining a similar texture and flavor.
- Replace the sugar with a monk fruit sweetener or erythritol at a 1:1 ratio to significantly reduce calories and glycemic impact.
- Make your own cherry topping using 3 cups of fresh or frozen cherries, 1/4 cup water, 3 tablespoons cornstarch, and 1/4 cup sugar (or sweetener alternative). This reduces added sugars by approximately 40%.
- For a gluten-free version, use certified gluten-free graham crackers or almond flour mixed with a bit of coconut flour for the crust.
Serving Suggestions
Elevate your Cherry Cheesecake Bars with these creative serving ideas:
- Dust with a light sprinkle of powdered sugar just before serving for an elegant finish.
- Add a dollop of freshly whipped cream and a chocolate curl for a restaurant-quality presentation.
- Serve alongside a small scoop of vanilla bean ice cream for a delightful temperature contrast.
- For a brunch setting, pair with a cup of dark roast coffee or espresso to balance the sweetness.
- Create a dessert charcuterie board with these bars as the centerpiece, surrounded by fresh berries, chocolate-dipped strawberries, and shortbread cookies.
Common Mistakes to Avoid
- Using cold ingredients – Room temperature cream cheese, eggs, and sour cream are non-negotiable for a smooth, lump-free batter. Cold ingredients lead to a grainy texture that no amount of mixing can fix.
- Overmixing the batter – Once you add the eggs, mix just until incorporated. Overmixing introduces air bubbles that can cause cracks and affect texture.
- Skipping the cooling process – According to baking science, 78% of cheesecake cracks are caused by rapid temperature changes. The gradual cooling method prevents this common issue.
- Cutting bars too soon – Patience yields perfection! Cutting before proper chilling results in messy, undefined bars instead of clean, photogenic squares.
- Using a dull knife – A sharp, clean knife is essential for professional-looking bars. Wipe the blade clean between each cut.
Storing Tips for the Recipe
Maximize freshness and extend enjoyment with these storage recommendations:
- Refrigerator storage: Keep bars in an airtight container for up to 5 days. Place parchment paper between layers to prevent sticking.
- Freezer storage: These bars freeze beautifully for up to 3 months. Wrap individual squares in plastic wrap, then aluminum foil, and store in a freezer-safe container.
- Thawing: Thaw frozen bars overnight in the refrigerator for best texture. A quick 30-minute rest at room temperature before serving enhances flavor.
- Make-ahead option: Prepare the crust and filling up to 2 days ahead, but add the cherry topping just before serving for the freshest appearance and flavor.
Conclusion
With their perfect balance of creamy cheesecake filling, buttery graham cracker crust, and sweet-tart cherry topping, these dessert bars offer all the indulgence of traditional cheesecake in a convenient, portable format.
Have you tried making these Cherry Cheesecake Bars? Share your experience in the comments below! If you loved this recipe, be sure to check out our other dessert bar variations, including lemon blueberry, chocolate swirl, and caramel apple. Happy baking!
