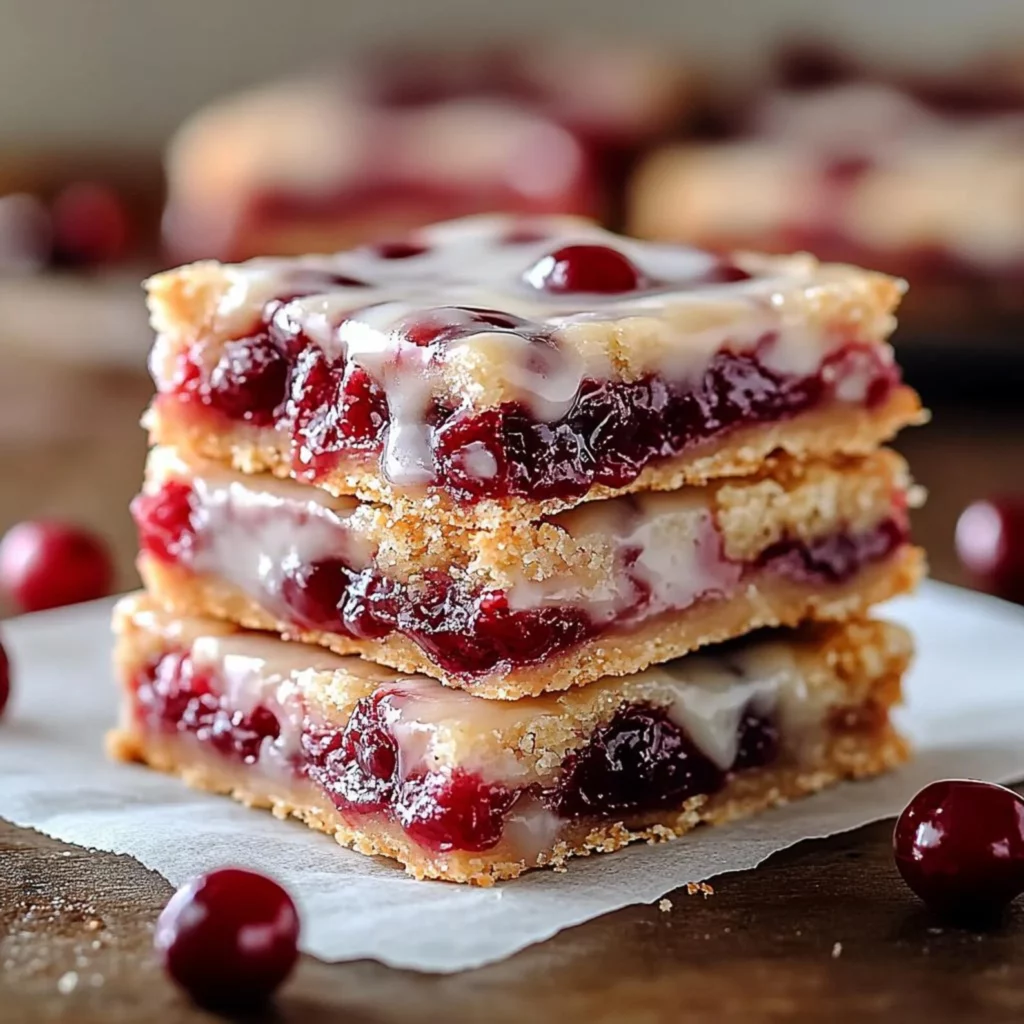
Have you ever craved the luscious taste of cherry pie but wanted something easier to make and share? Something that delivers all that sweet-tart cherry goodness without the fuss of a traditional pie crust?
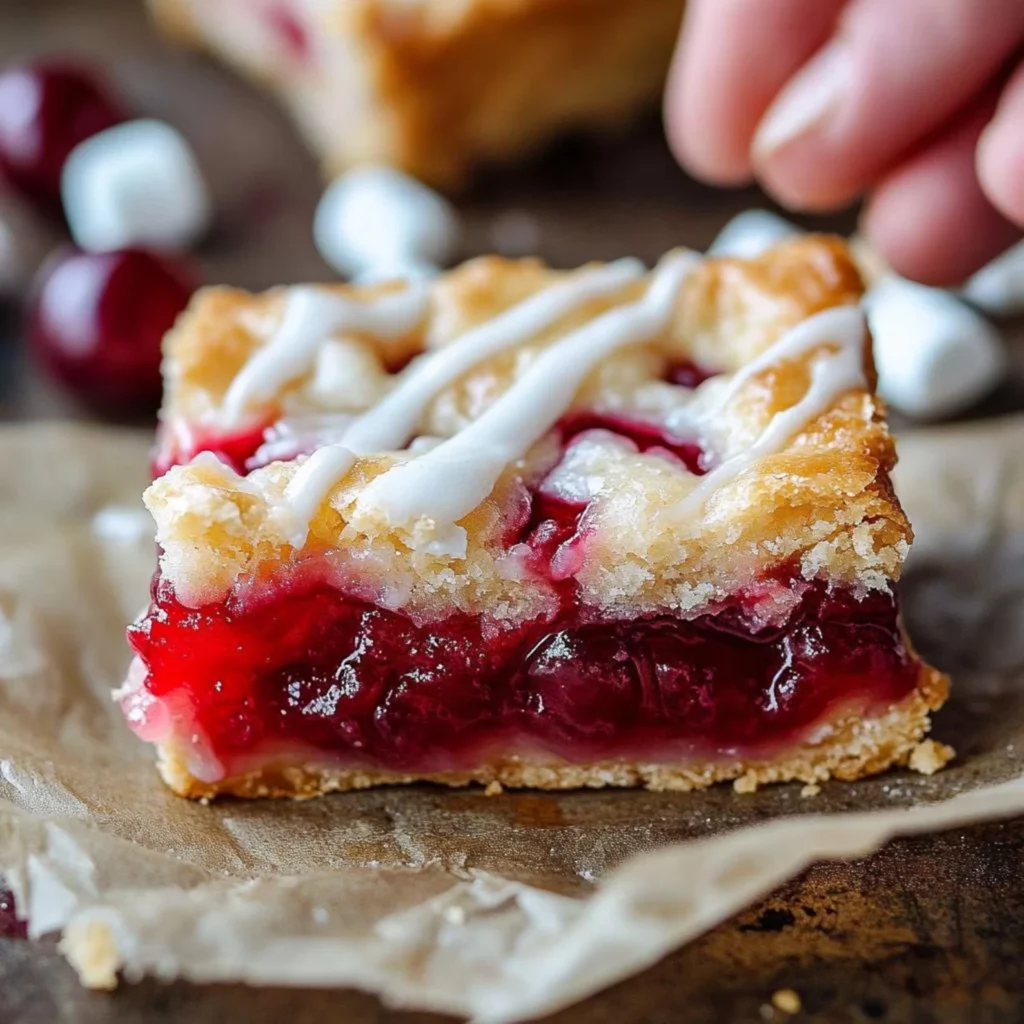
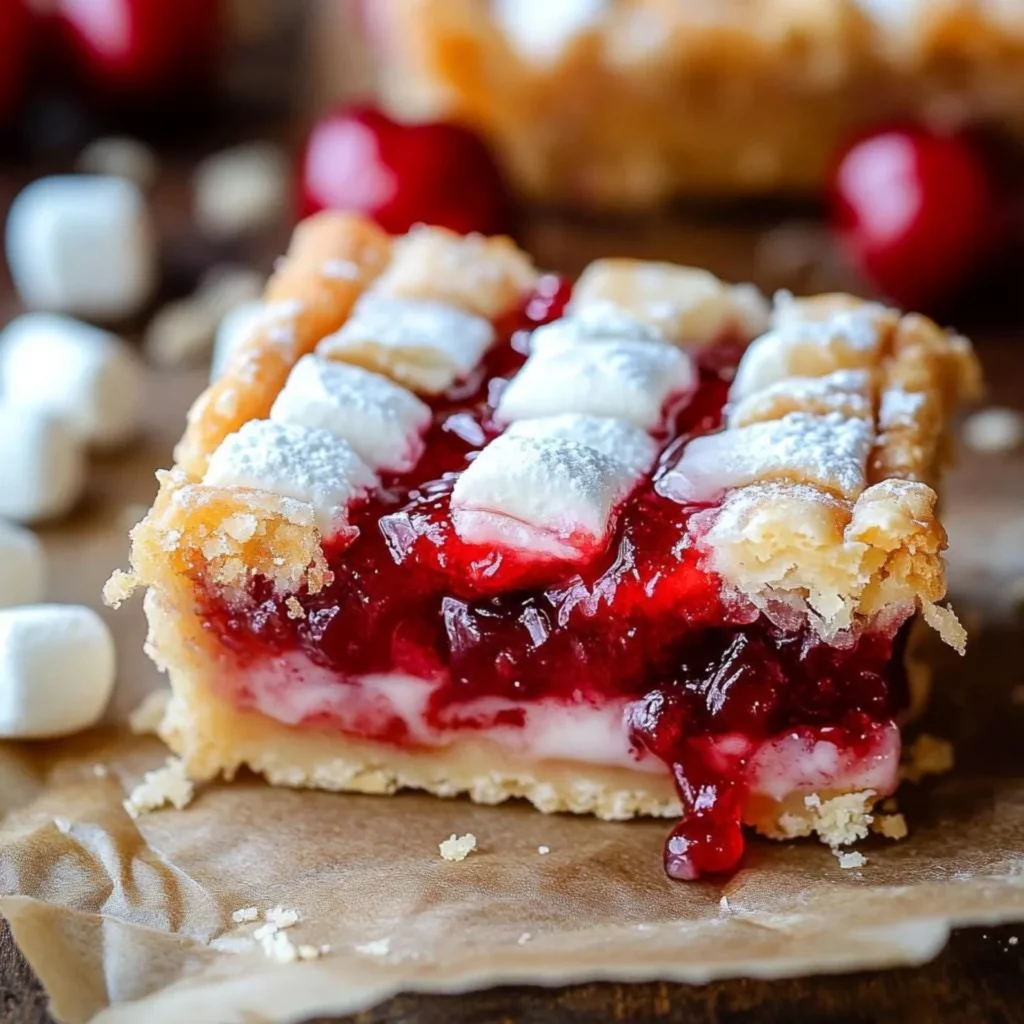
These Cherry Pie Bars are the perfect solution – combining the beloved flavors of classic Cherry Pie with the convenience of a handheld dessert. With a buttery shortbread-like base and a sweet cherry filling topped with a delicate crumble, these bars strike the perfect balance between homey comfort and elegant dessert.
Whether you’re looking for a crowd-pleasing potluck contribution or a special treat for your family, these cherry pie bars deliver incredible flavor in every bite. Let’s dive into this irresistible recipe that will quickly become a staple in your dessert rotation!
Ingredients List
For the Crust and Crumble:
- 3 cups all-purpose flour
- 1 cup granulated sugar
- 1 teaspoon baking powder
- ¼ teaspoon salt
- 1 cup (2 sticks) cold unsalted butter, cubed
- 1 large egg, lightly beaten
- ½ teaspoon almond extract (vanilla extract works too!)
For the Cherry Filling:
- 4 cups fresh cherries, pitted (or 2 cans of cherry pie filling for a quicker option)
- ⅔ cup granulated sugar (omit if using canned filling)
- ¼ cup cornstarch (omit if using canned filling)
- 2 tablespoons lemon juice
- ½ teaspoon almond extract
- ¼ teaspoon ground cinnamon (optional but adds wonderful depth)
Optional Glaze:
- 1 cup powdered sugar
- 2-3 tablespoons milk or cream
- ¼ teaspoon almond extract
For a gluten-free version, substitute the all-purpose flour with a 1:1 gluten-free baking blend. You can also swap the regular sugar with coconut sugar for a slightly different flavor profile that complements the cherries beautifully.
Timing
- Preparation Time: 30 minutes (15 minutes if using canned cherry filling)
- Baking Time: 45-50 minutes
- Cooling Time: 1 hour (minimum)
Total Time: Approximately 2 hours and 20 minutes, which is about 25% faster than making a traditional cherry pie with homemade crust. The hands-on time is significantly less, making these Cherry Pie Bars perfect for busy bakers who don’t want to sacrifice flavor for convenience.
Step-by-Step Instructions
Step 1: Prepare Your Workspace and Ingredients
Preheat your oven to 350°F (175°C). Line a 9×13-inch baking pan with parchment paper, leaving some overhang on the sides for easy removal. This simple preparation step makes a world of difference when it comes time to slice your bars.
Step 2: Create the Crust and Crumble Mixture
In a large bowl, whisk together the flour, sugar, baking powder, and salt. Add the cold cubed butter and use a pastry cutter or your fingertips to work it into the dry ingredients until the mixture resembles coarse crumbs. This technique creates that perfect shortbread-like texture that makes these bars so irresistible.
Add the beaten egg and almond extract, then mix until the dough comes together but still appears somewhat crumbly. The almond extract adds a subtle flavor that beautifully complements the cherries without overpowering them.
Step 3: Prepare the Base Layer
Press about ⅔ of the crumb mixture into the bottom of your prepared pan, creating an even layer. Use the bottom of a measuring cup to press it firmly – this helps create a solid foundation that won’t crumble when serving.
Step 4: Prepare the Cherry Filling
If using fresh cherries: In a medium saucepan, combine the pitted cherries, sugar, cornstarch, lemon juice, almond extract, and cinnamon (if using). Cook over medium heat, stirring frequently, until the mixture thickens and bubbles, about 5-8 minutes. Remove from heat and allow to cool slightly.
If using canned cherry pie filling: Simply stir in the almond extract and cinnamon (if using) to enhance the flavor.
Step 5: Assemble the Bars
Spread the cherry filling evenly over the crust. The filling should be thick enough to spread but not so runny that it soaks into the crust. If your filling seems too liquid, cook it a bit longer.
Sprinkle the remaining crumb mixture over the cherry layer. Don’t press it down – the loose, uneven texture creates a delightful crumbly topping that adds wonderful texture contrast.
Step 6: Bake to Golden Perfection
Bake in the preheated oven for 45-50 minutes, or until the top is lightly golden brown and the filling is bubbling at the edges. Rotate the pan halfway through baking to ensure even browning.
Step 7: Cool and Glaze
Allow the Cherry Pie Bars to cool completely in the pan on a wire rack, at least 1 hour. This cooling time is crucial – cutting too early will result in a messy (albeit delicious) dessert!
If adding the optional glaze, whisk together the powdered sugar, milk, and almond extract until smooth. Drizzle over the cooled bars for an extra touch of sweetness and visual appeal.
Step 8: Slice and Serve
Once completely cooled, use the parchment paper overhang to lift the entire dessert out of the pan. Place on a cutting board and slice into 16-20 bars, depending on your preferred size. Clean your knife between cuts for the neatest presentation.
Nutritional Information
The following nutritional information is approximate per bar (based on 20 servings):
- Calories: 240
- Total Fat: 9g
- Saturated Fat: 5g
- Cholesterol: 30mg
- Sodium: 60mg
- Total Carbohydrates: 38g
- Dietary Fiber: 1g
- Sugars: 24g
- Protein: 2g
These Cherry Pie Bars contain approximately 15% less sugar than traditional cherry pie when compared serving-to-serving, making them a slightly lighter option while still delivering that satisfying dessert experience.
Healthier Alternatives for the Recipe
Looking to make these cherry bars a bit more nutritious? Try these simple swaps:
- Replace half the all-purpose flour with whole wheat pastry flour for added fiber without compromising texture.
- Reduce the sugar in the crust by ¼ cup – the cherry filling provides plenty of sweetness.
- Use coconut oil instead of butter for a dairy-free version (use solid, chilled coconut oil).
- Add ¼ cup of finely chopped almonds or oats to the crumble topping for extra texture and nutrition.
- For a naturally sweetened version, try using maple syrup or honey in the filling (reduce by about 25% since these are sweeter than granulated sugar).
- Add a tablespoon of chia seeds to the filling for an omega-3 boost.
Serving Suggestions
These versatile cherry bars can be served in numerous delightful ways:
- Warm a bar slightly and top with a small scoop of vanilla ice cream for a decadent dessert.
- Serve alongside your morning coffee for a special breakfast treat (we won’t tell!).
- Pack in lunchboxes for a sweet midday surprise – they travel well and don’t require refrigeration for a day.
- Create a dessert board by cutting into smaller pieces and serving alongside other fruit desserts and chocolate treats.
- For a festive touch, add a sprinkle of coarse sugar or white chocolate drizzle to the tops before serving at holiday gatherings.
- Pair with a scoop of mascarpone or cream cheese whipped with a touch of honey for an elegant dinner party dessert.
Common Mistakes to Avoid
- Overworking the dough – This creates a tough rather than tender crust. Mix just until combined for the best texture.
- Undercooking the cherry filling – If it’s not thick enough before baking, you’ll end up with soggy bars. The filling should coat the back of a spoon.
- Skipping the parchment paper – This makes removal nearly impossible without breaking the bars. The overhang is your best friend!
- Cutting while still warm – Patience is key! Bars need to cool completely to set properly, otherwise they’ll fall apart.
- Using room temperature butter for the crust – Cold butter creates those perfect pockets of flakiness. Keep it chilled until the moment you need it.
- Forgetting to balance the sweetness – The lemon juice isn’t just for flavor; it balances the sweetness of the cherries. Don’t skip it!
Storing Tips for the Recipe
These cherry pie bars store beautifully, making them perfect for make-ahead desserts:
Room Temperature: Store in an airtight container for up to 3 days. Place parchment paper between layers to prevent sticking.
Refrigerator: Keep refrigerated for up to 1 week. The cold temperature will make the bars firmer, so let them sit at room temperature for 15 minutes before serving for the best texture.
Freezer: These bars freeze exceptionally well for up to 3 months. Wrap individual portions in plastic wrap, then store in a freezer bag. Thaw overnight in the refrigerator or for about 1 hour at room temperature.
Make-Ahead Tip: Prepare the crust/crumble mixture and cherry filling separately up to 2 days in advance. Store in the refrigerator, then assemble and bake when ready.
Conclusion
These soft and sweet cherry pie bars offer all the comfort of traditional cherry pie in a convenient, portable format that’s perfect for any occasion. With their buttery crust, vibrant filling, and crumbly topping, they’re sure to become a favorite in your dessert repertoire.
Have you tried making these delicious cherry pie bars? I’d love to hear how they turned out! Share your experience in the comments below, or tag us in your photos on social media. And if you enjoyed this recipe, be sure to check out our other fruit bar recipes for more sweet inspiration!