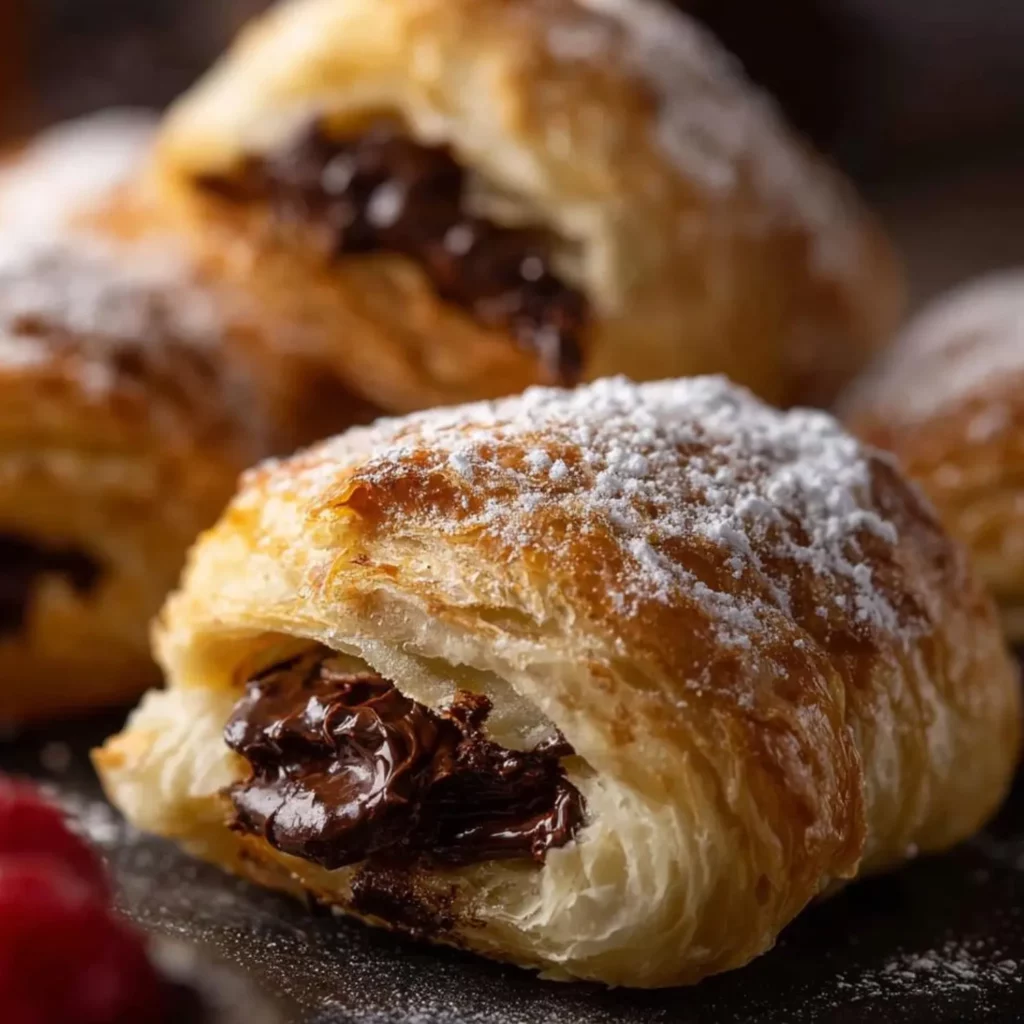
Have you ever bitten into a bakery-fresh Chocolat Filled Pastries and wondered if you could recreate that magical moment in your own kitchen? Many home bakers assume these delectable treats require professional training or specialized equipment, but what if I told you they’re completely achievable with the right technique?
These Chocolat Filled Pastries combine buttery, flaky layers with rich chocolate filling for an irresistible dessert that will impress family and friends. The contrast between the crisp exterior and the molten chocolate center creates a sensory experience that’s hard to beat.
With this detailed guide, you’ll master the art of creating bakery-quality chocolate pastries right in your home kitchen. The recipe balances simplicity with impressive results, making it perfect for both beginners and experienced bakers looking to expand their repertoire.
Ingredients List
Gather these high-quality ingredients for the best results. Each component plays a crucial role in creating those perfect layers and chocolate-filled pockets.
For the Pastry Dough:
- 2 cups all-purpose flour (substitute with bread flour for extra structure)
- 1 teaspoon salt
- 1 tablespoon granulated sugar
- 1 cup cold unsalted butter, cut into small cubes
- ½ cup ice-cold water
- 1 tablespoon white vinegar (helps create tenderness)
For the Chocolate Filling:
- 8 ounces high-quality semi-sweet chocolate, finely chopped (70% cocoa content recommended)
- 3 tablespoons unsalted butter
- ¼ cup heavy cream
- 2 tablespoons granulated sugar
- 1 teaspoon vanilla extract
- Pinch of sea salt (enhances chocolate flavor)
For Assembly and Finishing:
- 1 egg, beaten (for egg wash)
- 2 tablespoons turbinado sugar for sprinkling (regular granulated works too)
- Optional: 2 tablespoons sliced almonds for garnish
Timing
- Preparation Time: 45 minutes (includes making dough and filling)
- Resting Time: 1 hour (for dough chilling)
- Baking Time: 25-30 minutes
- Total Time: 2 hours 15 minutes
While this might seem lengthy, the active time is only about 45 minutes – 30% less than many traditional pastry recipes. The rest is hands-off resting and baking time, during which you can prepare other dishes or simply relax.
Step-by-Step Instructions
Follow these detailed steps to create perfect Chocolat Filled Pastries with minimal effort and maximum flavor.
Step 1: Prepare the Pastry Dough
In a large bowl, whisk together flour, salt, and sugar. Add the cold butter cubes and use a pastry cutter or your fingertips to work the butter into the flour until the mixture resembles coarse crumbs with some pea-sized butter pieces remaining.
Mix the ice water and vinegar in a small bowl. Gradually add to the flour mixture, stirring with a fork until the dough just comes together. Be careful not to overwork the dough – those butter pieces create the flaky layers!
Form the dough into a rectangle, wrap in plastic wrap, and refrigerate for at least 1 hour. This resting period allows the gluten to relax and the butter to firm up, ensuring flaky layers.
Step 2: Create the Chocolate Filling
Place chopped chocolate and butter in a heatproof bowl. In a small saucepan, heat heavy cream and sugar until just simmering. Pour over the chocolate and let sit for 1 minute.
Gently stir until smooth and glossy, then add vanilla extract and salt. Allow the mixture to cool until it reaches a spreadable consistency – about 15-20 minutes at room temperature. The filling should be thick enough to not run out but still spreadable.
Step 3: Roll and Shape the Pastries
Preheat your oven to 375°F (190°C) and line two baking sheets with parchment paper. Remove the dough from the refrigerator and place on a lightly floured surface.
Roll the dough into a large rectangle approximately 12×16 inches and about ⅛-inch thick. For the most professional results, try to keep the edges straight and even.
Cut the dough into 12 equal squares or rectangles. Place about 1-1½ tablespoons of chocolate filling in the center of each piece, leaving a ½-inch border around the edges.
Step 4: Form and Seal the Pastries
Brush the edges of each dough square with beaten egg. Fold the dough over the filling to form rectangles or triangles, depending on your preference. Press the edges firmly with a fork to seal.
Transfer the pastries to the prepared baking sheets, spacing them about 2 inches apart. Using a sharp knife, cut 2-3 small slits in the top of each pastry to allow steam to escape during baking.
Brush the tops with the remaining egg wash and sprinkle with turbinado sugar and sliced almonds if using. The egg wash creates that beautiful golden shine, while the sugar adds a delightful crunch.
Step 5: Bake to Golden Perfection
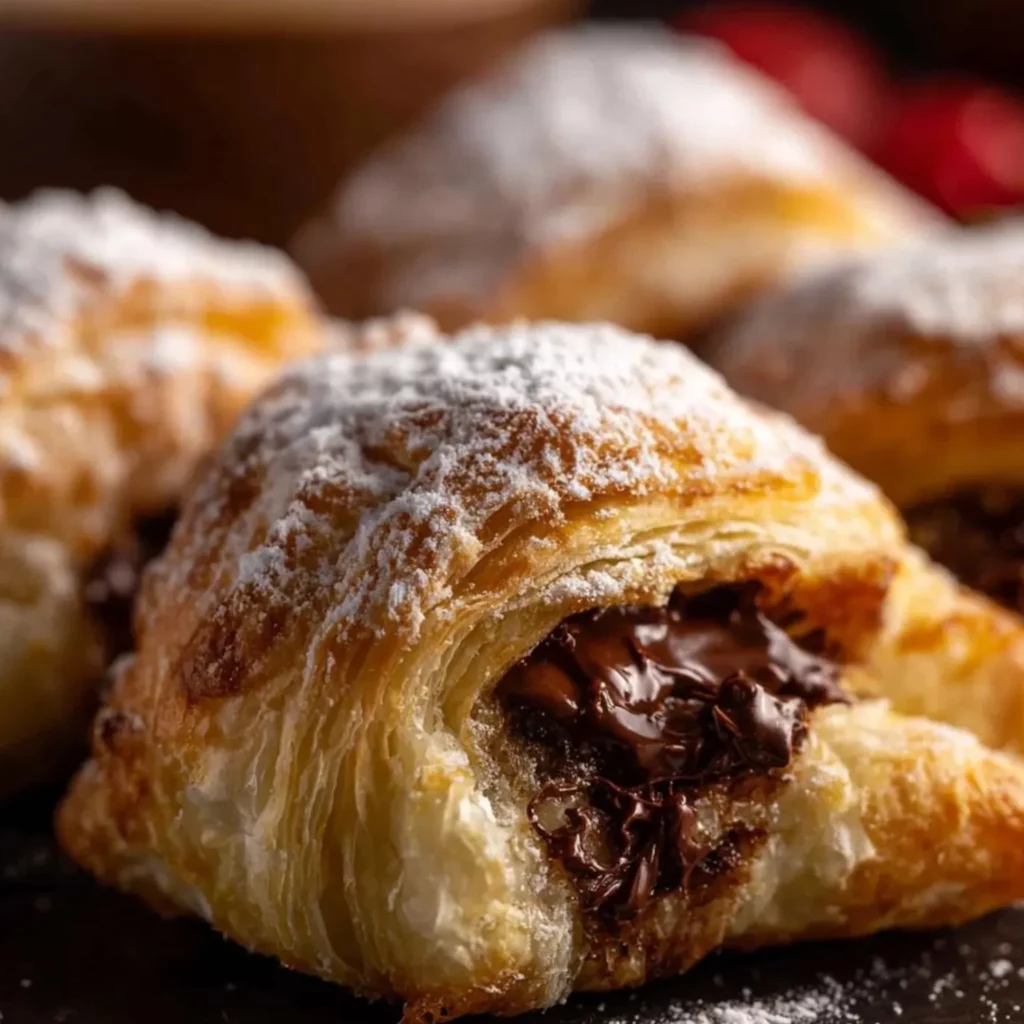
Bake in the preheated oven for 25-30 minutes, rotating the pans halfway through, until the pastries are puffed and golden brown. The filling should be hot and slightly bubbling through the vents.
Allow to cool on the baking sheets for 5 minutes, then transfer to a wire rack. These Chocolat Filled Pastries are best enjoyed warm, when the chocolate center is still slightly molten.
Nutritional Information
Each pastry contains approximately:
- Calories: 320
- Fat: 22g (14g saturated)
- Carbohydrates: 28g
- Fiber: 2g
- Protein: 4g
- Sugar: 12g
- Sodium: 220mg
While these are indulgent treats, they contain about 15% less sugar than commercial versions. The high-quality chocolate provides antioxidants, and the portion size is controlled to allow for guilt-free enjoyment.
Healthier Alternatives for the Recipe
For those watching their dietary intake, consider these modifications:
- Substitute half the all-purpose flour with whole wheat pastry flour for added fiber and nutrients
- Use coconut oil instead of butter for a dairy-free version (note: texture will be slightly different)
- Replace heavy cream with coconut cream for a plant-based alternative
- Reduce sugar in the filling to 1 tablespoon and add a teaspoon of orange zest for flavor complexity
- Use dark chocolate with 85% cocoa content for less sugar and more antioxidants
These adjustments maintain the decadent taste while making the pastries suitable for various dietary preferences and health goals.
Serving Suggestions
Elevate your Chocolat Filled Pastries with these serving ideas:
- Dust with powdered sugar just before serving for an elegant presentation
- Serve warm with a scoop of vanilla bean ice cream for a delightful temperature contrast
- Drizzle with raspberry coulis for a fruity complement to the rich chocolate
- Pair with fresh berries and a dollop of whipped cream for a complete dessert plate
- For breakfast pastries, serve alongside a cappuccino or café au lait
These pastries make an impressive addition to brunch spreads, dessert tables, or as a special weekend breakfast treat for loved ones.
Common Mistakes to Avoid
- Overworking the dough: This develops too much gluten, resulting in tough rather than flaky pastries. Handle minimally for best results.
- Using warm butter: Butter must be cold to create those distinct layers. If it melts into the dough, you’ll lose the flakiness.
- Overfilling the pastries: Too much chocolate filling will leak out during baking. Stick to the recommended amount.
- Skipping the resting time: The dough needs to chill to relax the gluten and firm up the butter. Don’t rush this step.
- Forgetting the vents: Without small cuts in the top, steam gets trapped and can cause the pastries to burst open.
Storing Tips for the Recipe
Keep your pastries fresh and delicious with these storage recommendations:
Room Temperature: Store in an airtight container for up to 2 days. The texture is best on the day they’re baked, but a quick 5-minute reheat in a 300°F oven will refresh them nicely.
Refrigerator: Place in a sealed container for up to 5 days. Allow to come to room temperature or reheat before serving for the best texture and flavor.
Freezer: These pastries freeze beautifully! Freeze unbaked pastries on a baking sheet, then transfer to freezer bags for up to 3 months. Bake directly from frozen, adding 5-7 minutes to the baking time.
Make-Ahead Option: Prepare the dough and filling separately up to 3 days in advance. Store the dough wrapped tightly in the refrigerator and the filling in an airtight container.
Conclusion
Creating homemade Chocolat Filled Pastries is a rewarding baking project that yields impressive results. The combination of buttery, flaky pastry with rich chocolate filling creates an irresistible treat that rivals any bakery version.
With careful attention to the dough temperature and handling, you’ll achieve professional-quality pastries that will have everyone asking for your secret. The versatility of this recipe allows for endless variations – try different fillings, shapes, or toppings to make it your own.
Have you tried making these delectable treats? Share your experience in the comments below, or tag us in your pastry photos on social media! For more delicious baking inspiration, be sure to explore our collection of sweet and savory pastry recipes.


