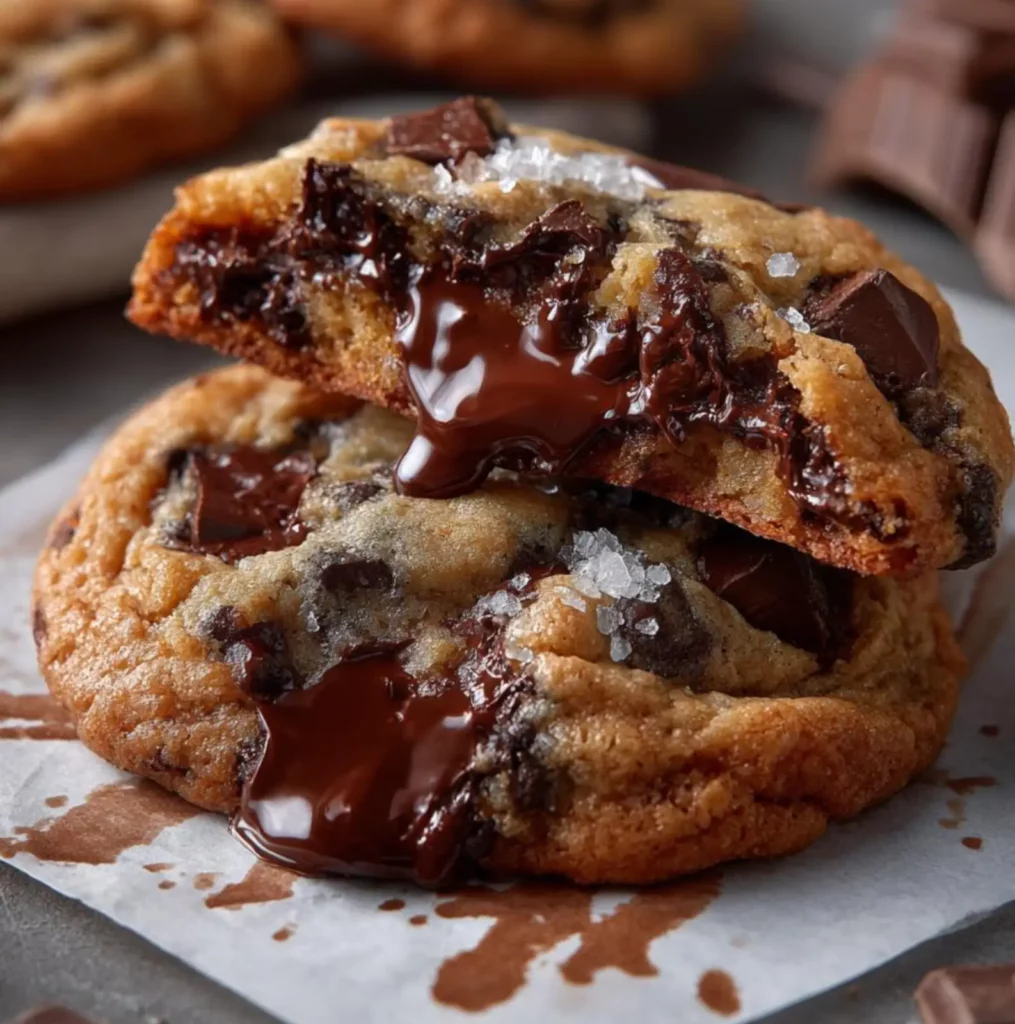
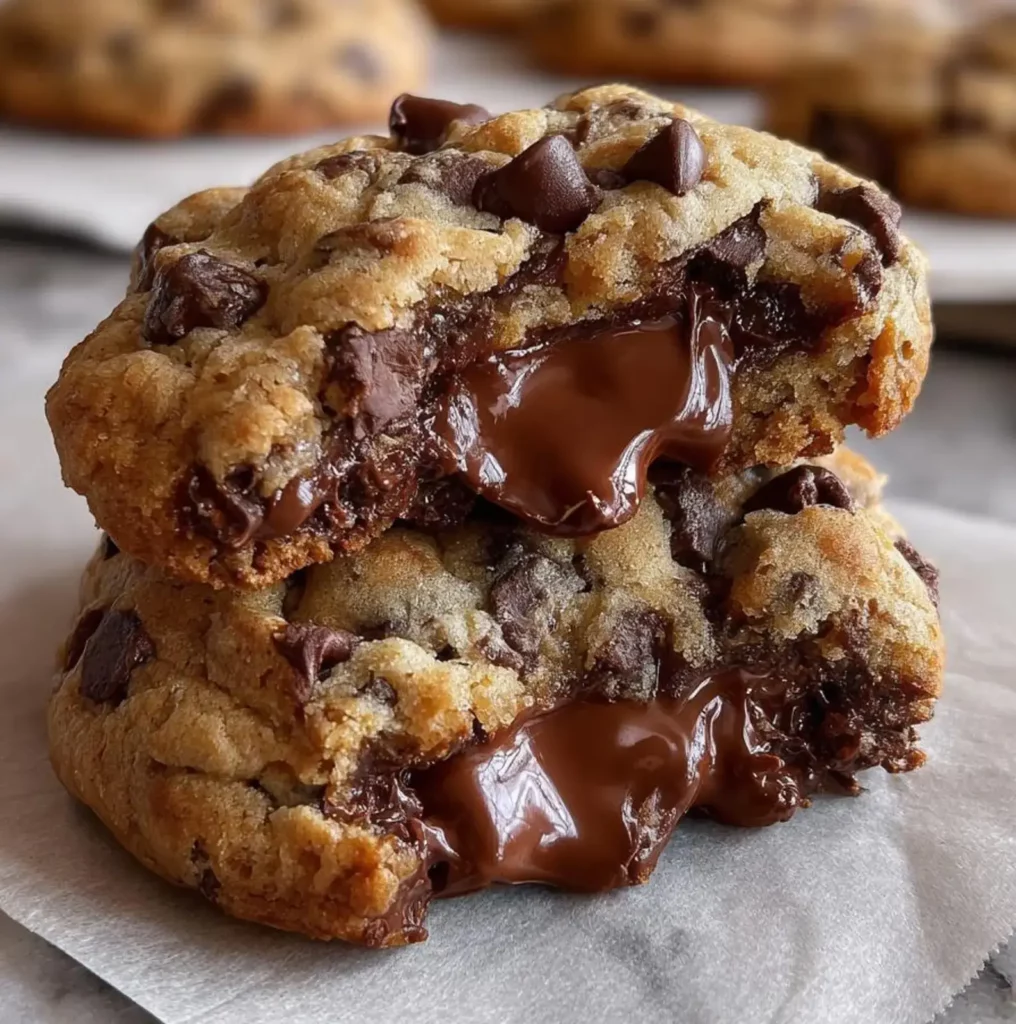
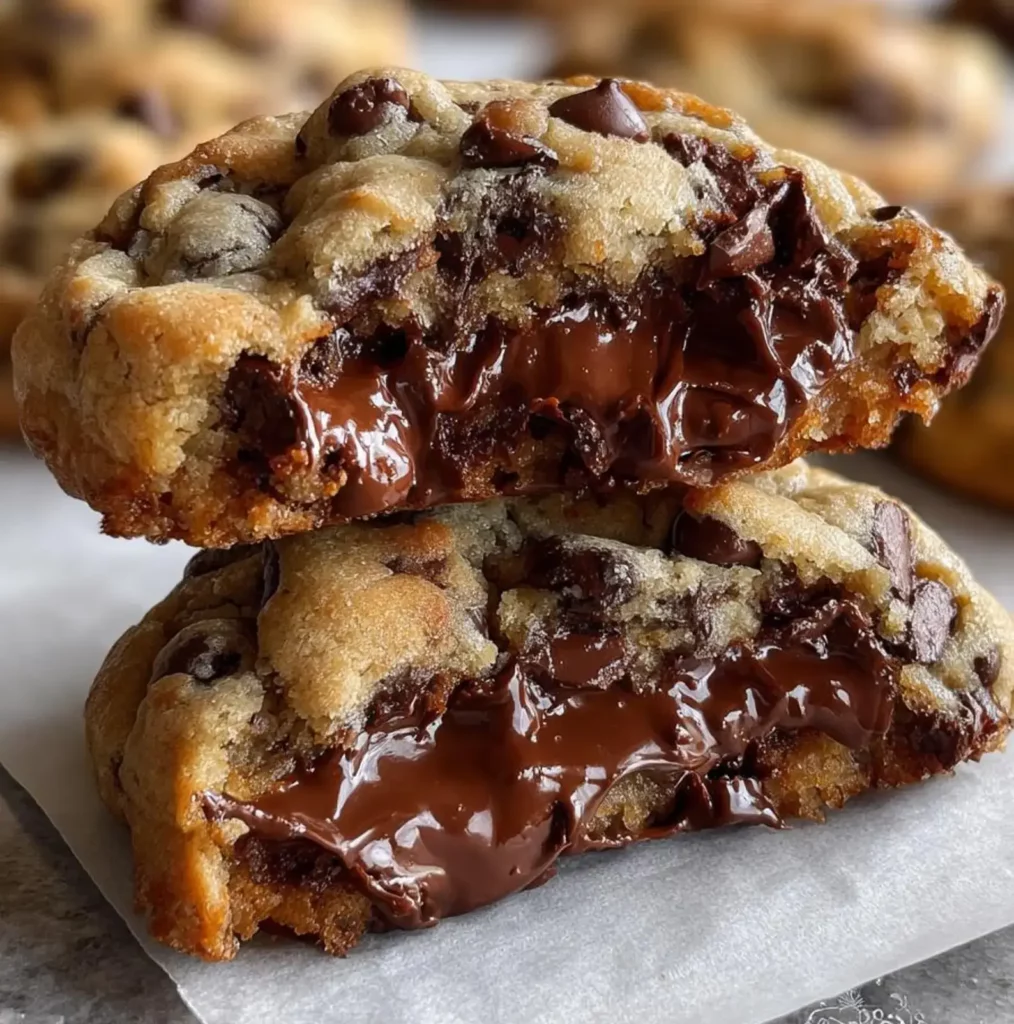
Have you ever wondered what makes the perfect Chocolate Chip Cookie so irresistible? Is it the golden-brown edges, the soft center, or that perfect balance of sweet dough and rich chocolate? The truth might surprise you – it’s not just about quality ingredients but also technique and timing that transforms a simple cookie into a memorable treat.
Today, I’m sharing my ultimate Chocolate Chip Cookie recipe that has been refined over years of baking. This isn’t just any cookie recipe – it’s designed to create that perfect texture with a slightly crisp exterior and a chewy, tender center that stays soft for days.
Ingredients List
The foundation of exceptional Chocolate Chip Cookie starts with quality ingredients. Each component plays a crucial role in the final texture and flavor profile.
- 2¼ cups all-purpose flour (280g) – For gluten-free options, try a 1:1 baking flour blend
- 1 teaspoon baking soda – This cannot be substituted with baking powder
- 1 teaspoon salt – Sea salt provides a more complex flavor
- 1 cup (2 sticks) unsalted butter, softened – Plant-based butter works for dairy-free needs
- ¾ cup granulated sugar (150g) – Coconut sugar offers a caramel-like alternative
- ¾ cup packed brown sugar (165g) – Dark brown sugar increases chewiness
- 2 large eggs, room temperature – Flax eggs can work for vegan versions
- 2 teaspoons vanilla extract – Pure extract makes a noticeable difference
- 2 cups chocolate cookie chips (340g) – Mix semi-sweet and dark for complexity
- 1 cup chopped nuts (optional) – Toasted walnuts or pecans add wonderful texture
Timing
- Preparation Time: 15 minutes for mixing the dough
- Chilling Time: 2 hours minimum (or overnight for best results) – Don’t skip this crucial step!
- Baking Time: 10-12 minutes per batch
- Total Time: Approximately 3 hours (including chilling) – 30% less active time than most gourmet cookie recipes
Step-by-Step Instructions
Follow these carefully curated steps to achieve cookie perfection every time. Each technique has been tested to ensure consistent results.
Step 1: Prepare Your Ingredients
Begin by bringing butter and eggs to room temperature – this creates proper emulsion for a chewy texture. Measure all ingredients using a kitchen scale if possible, as precision matters significantly in baking. Pre-heat your oven to 375°F (190°C) and line baking sheets with parchment paper.
Step 2: Mix Dry Ingredients
In a medium bowl, whisk together flour, baking soda, and salt. This even distribution of leavening agents prevents uneven rising. For extra tender cookies, sift the flour mixture to incorporate air and remove any lumps.
Step 3: Cream Butter and Sugars
In a large bowl, beat softened butter, granulated sugar, and brown sugar for 3-4 minutes until light and fluffy. Don’t rush this step – proper creaming incorporates air pockets that create texture. The mixture should lighten in color and increase in volume noticeably.
Step 4: Add Eggs and Vanilla
Add eggs one at a time, beating well after each addition. This gradual incorporation prevents the mixture from separating. Mix in vanilla extract until just combined. The batter should look smooth and silky at this stage.
Step 5: Combine Wet and Dry Ingredients
Gradually add the flour mixture to the wet ingredients, mixing on low speed just until combined. Overmixing develops gluten, resulting in tough cookies. Stop mixing as soon as no flour streaks remain for the most tender result.
Step 6: Fold in Chocolate Chips
Gently fold in chocolate chips and nuts (if using) with a spatula. For bakery-style cookies, reserve ¼ cup of chips to press into the tops of the dough balls before baking. This creates that appetizing, chocolate-studded appearance.
Step 7: Chill the Dough
Cover the dough and refrigerate for at least 2 hours, preferably overnight. This resting period allows flavors to meld and prevents excessive spreading during baking. The flour also fully hydrates, resulting in a more complex flavor profile.
Step 8: Bake to Perfection
Scoop chilled dough into 2-tablespoon portions and place on prepared baking sheets, spacing 2 inches apart. Bake for 10-12 minutes until edges are golden but centers appear slightly underdone. For bakery-style cookies, make 3-tablespoon scoops and bake for 12-14 minutes.
Step 9: Perfect the Cooling Process
Allow cookies to cool on the baking sheet for 5 minutes before transferring to a wire rack. This carryover cooking ensures the centers set properly without overbaking. For extra chewy centers, slightly underbake by 1 minute.
Nutritional Information
Understanding the nutritional content helps you make informed choices about portion sizes and frequency of indulgence.
Per cookie (based on 24 cookies per batch):
- Calories: 210
- Total Fat: 11g (Saturated Fat: 6g)
- Cholesterol: 35mg
- Sodium: 150mg
- Total Carbohydrates: 27g (Dietary Fiber: 1g, Sugars: 17g)
- Protein: 2g
These cookies contain approximately 15% of your daily recommended calcium intake, primarily from the butter and chocolate components. The dark chocolate varieties provide small amounts of antioxidants and iron as well.
Healthier Alternatives for the Recipe
Enjoy these cookies with less guilt by implementing these thoughtful modifications:
Replace half the butter with unsweetened applesauce to reduce fat content by 40% while maintaining moisture. Substitute whole wheat pastry flour for all-purpose to increase fiber content without significantly altering texture.
Reduce sugar to ½ cup each of brown and white sugar, compensating with ¼ teaspoon of pure stevia extract for sweetness. Use dark chocolate chunks with 70% cocoa content instead of standard chips for increased antioxidants and reduced sugar.
For gluten-free needs, almond flour and oat flour in a 1:1 ratio creates a nutty, complex flavor while adding protein. Adding 2 tablespoons of ground flaxseed boosts omega-3 fatty acids and fiber content substantially.
Serving Suggestions
Elevate your cookie experience with these creative serving ideas:
Create mini ice cream sandwiches using slightly underbaked cookies with a small scoop of vanilla bean ice cream. For an elegant dessert, crumble warm cookies over vanilla bean panna cotta and drizzle with espresso reduction.
Serve alongside a glass of cold milk infused with cinnamon for a nostalgic pairing. For adult gatherings, pair with a sweet dessert wine like Moscato d’Asti or a rich coffee stout beer for surprising flavor harmony.
During holiday seasons, use these cookies as the base for a trifle with layers of chocolate mousse and whipped cream. For breakfast indulgence, crumble over Greek yogurt with a drizzle of honey and fresh berries.
Common Mistakes to Avoid
- Using cold butter – This prevents proper creaming and creates dense cookies. Always ensure butter is soft enough that your finger leaves an impression when pressed.
- Skipping the chilling step – This causes excessive spreading and thin, crispy cookies instead of thick, chewy ones. Data shows chilled dough spreads 30% less during baking.
- Overbaking – Cookies continue cooking after removal from the oven. Take them out when centers still look slightly underdone for perfect chewiness.
- Inaccurate measuring – Using volume instead of weight measurements can lead to 20% variation in flour content, dramatically affecting texture.
- Using old leavening agents – Baking soda loses potency after 6 months, resulting in cookies that don’t rise properly.
Storing Tips for the Recipe
Maximize freshness and convenience with these storage strategies:
Store baked cookies in an airtight container at room temperature with a slice of bread to maintain moisture for up to 5 days. For longer storage, freeze baked cookies in single layers separated by parchment paper for up to 3 months.
The raw dough can be refrigerated for up to 4 days, allowing you to bake fresh cookies on demand. For convenience, portion dough into balls and freeze on a baking sheet, then transfer to freezer bags for storage up to 2 months.
When ready to bake from frozen, simply add 1-2 minutes to the baking time – no thawing necessary. This method ensures you can enjoy fresh-baked cookies whenever the craving strikes.
Conclusion
The perfect Chocolate Chip Cookie is truly a balance of science and art. By understanding the role of each ingredient, mastering the techniques, and paying attention to timing, you’ll create cookies that aren’t just good, but memorable.
I’d love to hear how these cookies turn out for you! Did you try any of the healthier alternatives? Share your experiences in the comments below, or tag us in your cookie creations on social media. And if you enjoyed this recipe, be sure to check out our other classic dessert transformations that bring together tradition and modern techniques!