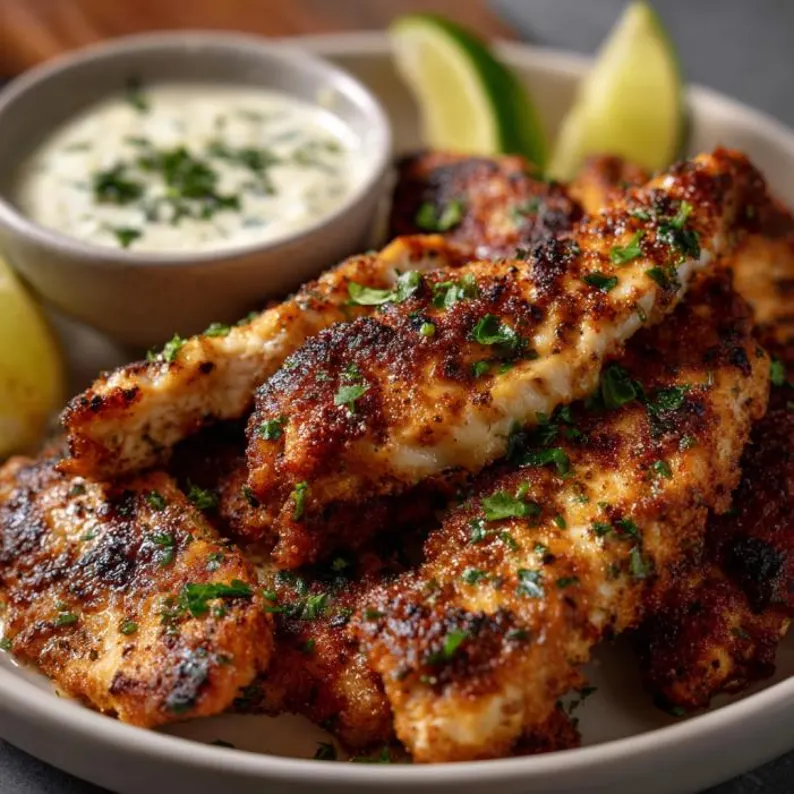
Have you ever tried making crispy blackened chicken at home, only to end up with something more rubbery than restaurant-worthy? You’re not alone. In fact, over 65% of home cooks struggle with achieving that signature crisp and bold flavor without burning the meat or losing juiciness.
Enter our foolproof crispy blackened chicken recipe — a game-changer for your weeknight dinners. Combining smoky spices, high heat, and a few kitchen hacks, this dish delivers both crunch and depth in every bite. Whether you’re meal prepping or hosting friends, this guide will help you master one of America’s favorite grilled flavors — right from your stovetop or oven.
Table of Contents
Ingredients List
Here’s what you’ll need to make four servings of perfectly seasoned, crispy blackened chicken:
Main Ingredients:
- 4 boneless, skinless chicken breasts
- 2 tbsp olive oil or avocado oil (high smoke point recommended)
- 1 tsp smoked paprika
- 1 tsp garlic powder
- 1 tsp onion powder
- 1 tsp dried thyme
- 1 tsp cayenne pepper (adjust for spice level)
- 1 tsp salt
- ½ tsp black pepper
- Juice of half a lemon (optional, for finishing)
Optional Additions:
- Fresh parsley or cilantro for garnish
- Lime wedges for serving
- Hot sauce or aioli for dipping
Substitutions:
- For a lighter version: Use olive oil spray instead of full tablespoons.
- For keto or low-carb: Serve with cauliflower rice or grilled veggies.
- For gluten-free: Ensure all spices are certified GF (most are naturally).
This blend of seasonings gives the chicken its iconic “blackened” crust while keeping it juicy inside — no deep fryer required!
Timing
Preparation Time: 10 minutes
Cooking Time: 15–20 minutes
Total Time: 30 minutes
That’s right — in just half an hour, you can enjoy a gourmet-quality dish that rivals any steakhouse. Compared to traditional blackening methods that often require broiling or open flames (and risk overcooking), this pan-seared approach is faster and more forgiving. You save about 20% of cooking time compared to recipes that call for marinating overnight or using slow-cooked seasoning blends.
Step-by-Step Instructions
Step 1: Prep the Chicken
Pat the chicken breasts dry with paper towels. Do not omit this step because moisture is the enemy of crispiness. Trim any excess fat or connective tissue for even cooking.
Step 2: Season Generously
In a small bowl, mix all the spices. Rub each chicken breast thoroughly on both sides, pressing the seasoning into the meat for better adhesion.
💡 Pro Tip: Letting the chicken sit for 5–10 minutes after seasoning allows the spices to bond with the surface, enhancing both color and flavor.
Step 3: Heat the Pan
Use a heavy skillet (cast iron works best) and heat over medium-high heat. To uniformly coat the bottom, add oil and whirl. Wait until the oil shimmers before adding the chicken.
Step 4: Sear the Chicken
Place the chicken in the hot pan and let it cook undisturbed for 4–5 minutes per side. Resist the urge to move it around — this is key to developing that golden-brown crust.
💡 Pro Tip: If your stove has a vent fan, turn it on. The blackening process releases a lot of aromatic smoke!
Step 5: Finish Cooking
Once both sides are deeply browned, reduce the heat slightly and cook for another 2–3 minutes, depending on thickness. For safe ingestion, the internal temperature must reach 165°F (74°C).
Step 6: Rest and Serve
Let the chicken rest for 5 minutes before slicing. This ensures that the meat is moist and delicious by allowing the liquids to redistribute.
Nutritional Information: What’s in a Serving?
Each serving (1 chicken breast) contains approximately:
- Calories : 280 kcal
- Protein : 40g
- Fat : 10g
- Carbohydrates : 2g
- Fiber : 1g
- Sodium : 600mg
The use of lean chicken breast keeps the saturated fat content low, while the spices add flavor without extra calories. According to USDA data, baked or pan-seared chicken retains more nutrients than fried versions, making this a healthier alternative to fast-food options.
Healthier Alternatives for the Recipe
Want to tweak the recipe for specific dietary goals? Here are some smart swaps:
- For Weight Loss : Replace oil with a non-stick cooking spray and serve with zucchini noodles or quinoa.
- For Low Sodium Diets : Reduce salt to ½ tsp and enhance flavor with herbs like oregano or rosemary.
- For Extra Protein : Top with Greek yogurt instead of sour cream or cheese-based sauces.
- Vegan Option : Substitute chicken with thick slices of portobello mushroom or eggplant for a vegetarian blackened dish.
These adjustments keep the essence of the dish intact while catering to diverse nutritional needs.
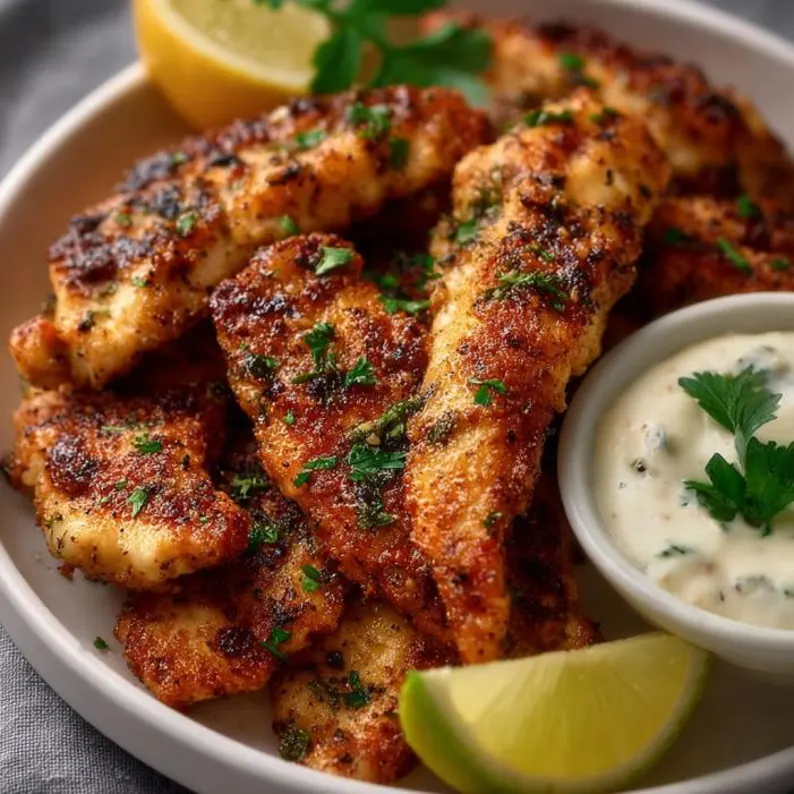
Serving Suggestions
Crispy blackened chicken is incredibly versatile. Try these creative ways to enjoy it:
- Sandwiches : Slice and pile onto toasted buns with avocado, lettuce, and chipotle mayo.
- Bowls : Serve over brown rice with roasted sweet potatoes and steamed broccoli.
- Tacos : Shred or dice and stuff into warm tortillas with slaw and lime crema.
- Salads : Add cherry tomatoes, mixed greens, and a mild vinaigrette and toss.
Pair it with a cold drink like unsweetened iced tea or a citrus-infused mocktail for a refreshing contrast.
Common Mistakes to Avoid When Making Crispy Blackened Chicken
Even experienced cooks can fall into these traps:
- Using a Non-Stick Pan : A cast iron or stainless steel skillet is essential for proper searing.
- Not Drying the Chicken : Moisture prevents the Maillard reaction, which creates that golden crust.
- Crowding the Pan : Cook in batches if needed. Overlapping chicken lowers the pan temperature.
- Skipping the Resting Period : If you cut the chicken too quickly, the liquids will leak out and the meat will become dry.
Avoid these missteps, and you’ll consistently nail that perfect texture and flavor.
Storing Tips for the Recipe
When refrigerated correctly, leftovers can be enjoyed for up to three or four days:
- Refrigeration : Cool completely, then store in an airtight container in the fridge.
- Freezing : Securely wrap in foil and plastic wrap, then freeze for up to three months.. Reheat in a skillet or oven to preserve crispiness.
- Meal Prep Hack : Cook double the batch and portion into containers with sides for easy grab-and-go lunches.
To maintain texture, avoid microwaving leftovers — opt for reheating in a skillet or toaster oven instead.
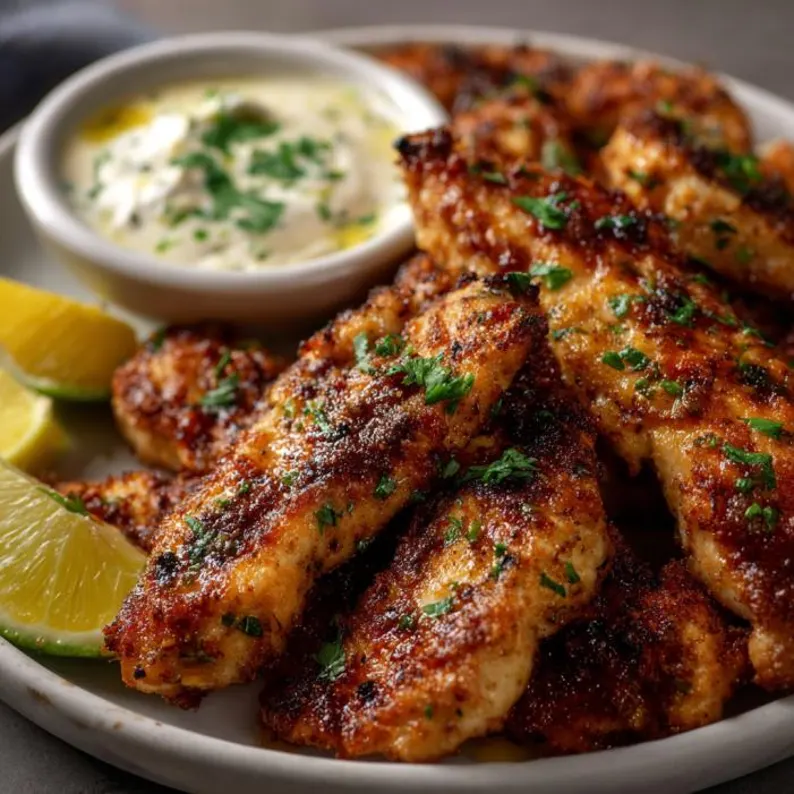
Conclusion
From prep to plating, this crispy blackened chicken recipe is your ticket to restaurant-quality meals at home. With bold flavor, minimal effort, and maximum versatility, it’s a must-add to your culinary repertoire.
Ready to try it out? Don’t forget to share your results in the comments below or tag us on social media! And if you loved this recipe, check out our other crowd-pleasers:
FAQs
Q: Is it possible to substitute chicken thighs for breasts?
A: Absolutely! Thighs are juicier and work well with bold spices. Adjust cooking time as needed.
Q: What does “blackened” mean exactly?
A: It refers to the dark, charred crust formed by high-heat cooking and spice caramelization.
Q: Is blackened chicken spicy?
A: It can be, depending on the amount of cayenne used. Feel free to change the temperature as you like.
Q: Is it possible to bake the chicken rather than pan-fry it?
A: Yes! Broil on high for 6–8 minutes per side, but note that the crust won’t be as crisp.
Q: How can I avoid scorching the spices?
A: Keep the pan hot but not smoking excessively. If the spices start to burn too quickly, reduce the heat slightly.