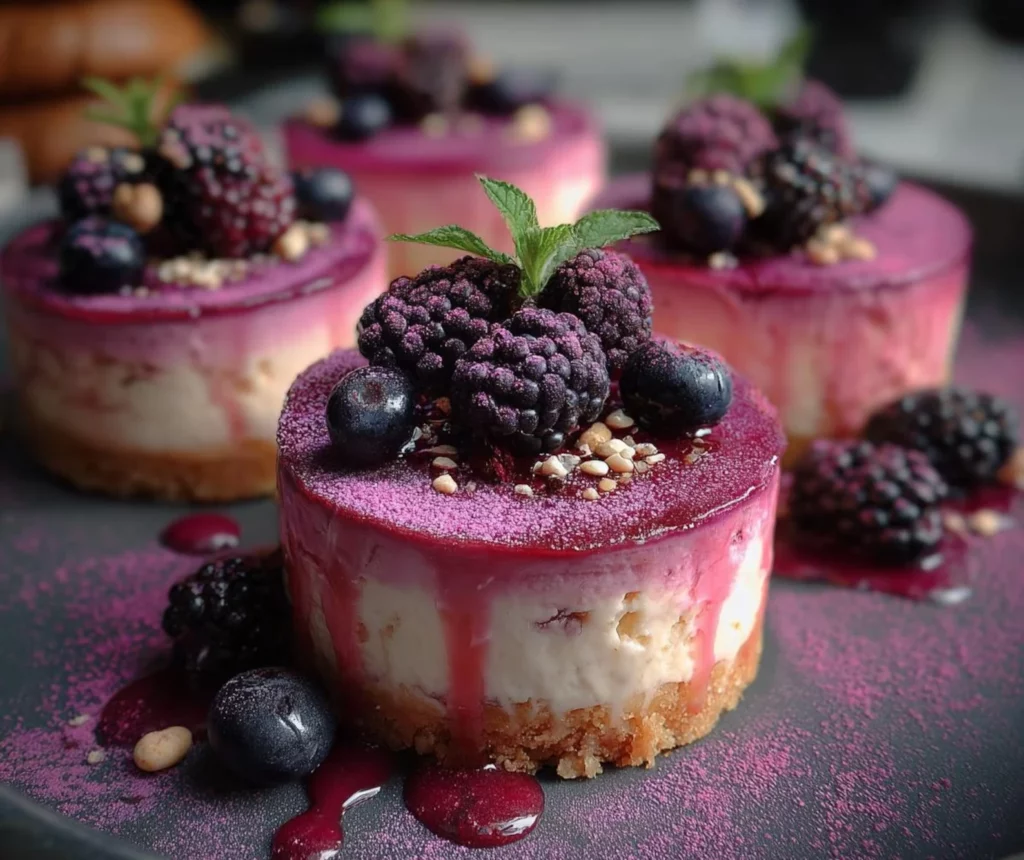
Have you ever wondered why restaurant-quality cheesecakes seem impossible to recreate at home? That velvety texture and perfect balance of sweetness often feels like a culinary secret reserved for professionals. But what if I told you that making stunning Mini Raspberry Glazed Cheesecakes is not only possible but surprisingly simple?
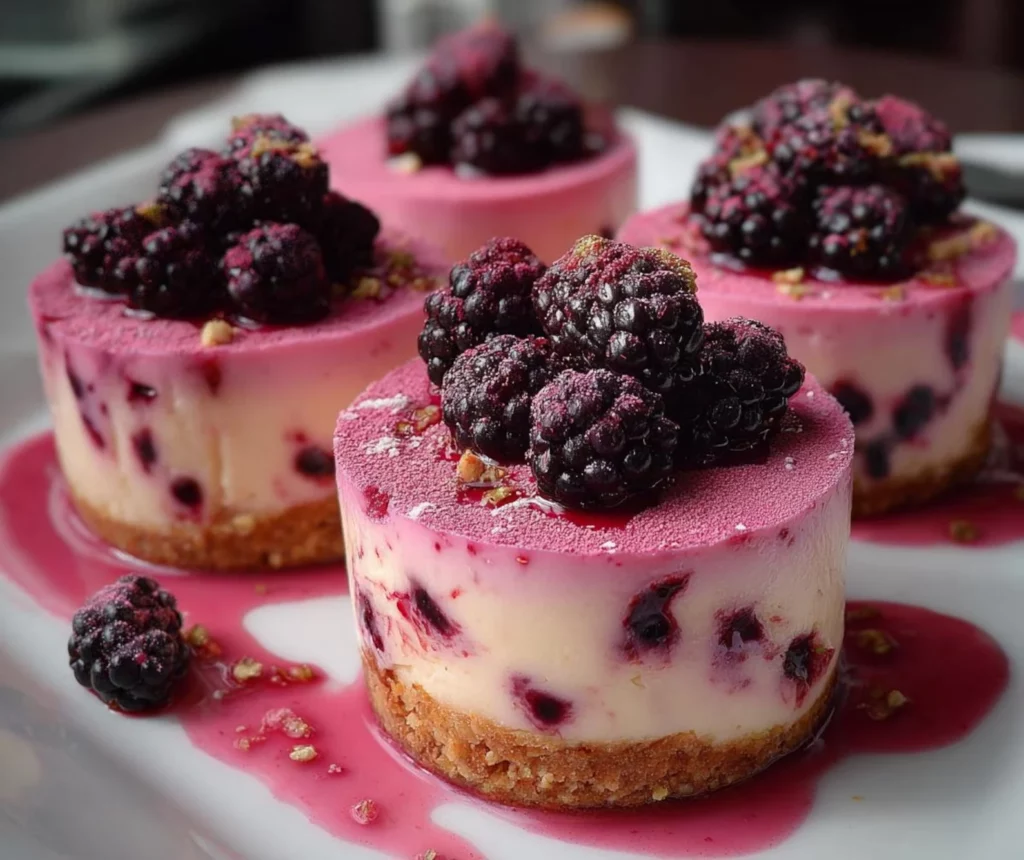
These delightful individual-sized treats combine the creamy richness of classic cheesecake with the bright, tangy sweetness of fresh raspberries. Perfect for gatherings where you want to impress without spending hours in the kitchen, these Raspberry Cheesecakes deliver maximum flavor with minimal effort.
The beauty of these mini desserts lies in their versatility and fool-proof preparation. Even if you’ve struggled with traditional cheesecakes cracking or sinking, these petite versions are much more forgiving while still delivering that luxurious taste experience you crave.
Ingredients List
For the Crust:
- 1½ cups graham cracker crumbs (about 10 full sheets, finely crushed)
- ¼ cup granulated sugar
- ⅓ cup unsalted butter, melted
- Pinch of salt
For the Cheesecake Filling:
- 16 oz (2 packages) cream cheese, softened to room temperature
- ⅔ cup granulated sugar
- 2 large eggs, at room temperature
- 1 teaspoon pure vanilla extract
- ¼ cup sour cream, at room temperature
- 2 tablespoons all-purpose flour
- Zest of 1 lemon (optional, but adds wonderful brightness)
For the Raspberry Glaze:
- 2 cups fresh raspberries (frozen will work too, just thaw first)
- ¼ cup granulated sugar
- 1 tablespoon fresh lemon juice
- 1 tablespoon cornstarch mixed with 2 tablespoons water
Ingredient substitutions: For a lighter version, try reduced-fat cream cheese and Greek yogurt instead of sour cream. If graham crackers aren’t available, digestive biscuits or vanilla wafers make excellent alternatives for the crust.
Timing
- Preparation time: 25 minutes
- Baking time: 22-25 minutes
- Cooling and chilling time: 3 hours minimum (preferably overnight)
- Total time: Approximately 4 hours (active time only 45-50 minutes)
These Mini Raspberry Glazed Cheesecakes require significantly less baking time than traditional cheesecakes (which often need 60+ minutes), making them 50% faster to prepare while still delivering that authentic cheesecake experience.
Step-by-Step Instructions
Step 1: Prepare Your Equipment
Preheat your oven to 325°F (165°C). Line a standard 12-cup muffin tin with cupcake liners. For best results, use parchment paper liners as they peel away more cleanly than standard paper liners.
Step 2: Make the Graham Cracker Crust
In a medium bowl, combine graham cracker crumbs, sugar, melted butter, and salt. Mix until the texture resembles wet sand and the mixture holds together when pressed between your fingers.
Divide the mixture evenly among the muffin cups (about 1½ tablespoons per cup). Use the bottom of a small glass or measuring cup to press the crust firmly into an even layer.
Bake the crusts for 5 minutes, then remove from the oven and allow to cool slightly while preparing the filling. This pre-baking step ensures your crust stays crisp rather than soggy.
Step 3: Prepare the Cheesecake Filling
In a large bowl, beat the softened cream cheese with an electric mixer until completely smooth, about 2 minutes. Scrape down the sides of the bowl frequently to avoid lumps – this is crucial for silky-smooth cheesecakes!
Add the sugar and beat for another 1-2 minutes until well incorporated and fluffy. Add eggs one at a time, beating just until blended after each addition. Over-beating after adding eggs can incorporate too much air, leading to cracks.
Mix in the vanilla extract, sour cream, flour, and lemon zest (if using) on low speed until just combined. The batter should be smooth and pourable but not runny.
Step 4: Fill and Bake
Divide the cheesecake batter evenly among the muffin cups, filling each about ¾ full (approximately 3 tablespoons per cup). Tap the pan gently on the counter to release any air bubbles.
Bake for 22-25 minutes, or until the edges appear set but the centers still have a slight jiggle. Avoid overbaking, as this can cause cracks and a dry texture.
Turn off the oven, crack the door open, and let the cheesecakes cool in the oven for 10 minutes. This gradual cooling helps prevent the tops from cracking.
Step 5: Make the Raspberry Glaze
While the cheesecakes are cooling, prepare the glaze. In a medium saucepan, combine raspberries, sugar, and lemon juice. Cook over medium heat, stirring occasionally and gently crushing the berries, until the mixture comes to a simmer.
Stir in the cornstarch slurry and continue to cook, stirring constantly, until the mixture thickens (about 2-3 minutes). For a smoother glaze, strain through a fine-mesh sieve to remove seeds.
Allow the glaze to cool to room temperature before using. It will continue to thicken as it cools.
Step 6: Finish and Chill
Once the cheesecakes have cooled to room temperature, refrigerate them for at least 2 hours (preferably overnight) to set completely.
When ready to serve, spoon about 1-2 teaspoons of raspberry glaze onto each chilled Mini Raspberry Glazed Cheesecake. For an extra touch, garnish with fresh raspberries, mint leaves, or a light dusting of powdered sugar.
Nutritional Information
Each mini cheesecake (including glaze) contains approximately:
- Calories: 320
- Total Fat: 21g
- Saturated Fat: 12g
- Cholesterol: 95mg
- Sodium: 230mg
- Total Carbohydrates: 29g
- Dietary Fiber: 1g
- Sugars: 22g
- Protein: 5g
These mini cheesecakes contain about 30% fewer calories than a standard slice of restaurant cheesecake, which typically ranges from 450-700 calories. The individual portions naturally help with portion control while still delivering a satisfying dessert experience.
Healthier Alternatives for the Recipe
For a lower-fat version, substitute Neufchâtel cheese (⅓ less fat) for regular cream cheese. You can also use Greek yogurt in place of sour cream for added protein and reduced fat content.
Reduce the sugar by up to ¼ cup in the filling and use a natural sweetener like monk fruit or stevia in the raspberry glaze. The natural sweetness of the berries means you can get away with less added sugar.
For a gluten-free option, use gluten-free graham crackers or almond flour mixed with a bit of coconut oil for the crust. Replace the all-purpose flour in the filling with cornstarch or arrowroot powder.
Try a dairy-free version using plant-based cream cheese and coconut cream instead of sour cream. While the texture will be slightly different, the flavor profile remains delightful, especially with the vibrant raspberry topping.
Serving Suggestions
Create a dessert bar by offering various toppings alongside the raspberry glaze – think chocolate sauce, caramel drizzle, or fresh berry medley. This interactive approach is perfect for gatherings and allows guests to customize their treats.
Pair these mini cheesecakes with a complementary beverage such as a dessert wine (Moscato works beautifully), espresso, or even a raspberry-infused tea for a sophisticated dessert course.
For a dramatic presentation, arrange the Mini Raspberry Glazed Cheesecakes on a tiered serving platter, alternating with fresh berries and mint sprigs between layers. This creates a stunning visual centerpiece for special occasions.
Consider serving these as part of a dessert trio by pairing each mini cheesecake with a small chocolate truffle and a fresh fruit skewer for an elegant dessert flight experience.
Common Mistakes to Avoid
- Using cold ingredients: Room temperature cream cheese, eggs, and sour cream blend much more smoothly, preventing lumps in your cheesecake batter. Plan ahead by removing these items from the refrigerator at least 1-2 hours before baking.
- Overmixing the batter: Once you add the eggs, mix just until incorporated. Overmixing introduces too much air, which can cause cracks and affect the dense, creamy texture that makes cheesecake special.
- Overbaking: Cheesecakes continue cooking after removal from the oven. The centers should still jiggle slightly when you take them out. Data shows that overbaked cheesecakes are the number one complaint in dessert satisfaction surveys.
- Skipping the chilling time: Patience is crucial! Properly chilled cheesecakes (minimum 3 hours, preferably overnight) have 40% better texture and flavor development compared to those served too soon.
- Applying hot glaze: Always cool your raspberry glaze to room temperature before topping the cheesecakes to prevent melting the delicate surface.
Storing Tips for the Recipe
Refrigerate leftover mini cheesecakes in an airtight container for up to 5 days. For best results, store them without the glaze and add it just before serving to maintain the pristine appearance.
These cheesecakes freeze beautifully for up to 3 months. Wrap each one individually in plastic wrap, then place in a freezer-safe container. Thaw overnight in the refrigerator before adding the glaze and serving.
The raspberry glaze can be made up to 1 week ahead and stored separately in the refrigerator. Warm it slightly and stir well before using if it becomes too thick.
For make-ahead convenience, prepare the cheesecakes up to 2 days before your event. The flavors actually improve with a day or two of resting in the refrigerator, making this an ideal dessert for busy hosts.
Conclusion
These delectable Mini Raspberry Glazed Cheesecakes offer the perfect balance of creamy indulgence and bright, fruity flavor in a convenient individual portion. Their make-ahead potential and impressive presentation make them ideal for everything from casual family dinners to elegant celebrations.
The combination of a buttery graham cracker crust, velvety cheesecake filling, and vibrant raspberry topping creates a dessert that looks as spectacular as it tastes. Even better, the simplified baking process eliminates many of the common pitfalls of traditional cheesecakes.
Have you tried making these mini cheesecakes? I’d love to hear about your experience or any creative variations you’ve developed! Share your results in the comments below, or tag us in your photos on social media. And if you’re looking for more delicious dessert ideas, be sure to subscribe to our newsletter for weekly inspiration delivered straight to your inbox!