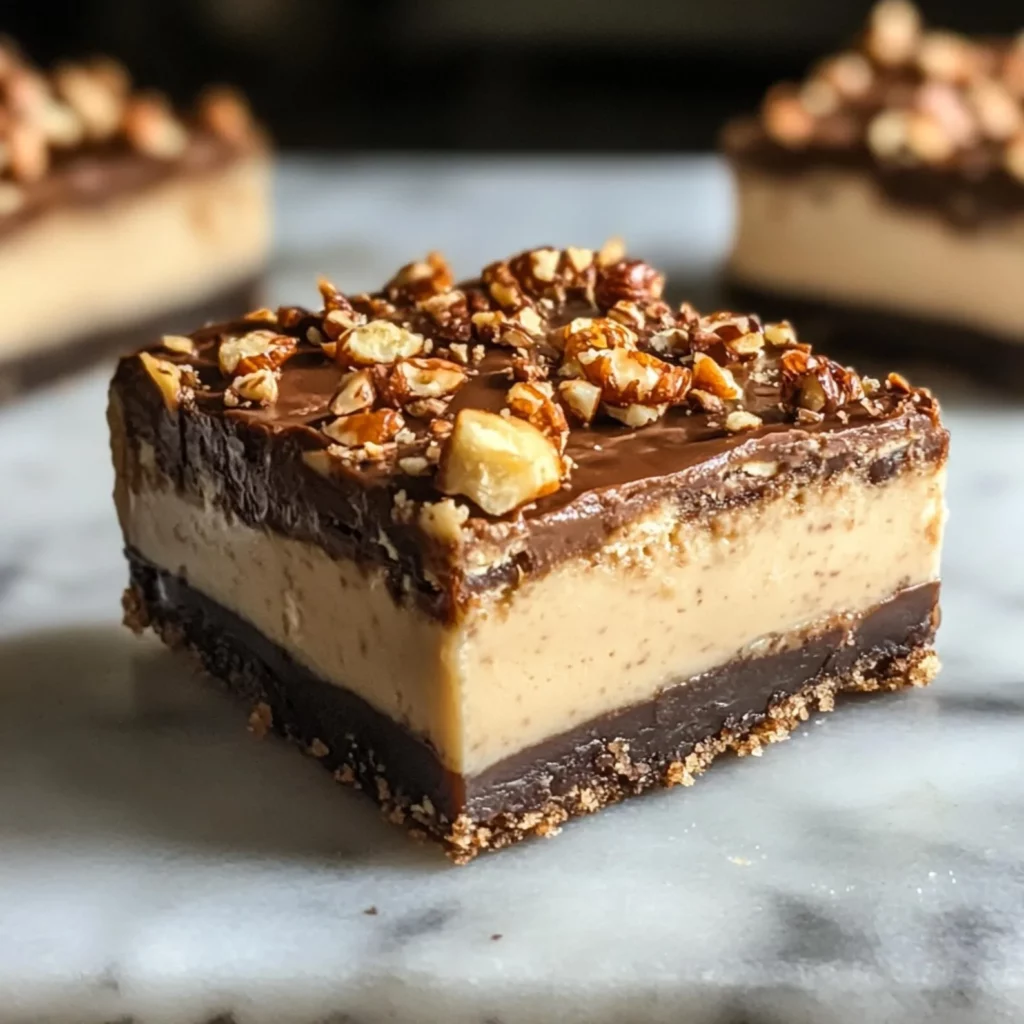
Imagine a dessert so rich and indulgent that it feels like a hug for your taste buds. Enter No-Bake Buckeye Cheesecake Bars , where creamy peanut butter meets velvety cheesecake in perfect harmony.
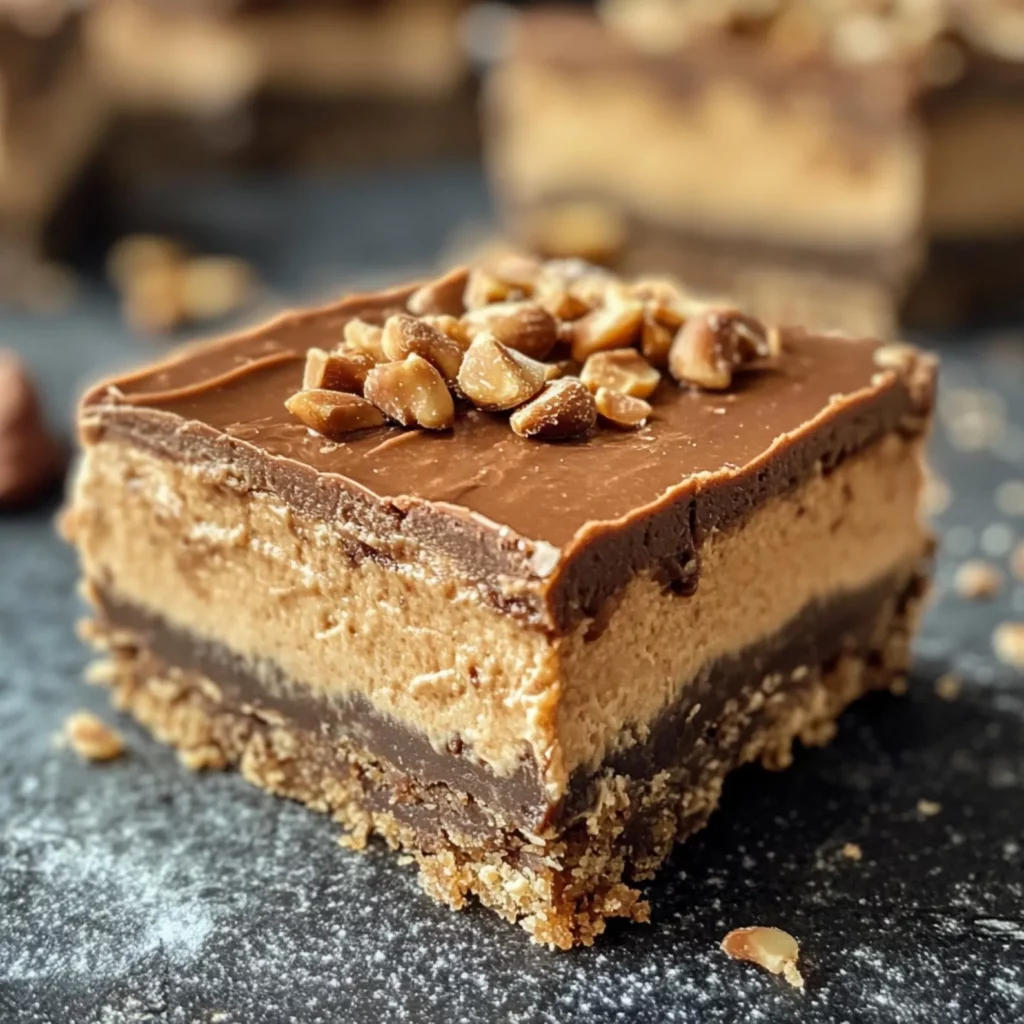
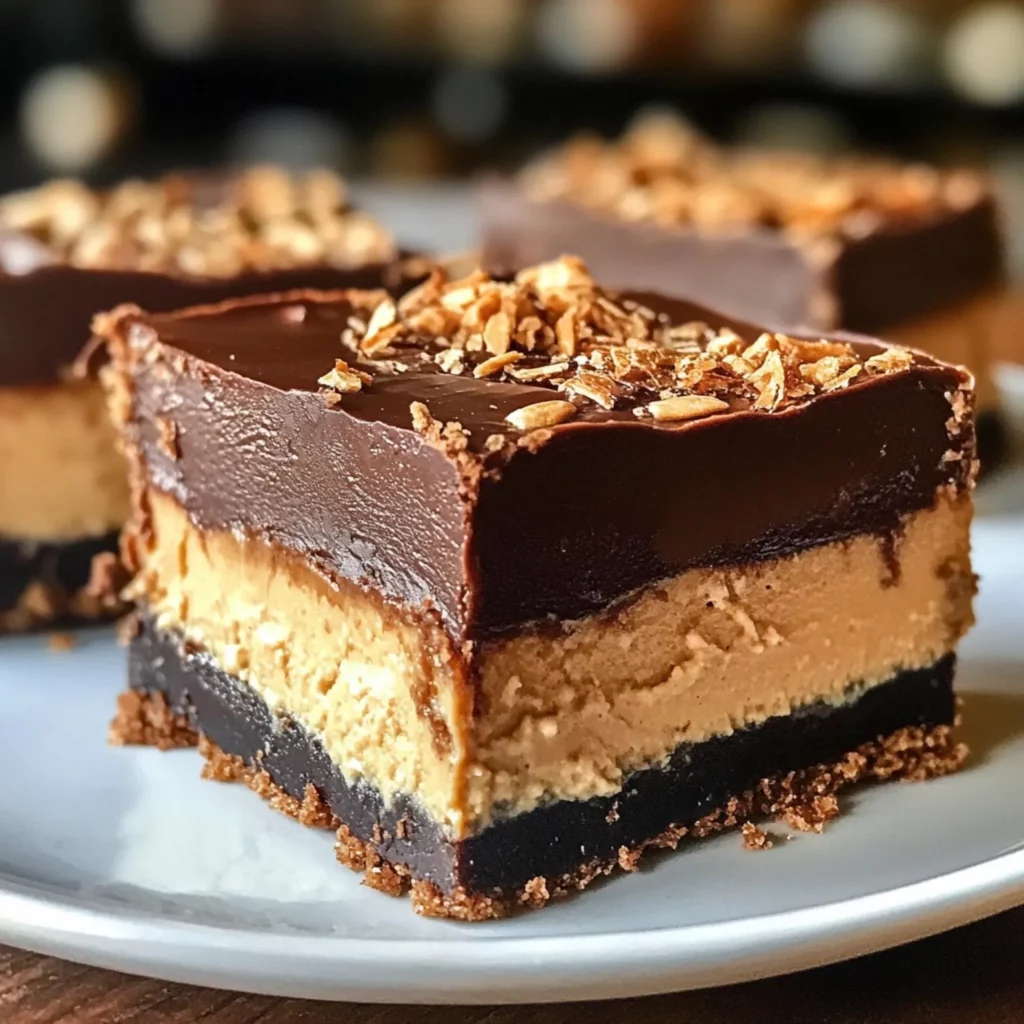
The bold flavors of this dessert are balanced by its smooth texture—a crunchy chocolate crust gives way to layers of sweet, nutty filling topped with a glossy chocolate drizzle. It’s not just a dessert; it’s an experience rooted in American comfort food culture, paying homage to the beloved Buckeye candies from Ohio.
The first time I made these bars, my kitchen transformed into a symphony of aromas—rich cocoa mingling with the unmistakable warmth of peanut butter. As I spread the cheesecake layer over the crust, I couldn’t help but marvel at how effortlessly beautiful it looked.
When I finally took a bite, the combination of textures and flavors blew me away. What makes this recipe truly special is its simplicity—no baking required—and yet every component comes together as if crafted by a professional pastry chef.
What sets these bars apart is their versatility. You can adjust the sweetness level, swap out ingredients based on dietary needs, or even experiment with toppings like sea salt flakes or crushed peanuts.
Pair them with coffee for brunch or serve them as the star of your dessert table—they’re always a hit! So grab your mixing bowl because you’re about to fall head over heels for one of the easiest, most delicious desserts ever created.
Overview of the Recipe
Buckeyes, those iconic peanut butter balls dipped halfway in chocolate, have long been a holiday favorite across America. This no-bake twist transforms the classic candy into bar form, combining the best elements of Buckeyes with creamy cheesecake for a modern take on tradition.
With minimal prep work and no oven needed, these bars are perfect for busy bakers who crave something extraordinary without the fuss.
Recipe Details
- Prep Time: 20 minutes
- Chill Time: 4 hours (or overnight)
- Total Time: 4 hours 20 minutes
- Servings: 12 bars
- Dietary Tags: Vegetarian, Gluten-Free (if using GF graham crackers), Nut-Free option available
- Difficulty Level: Easy
Why You’ll Love This Recipe
There’s nothing quite like sinking your fork into a chilled slice of No-Bake Buckeye Cheesecake Bars. The contrast between the dense, crumbly chocolate crust and the light, airy peanut butter cheesecake filling creates an irresistible mouthfeel. Each bite delivers a punch of nostalgia while still feeling fresh and innovative.
Plus, the fact that there’s no baking involved means you can whip up this show-stopping dessert anytime, regardless of your skill level. Whether you’re hosting a dinner party or simply craving something sweet, these bars promise to impress.
Beyond their incredible taste, what makes these bars stand out is their adaptability. Need a gluten-free version? Swap the graham crackers for almond flour crumbs. Want to cut back on sugar? Opt for a low-calorie sweetener.
And don’t forget the fun variations—add a caramel drizzle, sprinkle chopped pretzels for crunch, or even swirl in some raspberry jam for a fruity twist. Whatever tweaks you choose, one thing remains constant: these bars will become a go-to dessert in your repertoire.
Ingredients List for No-Bake Buckeye Cheesecake Bars
For the Crust:
- 1 ½ cups (150g) finely crushed graham crackers (or gluten-free alternative)
- 6 tablespoons unsalted butter, melted
- 2 tablespoons granulated sugar
For the Cheesecake Filling:
- 8 oz (225g) cream cheese, softened
- 1 cup (240g) creamy peanut butter
- 1 cup (120g) powdered sugar
- 1 teaspoon pure vanilla extract
- 1 cup (240ml) heavy whipping cream, whipped to stiff peaks
For the Chocolate Topping:
- 1 cup (175g) semi-sweet chocolate chips
- 1 tablespoon coconut oil (or vegetable shortening)
Optional Add-ins/Substitutes:
- Crushed peanuts or pretzels for added texture
- Almond butter (or cashew butter) instead of peanut butter
- Sea salt flakes for garnish
Step-by-Step Instructions for Making No-Bake Buckeye Cheesecake Bars
- Prepare the Crust:
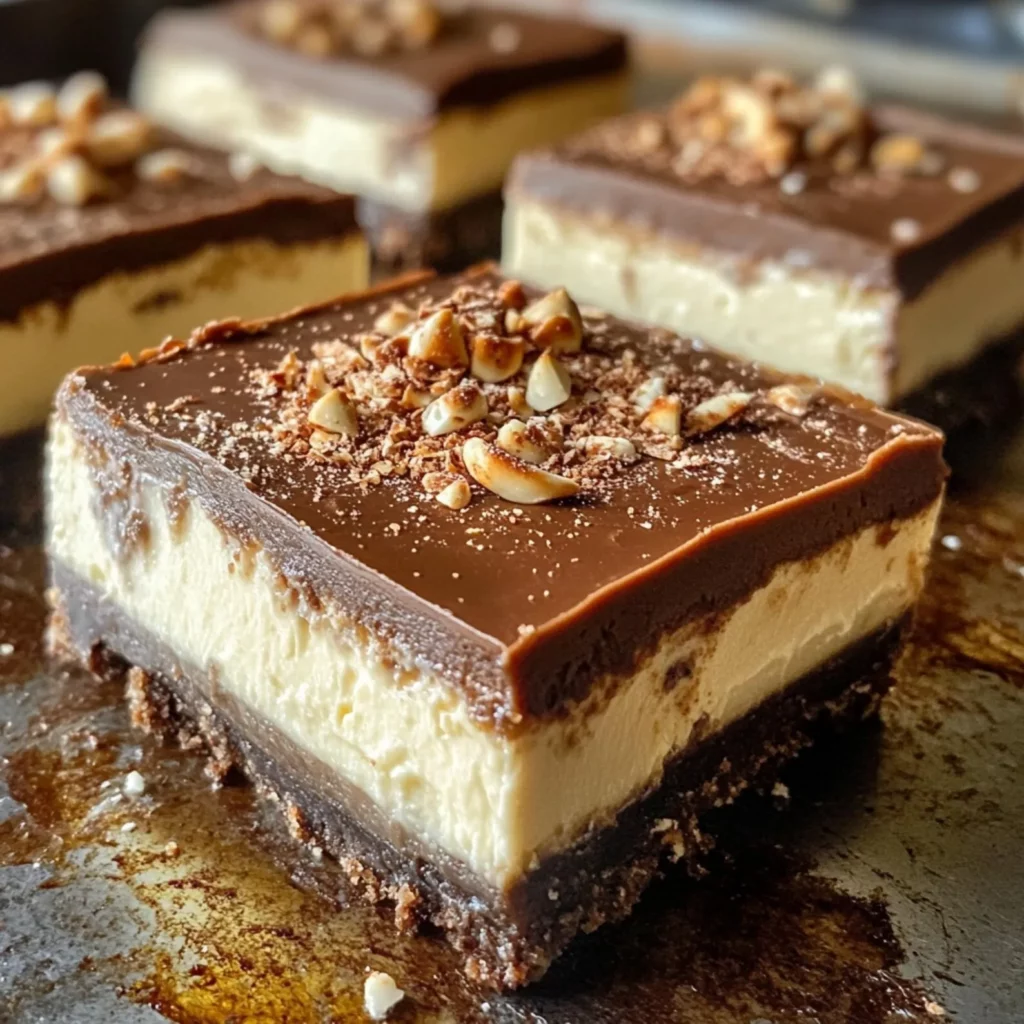
In a medium bowl, mix together 1 ½ cups of crushed graham crackers, 6 tablespoons of melted butter, and 2 tablespoons of granulated sugar until the mixture resembles wet sand. Press it firmly into the bottom of an 8×8-inch baking pan lined with parchment paper. Use the back of a spoon or your fingers to ensure it’s evenly spread. Chill in the refrigerator while you prepare the filling.
Pro Tip: For extra flavor, toast the graham cracker crumbs lightly before mixing them with butter. - Make the Cheesecake Filling:
In a large mixing bowl, beat 8 oz of softened cream cheese and 1 cup of peanut butter until smooth. Gradually add 1 cup of powdered sugar and 1 teaspoon of vanilla extract, mixing until fully combined. Gently fold in 1 cup of whipped heavy cream using a spatula—be careful not to deflate the mixture. Spread this over the chilled crust in an even layer.
Visual Cue: The filling should be thick, creamy, and slightly pale yellow. - Chill the Bars:
Place the assembled bars (crust + filling) in the refrigerator for at least 2 hours to set. This step is crucial for easy slicing later. - Add the Chocolate Topping:
Melt 1 cup of semi-sweet chocolate chips with 1 tablespoon of coconut oil in the microwave in 30-second intervals, stirring between each interval until smooth. Pour the melted chocolate over the chilled cheesecake layer and use an offset spatula to spread it evenly. Return the pan to the fridge for another 2 hours or overnight.
Pro Tip:For a decorative touch, drizzle some leftover chocolate in zigzag patterns across the top. - Slice and Serve:
Once fully set, lift the bars out of the pan using the parchment paper and cut them into squares. Wipe your knife clean between cuts for neat edges.
Serving Suggestions & Pairing Ideas
These decadent bars pair beautifully with a variety of sides and beverages:
- Beverages: Serve with a hot cup of coffee or a cold glass of milk for a cozy treat.
- Dessert Platter: Add fresh berries like strawberries or raspberries for a pop of color and freshness.
- Garnish Tips: Sprinkle flaky sea salt on top for a sweet-and-salty twist, or garnish with chopped peanuts for added crunch.
Storage and Reheating Tips
- Fridge: Store the bars in an airtight container in the refrigerator for up to 5 days.
- Freezer: Wrap individual bars in plastic wrap and freeze for up to 2 months. Thaw in the fridge overnight before serving.
- Best Method: Since these bars are no-bake, they’re best enjoyed straight from the fridge without reheating.
Variations and Substitutions
- Alternative Ingredients: Swap peanut butter for almond butter or sunflower seed butter if you prefer different nut flavors or need a nut-free option.
- Dietary Adjustments:
- Use gluten-free graham crackers for a gluten-free version.
- Substitute full-fat coconut cream for heavy whipping cream to make it dairy-free.
- Opt for sugar substitutes like monk fruit or stevia for a lower-calorie option.
Nutritional Info
Per Serving (1 bar):
- Calories: ~350 kcal
- Protein: 7g
- Carbs: 35g
- Fat: 22g
Disclaimer: Nutritional values are estimates and may vary based on specific brands or substitutions used.
Conclusion
No-Bake Buckeye Cheesecake Bars are proof that sometimes the simplest recipes yield the most unforgettable results. With their creamy texture, bold flavors, and endless customization options, these bars are sure to become a staple in your dessert rotation.
FAQs
Q1: Can I use crunchy peanut butter instead of creamy?
A: Yes! Crunchy peanut butter adds a delightful texture contrast but keep in mind it might affect the smoothness of the filling.
Q2: Do I have to chill the bars for 4 hours?
A: Chilling ensures the layers firm up properly. If you’re short on time, freeze for 1-2 hours instead, but monitor carefully to avoid freezing too much.
Q3: Can I make this recipe ahead of time?
A: Absolutely! These bars can be made up to 2 days in advance and stored in the fridge. They also freeze well for last-minute entertaining.
Q4: What can I use instead of graham crackers for the crust?
A: Crushed cookies like Oreos (for a chocolate crust) or digestive biscuits work great as alternatives.
Q5: Is there a way to reduce the sweetness?
A: Reduce the powdered sugar in the filling by half or use dark chocolate for the topping to balance the sweetness.
Q6: My chocolate topping seized when melting—what happened?
A: Chocolate seizes when exposed to moisture. Make sure your bowl and utensils are completely dry, and always melt chocolate slowly with a fat like coconut oil to prevent seizing.


