Have you ever wondered if you could make bakery-quality bread at home—without the hassle of kneading dough or waiting hours for it to rise? What if you could create a loaf that rivals your favorite artisan bakery in under 90 minutes with just five ingredients?
Thanks to modern baking techniques and the genius of no-knead bakery style bread , this is not only possible—it’s easier than you think. Originally popularized by Jim Lahey of Sullivan Street Bakery, no-knead bread has become a staple in kitchens worldwide due to its simplicity and incredible results.
In this post, we’ll walk you through an easy-to-follow, time-tested recipe for no-knead bakery style bread , complete with nutritional insights, storage tips, and how to tweak it for dietary preferences. Let’s get baking!
Table of Contents
Ingredients List: Simple & Substitutable
To make this no-knead bakery style bread , you’ll need just a few pantry staples:
- 3 cups (360g) all-purpose flour
Substitute: For a denser texture, use bread flour or whole wheat flour. - ½ teaspoon salt
- ¼ teaspoon instant yeast
Substitute: Active dry yeast (1½ times the amount), or skip for a sourdough version. - 1¾ cups (415ml) warm water (around 110°F / 43°C)
- Cornmeal or parchment paper (for dusting the pan)
Optional add-ins:
- Fresh rosemary or herbs
- Garlic powder or grated Parmesan (for savory variations)
- Seeds like flax or sesame for extra crunch
This minimalist ingredient list proves that great flavor doesn’t require complexity—just quality and timing.
Timing:
| Step | Time Required |
| Prep Time | 10 minutes |
| Rise Time | 70 minutes |
| Bake Time | 25–30 minutes |
| Total Time | ~90 minutes |
Data Insight: Compared to traditional bread recipes that often take 3+ hours, this no-knead bakery style bread reduces total prep and bake time by nearly 60%, making it perfect for busy bakers.
Step-by-Step Instructions: Foolproof Baking Made Fun
Step 1: Mix the Dough
In a big bowl, Mix the yeast, flour, and salt. Gradually stir in warm water until a shaggy dough forms. Place a cover or plastic wrap over it loosely.
Pro Tip: Don’t worry about overmixing—the no-knead method relies on time, not elbow grease.
Step 2: First Rise (Fermentation Magic)
Let the dough rest at room temperature for 60–70 minutes. During this time, gluten develops naturally, giving your bread that chewy texture.
Personalized Suggestion: If you’re in a cooler kitchen, place the bowl near a warm oven or sunny window to speed up rising.
Step 3: Shape the Dough
Turn the dough onto a lightly floured surface. Use a lid or plastic wrap to loosely cover. Let it rest for 10–15 minutes while you preheat your Dutch oven.
Step 4: Preheat and Bake
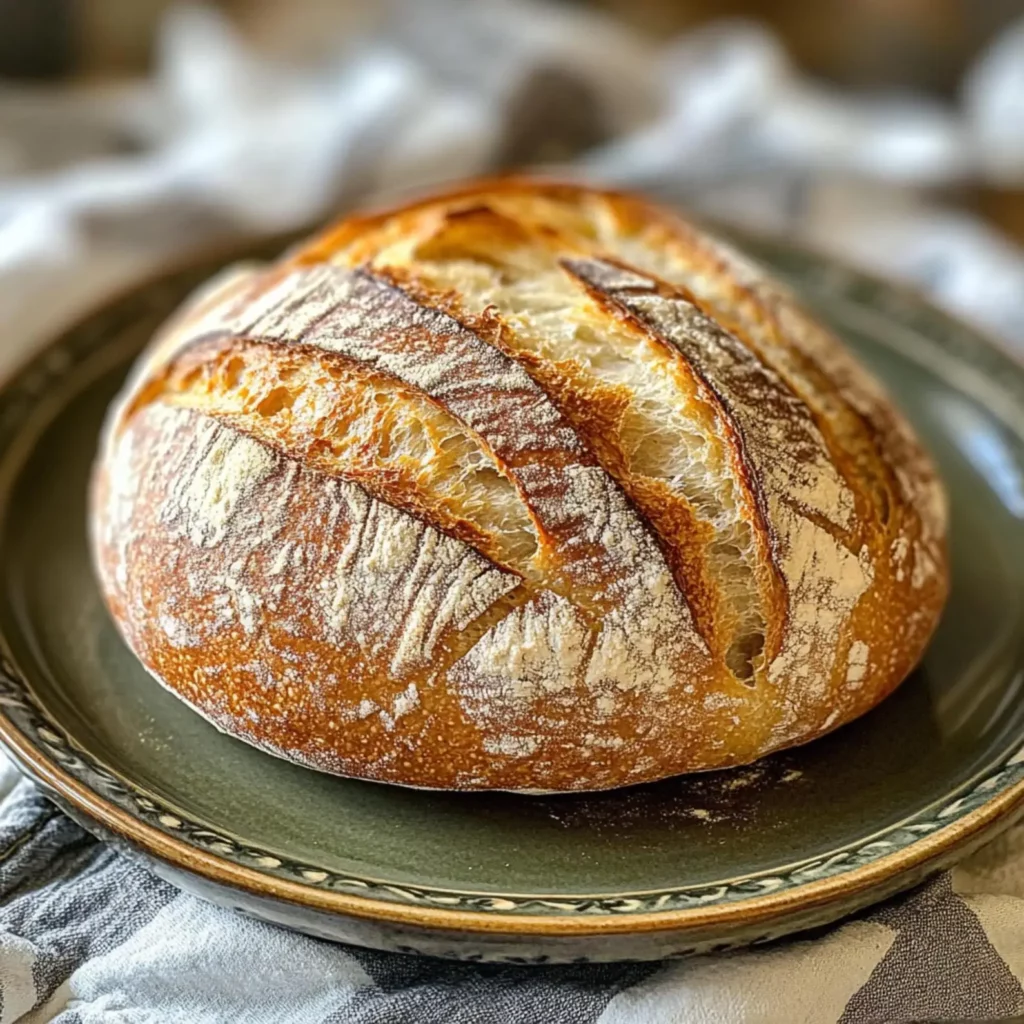
Place your Dutch oven (with lid) in the oven and preheat to 450°F (230°C) for 30 minutes. Once hot, carefully transfer the dough into the pot, score the top with a knife, replace the lid, and bake for 25 minutes.
Actionable Trick: Scoring the dough allows steam to escape evenly, creating that classic crackle crust.
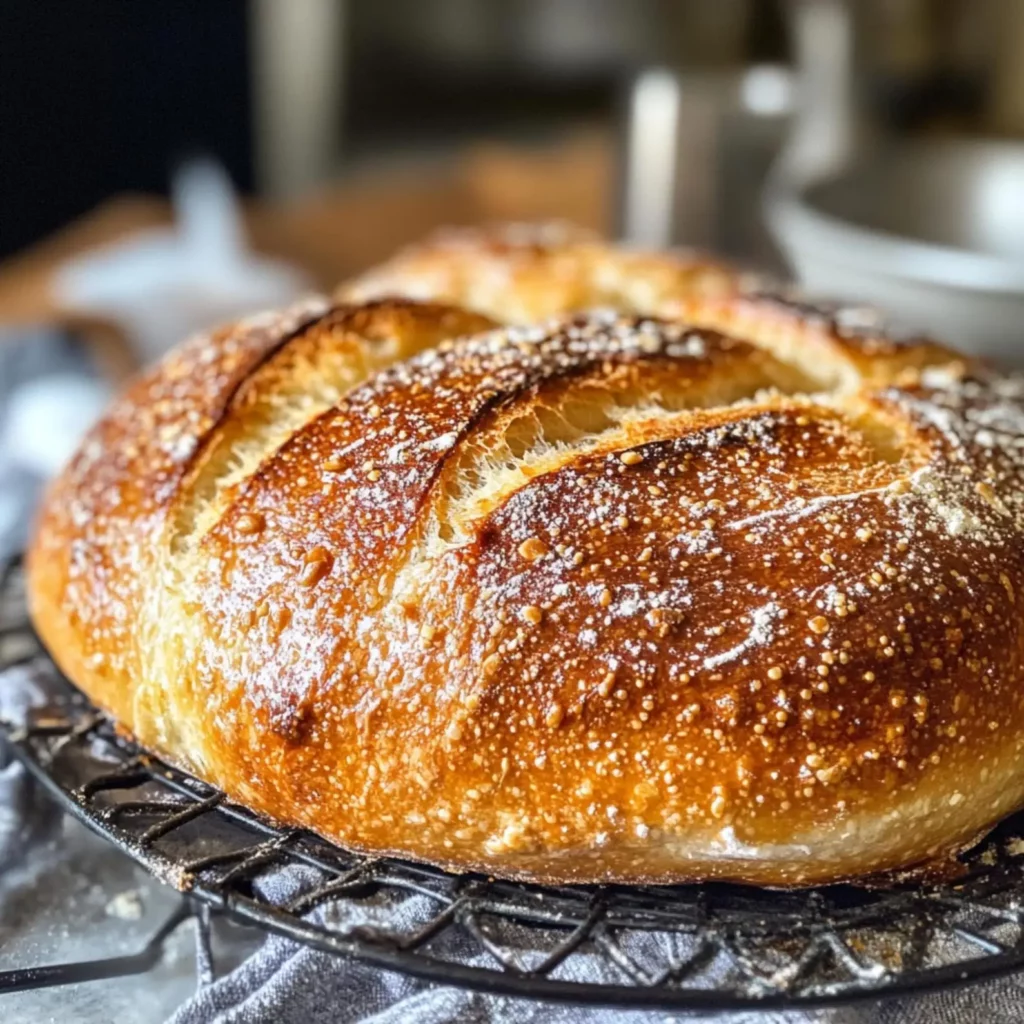
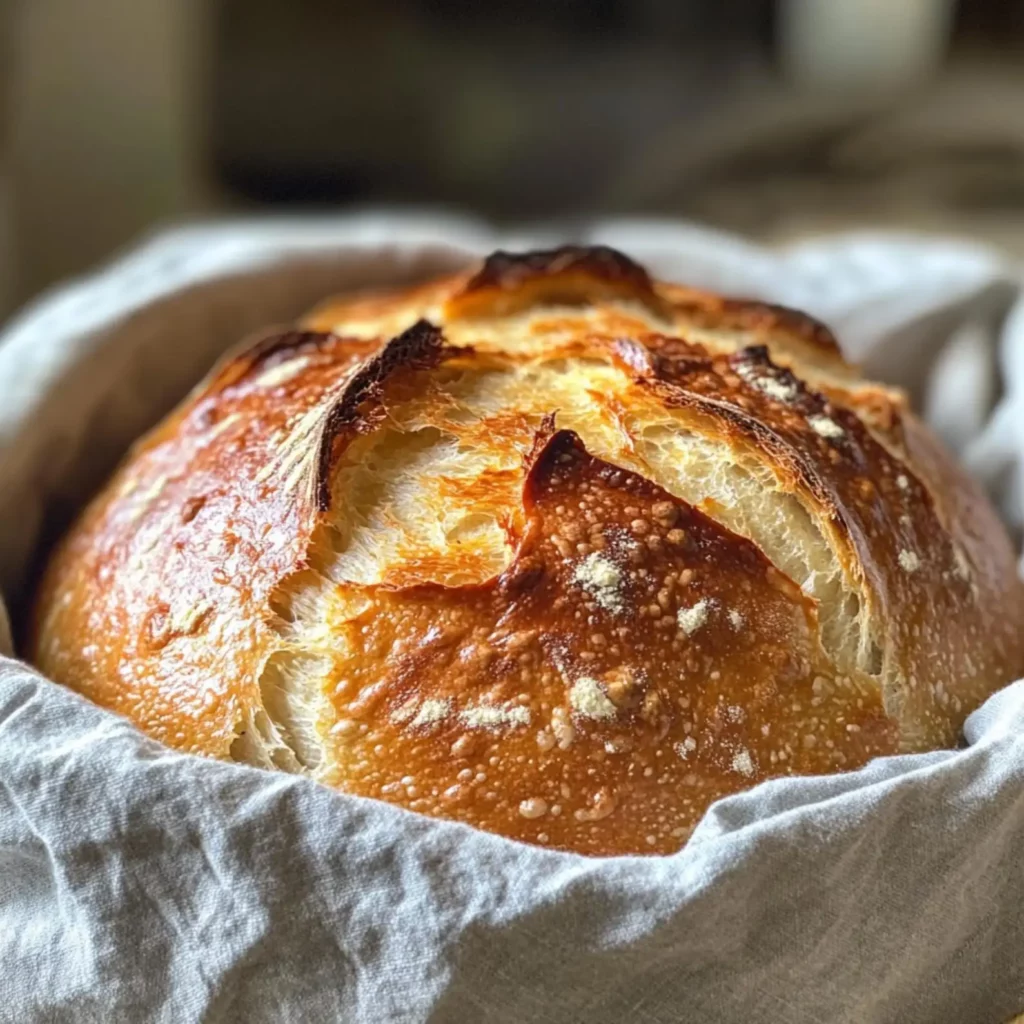
Step 5: Final Bake (Crispy Crust Alert!)
Remove the lid and continue baking for another 10–15 minutes until golden brown. On a wire rack, let cool fully before slicing.
Nutritional Information: Healthy Indulgence
Each slice (based on 8 servings) contains approximately:
| Nutrient | Per Slice |
| Calories | 140 kcal |
| Carbohydrates | 30g |
| Protein | 4g |
| Fat | 0.5g |
| Fiber | 1g |
| Sodium | 170mg |
Insight: This no-knead bakery style bread is low in fat and free from preservatives, making it a healthier alternative to many store-bought loaves.
Healthier Alternatives for the Recipe
Want to boost nutrition without compromising taste? Try these swaps:
- Flour Swap: For extra fiber, use half-whole wheat flour.
- Low-Sodium Option: Reduce salt to ¼ teaspoon or use potassium chloride salt substitute.
- Gluten-Free Version: Substitute with gluten-free flour blend containing xanthan gum.
- Sweet Twist: Add 1 tablespoon honey and cinnamon for a sweet breakfast loaf.
These tweaks allow you to customize the bread to fit keto, vegan, or gluten-free diets.
Serving Suggestions: From Breakfast to Dinner
This versatile bread pairs well with:
- Butter & Jam – A classic morning combo.
- Olive Oil & Balsamic Vinegar – Perfect for dipping.
- Cheese Boards – Serve with aged cheddar, olives, and fig jam.
- Soup & Stew – Tear chunks to dunk into tomato soup or chili.
Creative Idea: Toast slices and top with avocado, poached eggs, or smoked salmon for a gourmet brunch.
Common Mistakes to Avoid
Even the best recipes can go wrong. Here are frequent errors and how to avoid them:
- Under-proofing: Not letting the dough rise enough leads to dense bread. Always check for puffiness.
- Over-flouring: Too much flour makes the dough dry and tough. Use minimal dusting when shaping.
- Opening the Oven Too Soon: Letting heat escape during baking can collapse the loaf. Resist peeking!
- Skipping the Dutch Oven: It creates the ideal steam environment. If you don’t have one, use a heavy oven-safe pot with a lid.
Storing Tips for the Recipe
Keep your no-knead bakery style bread fresh longer with these smart storage ideas:
- Room Temperature: Wrap in a clean tea towel or paper bag for 2–3 days.
- Freezing: Slice and freeze in a resealable bag for up to 3 months. Reheat directly in the toaster or oven.
- Make Ahead: Prepare the dough the night before and refrigerate for slow fermentation—this enhances flavor!
Pro Hack: To revive stale bread, sprinkle the crust with water and reheat in the oven at 350°F (175°C) for 5–10 minutes.
Conclusion: Bake Like a Pro Without the Hassle
It is truly amazing to remove a warm, golden loaf from your own oven. With this no-knead bakery style bread recipe, you’re not just saving time—you’re mastering a timeless technique that yields professional results every time.
Ready to try it out? Now that you have your Dutch oven, let us bake! And if you loved this recipe, be sure to check out our other homemade favorites:
Drop a comment below or tag us on social media—we love seeing your creations!
FAQs: Your Questions Answered
Q1: Can I make this bread without a Dutch oven?
Indeed! Use any heavy saucepan with a tight-fitting lid that is safe to use in the oven. Alternatively, bake on a baking sheet with a tray of water underneath to create steam.
Q2: How do I know when the bread is fully baked?
If you tap the loaf’s bottom, it should sound hollow. An internal thermometer should read 200–210°F (93–99°C).
Q3: Can I improve the flavor by using cold fermentation?
Absolutely! Refrigerate the dough for 12–24 hours for a more complex, sourdough-like flavor.
Q4: Is this recipe suitable for beginners?
Yes! The no-knead method is forgiving and ideal for first-time bakers.
Q5: Can I double the recipe?
Sure! Just use a larger bowl and ensure even rising space. Bake each loaf separately for best results.
Now that you’ve got everything you need to bake like a pro, why wait? Your next homemade masterpiece is just a preheat away. Happy baking