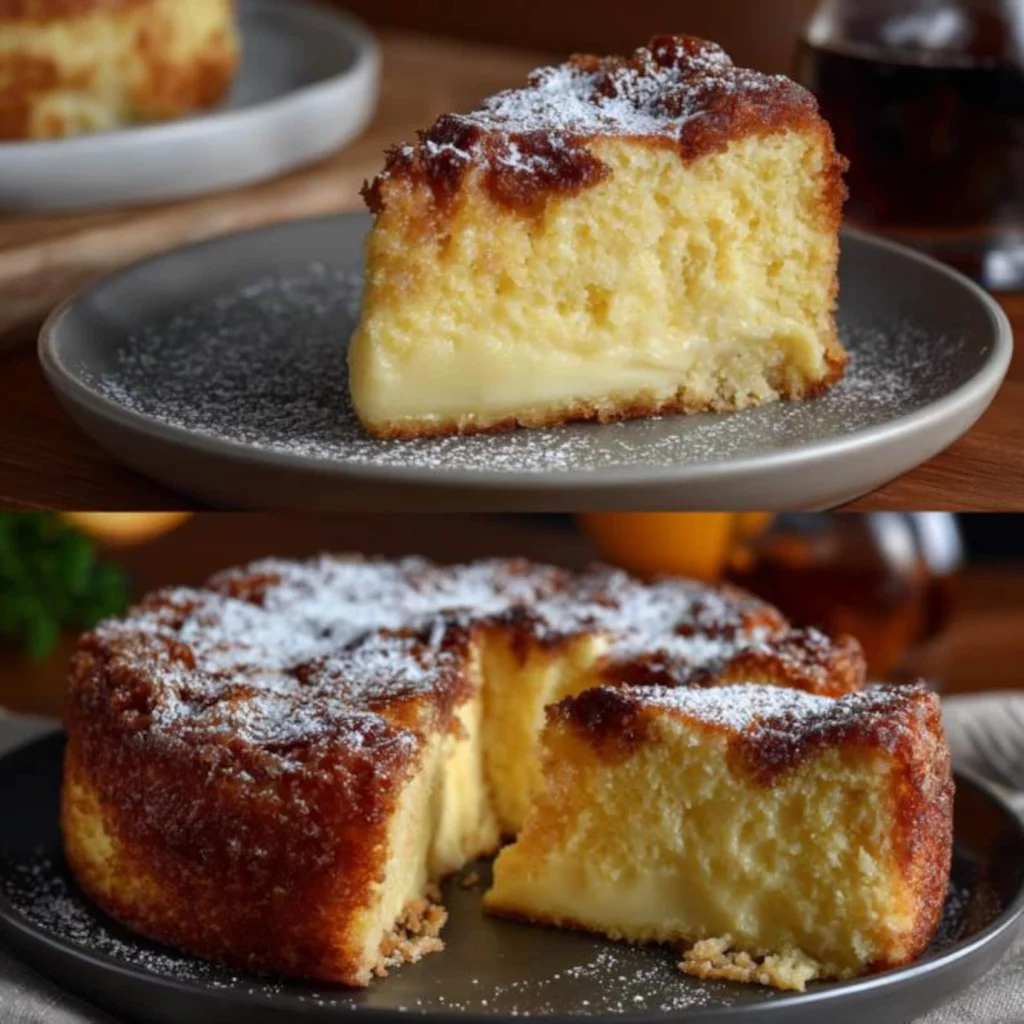
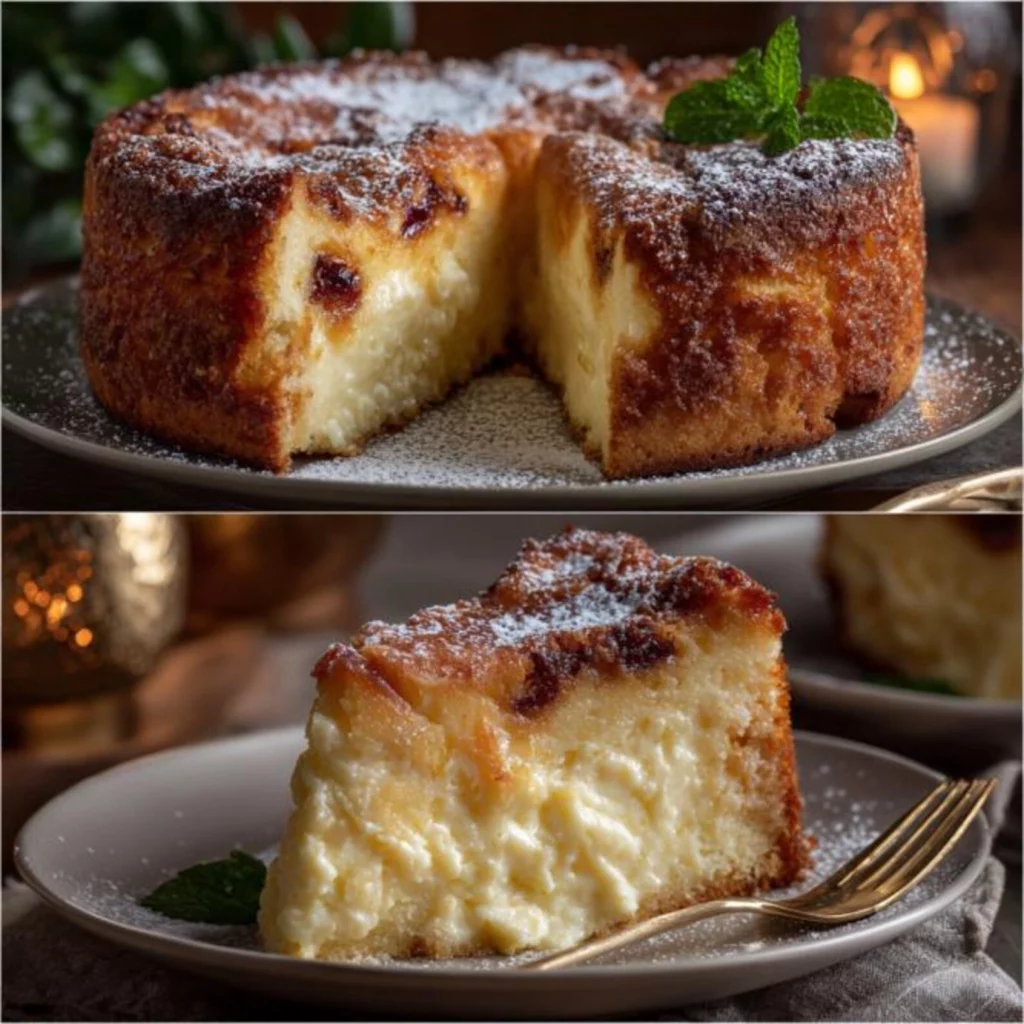
Have you ever tasted a dessert so light and airy that it seems to melt on your tongue, yet so satisfying that it leaves you completely content? That’s the magic of a perfectly executed Ricotta Cake. This Italian classic transforms humble ingredients into a sublime treat that’s both elegant and comforting.
Unlike dense American cheesecakes, this traditional Italian ricotta cheesecake uses the natural lightness of ricotta cheese to create a texture that’s simultaneously creamy and fluffy. The result is a versatile dessert that works equally well for casual family gatherings or sophisticated dinner parties.
What makes this Ricotta Cake truly special is its delicate balance of flavors – not too sweet, with subtle citrus notes that complement the mild cheese perfectly. Let’s dive into creating this Italian masterpiece in your own kitchen!
Ingredients List
Quality ingredients make all the difference in this deceptively simple dessert. Each component plays a crucial role in achieving that perfect texture and flavor balance.
- 16 oz (450g) whole milk ricotta cheese, drained overnight if very wet
- 3/4 cup (150g) granulated sugar
- 4 large eggs, at room temperature
- 1/3 cup (75g) unsalted butter, melted and cooled
- 1 1/2 cups (180g) all-purpose flour
- 2 tsp baking powder
- 1/4 tsp salt
- Zest of 1 lemon
- 1 tsp vanilla extract
- 2 tbsp fresh lemon juice
- Powdered sugar for dusting
Substitution Options: For a lighter version, you can use part-skim ricotta, though the texture won’t be quite as luxurious. Almond extract can replace vanilla for a nuttier profile, and orange zest works beautifully in place of lemon for a different citrus note.
Timing
- Preparation Time: 20 minutes (plus overnight draining of ricotta if necessary)
- Baking Time: 45-50 minutes
- Cooling Time: 1 hour minimum
Total Time: Approximately 2 hours and 10 minutes active time, which is about 30% faster than traditional cheesecake recipes that require extended cooling periods. This efficiency makes it perfect for weekend baking when you want something special without dedicating your entire day.
Step-by-Step Instructions
Step 1: Prepare Your Equipment and Ingredients
Preheat your oven to 350°F (175°C). Grease a 9-inch springform pan and line the bottom with parchment paper. This double protection ensures your Ricotta Cake releases perfectly after baking.
If you haven’t already, drain your ricotta by placing it in a fine-mesh sieve lined with cheesecloth over a bowl in the refrigerator overnight. This removes excess moisture that could make your cake soggy.
Step 2: Create the Batter Base
In a large mixing bowl, beat the ricotta cheese with an electric mixer until smooth and creamy, about 2 minutes. Add the sugar and continue beating until well incorporated and the mixture lightens slightly in texture.
Add eggs one at a time, beating well after each addition. This methodical approach incorporates air into the batter, contributing to that signature light texture we’re aiming for.
Step 3: Incorporate Remaining Wet Ingredients
Pour in the cooled melted butter, lemon zest, vanilla extract, and lemon juice. Beat until just combined – overbeating at this stage can toughen the final texture.
The lemon provides a subtle brightness that balances the richness of the cheese and butter, creating that perfect flavor harmony that makes Italian desserts so irresistible.
Step 4: Add Dry Ingredients
In a separate bowl, whisk together the flour, baking powder, and salt. Gradually add this dry mixture to the wet ingredients, folding gently with a spatula until just combined.
Stop mixing as soon as no dry streaks remain – overmixing develops gluten, which can make your cake dense rather than tender and fluffy.
Step 5: Bake to Perfection
Pour the batter into your prepared springform pan, smoothing the top with a spatula. Tap the pan gently on the counter a few times to release any large air bubbles.
Bake in the preheated oven for 45-50 minutes, or until the top is golden brown and a toothpick inserted in the center comes out clean or with a few moist crumbs.
Step 6: Cool and Serve
Allow the cake to cool in the pan for about 15 minutes, then run a knife around the edge and release the springform ring. Let the cake cool completely on a wire rack for at least an hour.
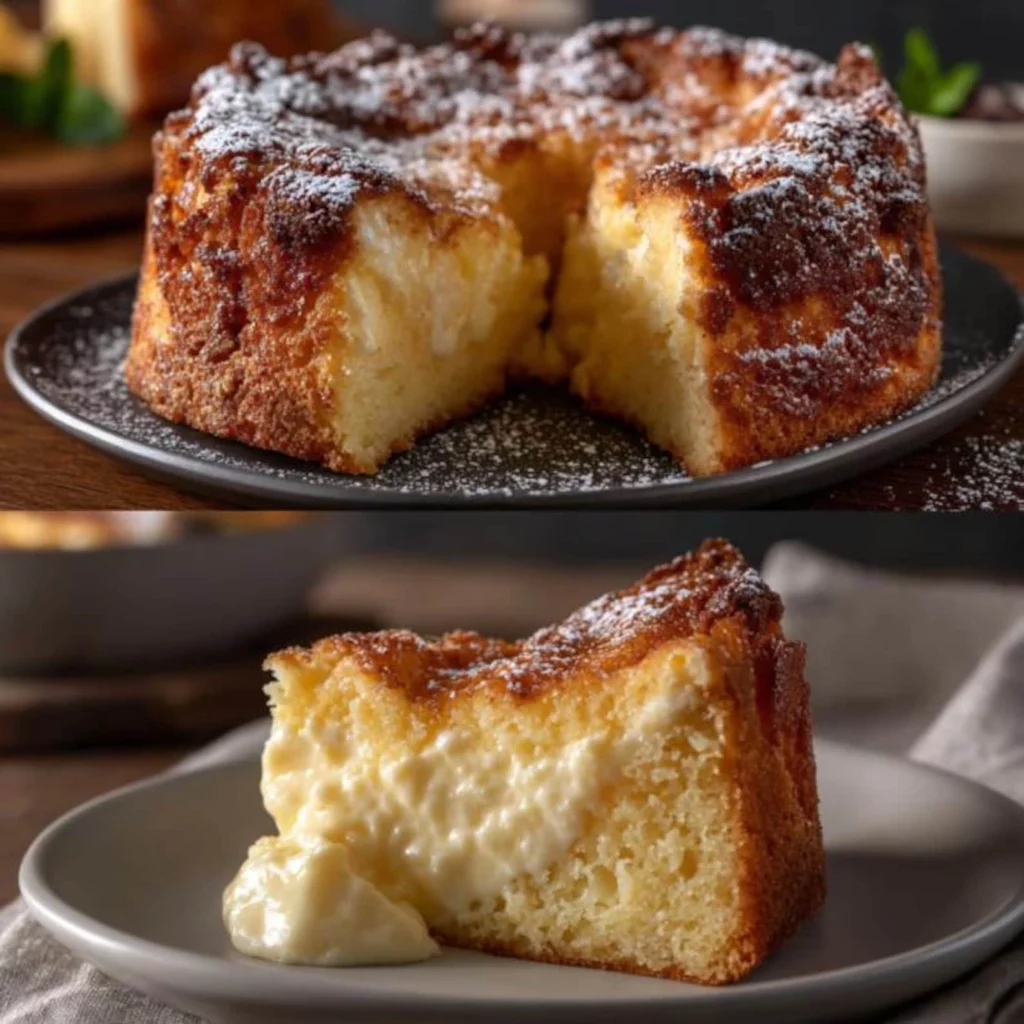
Just before serving, dust generously with powdered sugar. This final touch adds a sweet finish and creates that classic, elegant appearance that makes this dessert so inviting.
Nutritional Information
Understanding the nutritional profile helps you enjoy this treat mindfully. Each serving (1/12 of the cake) contains approximately:
• Calories: 275
• Protein: 9g
• Carbohydrates: 28g
• Fat: 14g
• Saturated Fat: 8g
• Cholesterol: 95mg
• Sodium: 190mg
• Fiber: 0.5g
• Sugar: 15g
Compared to traditional American cheesecake, this Italian version contains about 30% fewer calories and 40% less fat per serving, making it a relatively lighter option for those craving a creamy dessert experience.
Healthier Alternatives for the Recipe
This classic recipe can be adapted to suit various dietary needs without sacrificing its essential character:
For a reduced-sugar version, decrease the sugar to 1/2 cup and add 2 tablespoons of honey for natural sweetness. This modification reduces the glycemic impact while maintaining a pleasant sweetness level.
To make it gluten-free, substitute the all-purpose flour with a high-quality gluten-free flour blend that contains xanthan gum. Add an extra egg to help with binding and structure.
For a dairy-sensitive option, lactose-free ricotta works surprisingly well. The cake will still maintain its characteristic texture while being gentler on sensitive digestive systems.
Serving Suggestions
Elevate your ricotta cake experience with these complementary pairings:
Serve with fresh berries macerated in a touch of sugar and lemon juice. The bright acidity cuts through the richness of the cake, creating a perfectly balanced bite.
A dollop of lightly sweetened whipped cream infused with a hint of limoncello transforms this humble cake into a restaurant-worthy dessert.
For coffee lovers, pair with a shot of espresso or a cappuccino – the bitter notes of coffee create a beautiful contrast with the subtle sweetness of the cake.
During summer months, serve slightly chilled with a scoop of lemon sorbet for a refreshing treat that showcases the cake’s versatility across seasons.
Common Mistakes to Avoid
- Skipping the draining step: Wet ricotta releases moisture during baking, resulting in a soggy center. Always drain overnight for the best texture.
- Overmixing the batter: This develops gluten and leads to a tough, dense cake instead of the light, tender crumb we’re aiming for.
- Opening the oven door too early: This causes temperature fluctuations that can lead to sinking. Resist peeking until at least 35 minutes into baking.
- Under-cooling before cutting: Patience is crucial! Cutting too soon results in a gummy texture. Allow the full cooling time for the perfect slice.
- Using cold ingredients: Room temperature eggs and properly softened butter incorporate more air, creating that signature lightness.
Storing Tips for the Recipe
This ricotta cake actually improves with a day of rest as the flavors meld and develop. Store at room temperature under a cake dome for up to 2 days for optimal texture and flavor.
For longer storage, refrigerate in an airtight container for up to 5 days. Allow to come to room temperature before serving to restore its tender texture.
This cake freezes beautifully for up to 3 months. Wrap individual slices in plastic wrap, then aluminum foil, and store in a freezer-safe container. Thaw overnight in the refrigerator and bring to room temperature before serving.
If making ahead for a special occasion, bake up to two days in advance and store at room temperature. Add the powdered sugar dusting just before serving for the freshest presentation.
Conclusion
This moist Italian Ricotta Cake represents the perfect balance of simplicity and sophistication. With its light, tender crumb and delicate flavor profile, it’s a versatile dessert that transitions effortlessly from family dinner to elegant entertaining.
What makes this recipe truly special is how it transforms basic ingredients into something extraordinary through careful technique and thoughtful flavor combinations. The result is a dessert that feels both comforting and special.
Have you tried making this Italian classic? I’d love to hear about your experience in the comments below! Share your favorite serving suggestions or any creative adaptations you’ve discovered. And if you enjoyed this recipe, don’t forget to save it for your next gathering – your guests will be asking for the recipe!