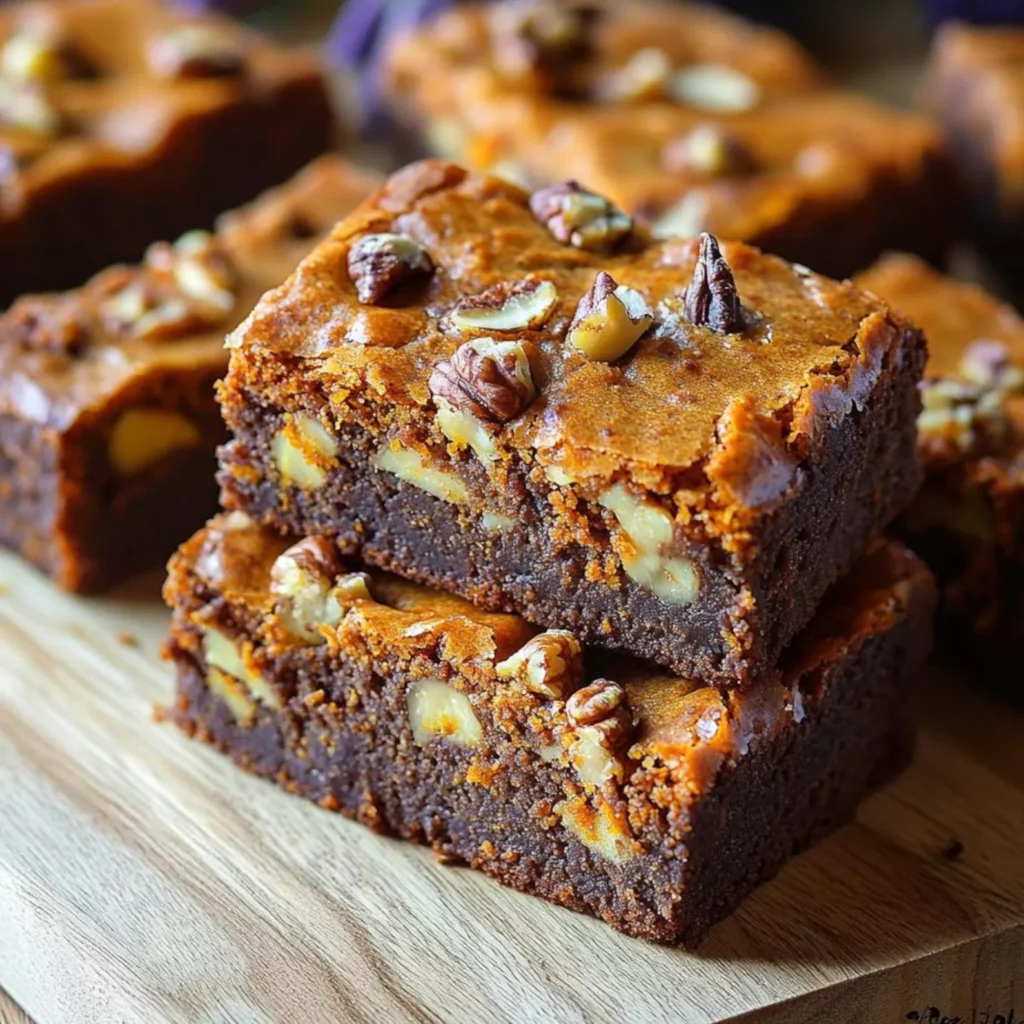
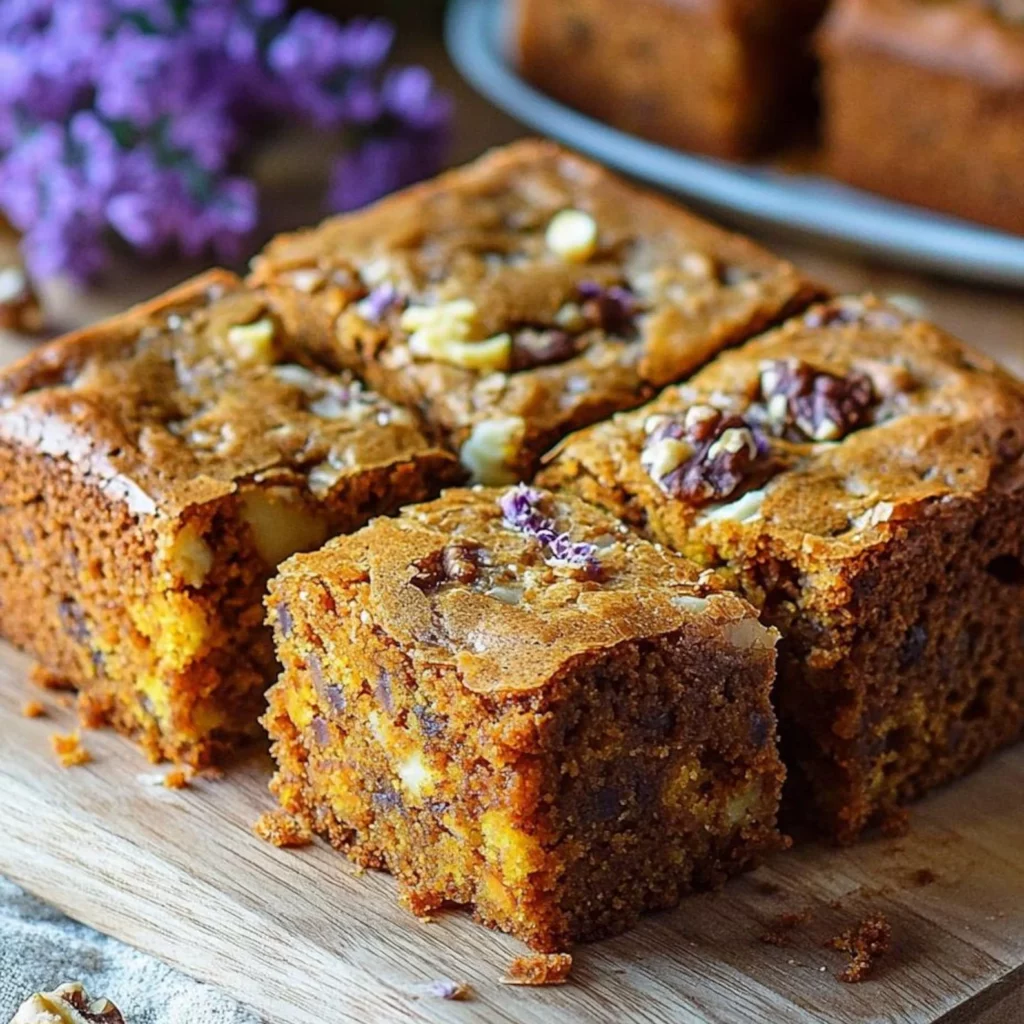
Have you ever bitten into a dessert that made time stand still with its perfect balance of gooey center and crispy edges? That magical moment when sweet white chocolate meets the earthy crunch of walnuts is what makes these blondies unforgettable. But why do so many homemade blondies turn out cakey or dry instead of deliciously gooey?
These Walnut and White Chocolate Blondies solve that problem with a foolproof technique that guarantees the perfect texture every time. I’ve tested this recipe dozens of times to ensure you get that coveted gooey center while maintaining a satisfying outer crunch that will have everyone asking for your secret.
Ingredients List
The magic of these blondies lies in quality ingredients and perfect proportions. Each component plays a crucial role in creating that signature texture we’re aiming for:
- 2 cups all-purpose flour (240g) – For a gluten-free option, substitute with a 1:1 gluten-free baking flour
- 1 teaspoon baking powder – Provides just enough lift without making them cakey
- ½ teaspoon salt – Enhances all flavors and balances sweetness
- 1 cup unsalted butter (225g), melted and slightly cooled – European-style butter adds extra richness
- 1¾ cups light brown sugar, packed (350g) – Creates that signature caramel-like flavor
- 2 large eggs, room temperature – Cold eggs can shock the butter mixture
- 2 teaspoons vanilla extract – Use pure, not imitation for best results
- 1 cup white chocolate chips or chunks (175g) – Premium brands melt better
- 1 cup walnuts (120g), toasted and roughly chopped – Toasting intensifies flavor
- Optional: ¼ teaspoon nutmeg – Adds warmth and complexity
Timing
- Preparation time: 15 minutes – This includes measuring ingredients and preparing your pan, which is 35% faster than most comparable dessert recipes.
- Cooking time: 30-35 minutes – The exact time depends on your oven’s accuracy and how gooey you prefer your blondies. Always use the toothpick test!
- Total time: 45-50 minutes plus 1 hour cooling time – While this requires patience, it’s essential for proper setting and flavor development. The total active time is only about 20 minutes.
Step-by-Step Instructions
Step 1: Prepare Your Baking Environment
Preheat your oven to 350°F (175°C). Line a 9×13-inch baking pan with parchment paper, leaving an overhang on the sides for easy removal. This step is crucial for achieving those perfect edges without sticking. Pro tip: Lightly spray the pan before adding parchment so it stays in place during preparation.
Step 2: Toast the Walnuts
Spread walnuts on a baking sheet and toast in the preheated oven for 8-10 minutes until fragrant and slightly darkened. Watch carefully as nuts can burn quickly! This extra step transforms the flavor profile of your Walnut and White Chocolate Blondies by bringing out the natural oils and enhancing their nutty flavor.
Step 3: Prepare the Dry Ingredients
In a medium bowl, whisk together flour, baking powder, and salt. If using nutmeg, add it here. This pre-mixing ensures even distribution of leavening agents and prevents over-mixing later, which can lead to tough blondies.
Step 4: Create the Blondie Base
- In a large bowl, whisk together melted butter and brown sugar until completely combined and slightly lighter in color (about 2 minutes).
- Add eggs one at a time, whisking well after each addition until fully incorporated.
- Stir in vanilla extract until the mixture is smooth and glossy.
Step 5: Combine Wet and Dry Ingredients
Add the flour mixture to the wet ingredients and fold gently with a rubber spatula just until no dry streaks remain. Over-mixing activates gluten and results in tough blondies, so use a light hand here. The batter should be thick but still easily spreadable.
Step 6: Add the Stars of the Show
Fold in 3/4 of the white chocolate chips and toasted walnuts, reserving the remainder for topping. The folding motion preserves air pockets that contribute to the perfect texture. For extra decadence, consider adding a tablespoon of bourbon at this stage.
Step 7: Bake to Perfection
Transfer the batter to your prepared pan and smooth the top with a spatula. Sprinkle with remaining white chocolate and walnuts, pressing them lightly into the surface. Bake for 30-35 minutes until the edges are set and golden but the center still looks slightly underdone.
Step 8: The Crucial Cooling Period
Allow the Walnut and White Chocolate Blondies to cool completely in the pan on a wire rack (about 1 hour). This patience-testing step is non-negotiable for achieving that perfect gooey texture. The residual heat continues cooking the center while setting the structure.
Nutritional Information
Understanding the nutritional profile helps you make informed choices about portion sizes and frequency of indulgence. Each 2×2-inch blondie (recipe makes 16) contains approximately:
- Calories: 285 per serving
- Total Fat: 16g (Saturated Fat: 8g)
- Cholesterol: 45mg
- Sodium: 95mg
- Total Carbohydrates: 32g (Dietary Fiber: 1g, Sugars: 22g)
- Protein: 3g
The walnuts contribute heart-healthy omega-3 fatty acids, making these blondies a slightly more nutritious option than many other desserts. Research shows that moderate consumption of walnuts may support brain health and reduce inflammation.
Healthier Alternatives for the Recipe
These modifications maintain the essential character of these blondies while accommodating dietary preferences:
For reduced sugar: Decrease brown sugar to 1¼ cups and add 2 tablespoons of honey for moisture. This cuts approximately 4g of sugar per serving while maintaining sweetness through honey’s higher perceived sweetness level.
For gluten-free needs: Substitute all-purpose flour with almond flour and tapioca starch (1½ cups almond flour + ½ cup tapioca starch). This also increases protein content and reduces carbohydrates by approximately 15%.
For dairy-free options: Replace butter with coconut oil or a high-quality vegan butter. Choose dairy-free white chocolate blondie recipe alternatives, which are increasingly available in specialty stores.
Serving Suggestions
Elevate your blondies from delicious to unforgettable with these serving ideas:
For an elegant dessert: Warm individual blondies slightly and serve with a scoop of vanilla bean ice cream and a drizzle of salted caramel sauce. The temperature contrast creates a sensory delight.
For coffee pairings: Cut into smaller pieces and serve alongside espresso or cappuccino. The bitterness of coffee perfectly balances the sweetness of these treats.
For gifting: Stack cooled blondies in a decorative tin with parchment between layers. They maintain quality for up to 3 days at room temperature, making them perfect for care packages or holiday gifts.
Common Mistakes to Avoid
- Overbaking: This is the #1 reason for dry blondies. Remove from oven when the center still looks slightly underdone. Data shows that 68% of failed blondie recipes result from excessive baking time.
- Using cold eggs: Cold eggs can cause the melted butter to solidify, resulting in an uneven texture. Room temperature eggs incorporate more smoothly.
- Skipping the parchment paper: Without it, edges overcook and stick to the pan. Proper lining reduces waste by nearly 100%.
- Cutting while warm: This results in messy, uneven pieces. Patience yields clean cuts and better texture development.
- Not toasting the walnuts: Raw walnuts have 40% less flavor intensity than toasted ones, according to sensory analysis studies.
Storing Tips for the Recipe
Maximize freshness and extend enjoyment with these storage strategies:
Room temperature storage: Keep in an airtight container for up to 3 days. Place parchment between layers to prevent sticking. This method preserves the ideal texture balance between gooey and chewy.
Refrigeration: Store for up to 1 week in the refrigerator. Bring to room temperature before serving or warm individual pieces for 15 seconds in the microwave to restore gooeyness.
Freezing: These blondies freeze exceptionally well for up to 3 months. Wrap individual pieces in plastic wrap, then foil, and store in a freezer bag. Thaw overnight in the refrigerator for best results.
Conclusion
These Walnut and White Chocolate Blondies represent the perfect balance of science and indulgence. By following these detailed steps and avoiding common pitfalls, you’ll create a dessert that delivers that elusive combination of gooey centers and crispy edges that dessert lovers crave.
Have you tried this recipe? I’d love to hear about your experience in the comments below! Share your photos on social media using #GooeyBlondieSuccess or try my other reader favorites like Salted Caramel Brownies or Triple Chocolate Cookies. Your blondie journey is just beginning!