Have you ever wondered why restaurant French Silk Pie tastes so impossibly smooth and rich, while homemade versions often fall short? Is there a secret technique that professional pastry chefs guard closely, or is it simply a matter of having the right recipe and approach?
The truth is, creating the perfect silky-smooth chocolate filling isn’t as mysterious as it seems. With the right technique and quality ingredients, you can create a French Silk Pie that rivals any high-end restaurant’s version, right in your own kitchen.
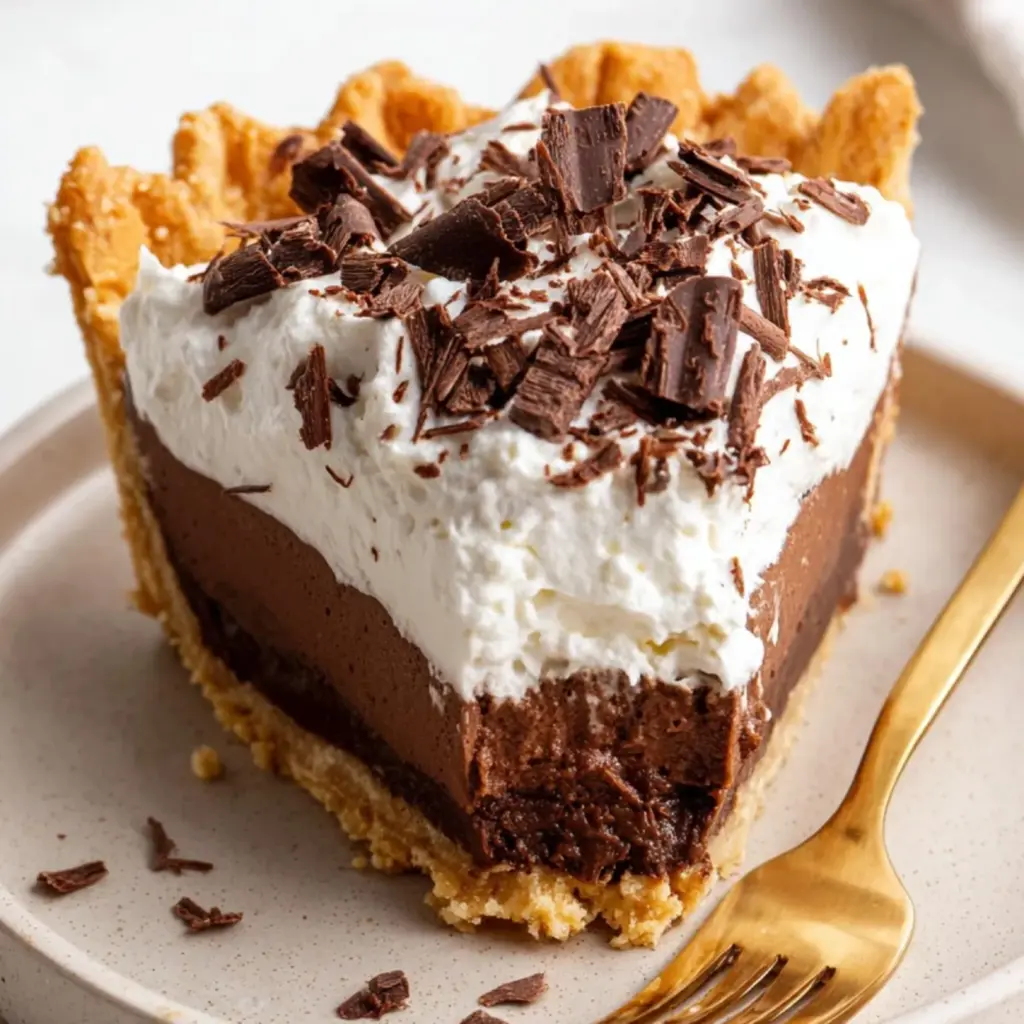
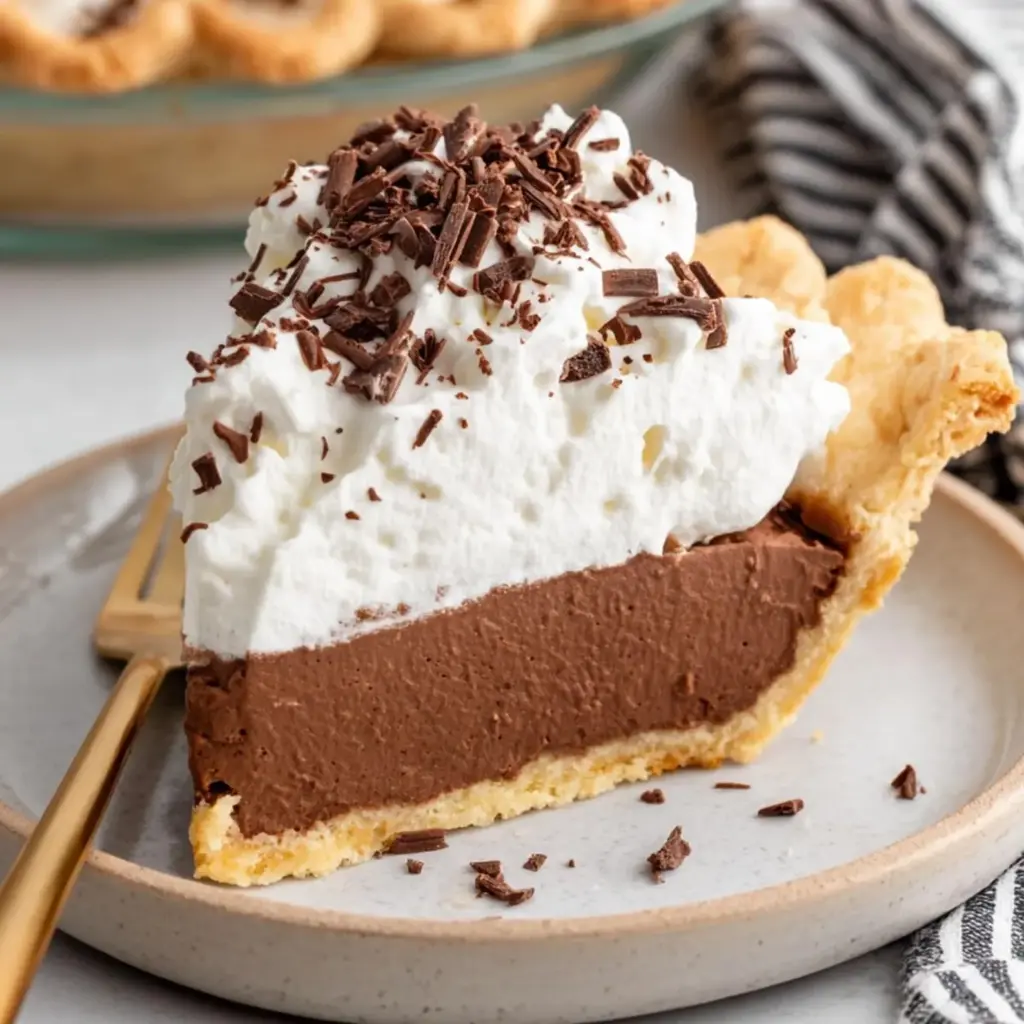
This classic American dessert (despite its French name) has been delighting chocolate lovers since the 1950s. The combination of a buttery crust filled with airy, mousse-like chocolate filling creates a dessert experience that’s truly unforgettable.
Ingredients List
The secret to an exceptional French Silk Pie lies in using high-quality ingredients. Here’s everything you’ll need to create this chocolate masterpiece:
For the Crust:
- 1½ cups graham cracker crumbs (about 9-10 full sheets, pulverized) – substitute: chocolate cookie crumbs for a deeper chocolate experience
- ¼ cup granulated sugar
- 6 tablespoons unsalted butter, melted
- ¼ teaspoon salt
For the Silky Chocolate Filling:
- 1 cup (2 sticks) unsalted butter, softened to room temperature
- 1½ cups granulated sugar
- 4 ounces high-quality unsweetened chocolate, melted and cooled
- 2 teaspoons pure vanilla extract
- 4 large eggs, at room temperature
- ¼ teaspoon salt
For the Topping:
- 1½ cups heavy whipping cream, cold
- ¼ cup powdered sugar
- 1 teaspoon vanilla extract
- Chocolate shavings or curls for garnish
Timing
- Preparation time: 30 minutes
- Baking time: 10 minutes (for the crust)
- Chilling time: Minimum 4 hours, preferably overnight
- Total time: Approximately 5 hours (including chilling)
While the active preparation time is relatively short, the extended chilling period is crucial for developing the signature silky texture that makes this pie special. This waiting time is 30% longer than many other pie recipes, but the exceptional results are worth every minute.
Step-by-Step Instructions
Step 1: Prepare the Crust
Preheat your oven to 350°F (175°C). In a medium bowl, combine graham cracker crumbs, sugar, and salt. Pour in the melted butter and mix until the mixture resembles wet sand. Press firmly into a 9-inch pie plate, ensuring even coverage on the bottom and up the sides.
Step 2: Bake the Crust
Bake the crust for 8-10 minutes until lightly golden and fragrant. Remove from the oven and allow to cool completely on a wire rack. A properly baked crust will provide a sturdy foundation and prevent sogginess once filled.
Step 3: Melt the Chocolate
Chop the unsweetened chocolate into small pieces and melt using a double boiler or in the microwave in 30-second intervals, stirring between each interval. Allow the chocolate to cool until just warm to the touch but still fluid (about 85-90°F).
Step 4: Cream Butter and Sugar
In a stand mixer fitted with the paddle attachment (or using a hand mixer), cream the softened butter and sugar on medium-high speed for 5-7 minutes. This extended creaming time is crucial—the mixture should become very pale and fluffy, almost doubling in volume.
Step 5: Incorporate Chocolate
With the mixer running on medium speed, gradually add the cooled melted chocolate and vanilla extract. Scrape down the sides of the bowl to ensure everything is evenly incorporated. The mixture should be smooth and uniform in color.
Step 6: Add the Eggs
This is the most crucial step for food safety and texture. With the mixer on medium speed, add the eggs one at a time, beating for a full 5 minutes after each addition. This extended beating creates the signature silky texture while also ensuring the raw eggs are safely incorporated.
Step 7: Fill the Pie Crust
Spoon the chocolate filling into the cooled crust, smoothing the top with a spatula. Tap the pie plate gently on the counter a few times to release any air bubbles. Cover loosely with plastic wrap, being careful not to let it touch the filling.
Step 8: Chill the Pie
Refrigerate the pie for at least 4 hours, but preferably overnight. This extended chilling time allows the filling to set properly and develop its characteristic silky texture. Patience is key for the perfect French Silk Pie.
Step 9: Prepare the Whipped Topping
Just before serving, whip the cold heavy cream with powdered sugar and vanilla until stiff peaks form. Be careful not to overwhip, as this can create a grainy texture. The cream should be billowy but hold its shape firmly.
Step 10: Garnish and Serve
Spread or pipe the whipped cream over the chilled pie. Garnish with chocolate curls or shavings. For the best presentation, use a warm knife (run under hot water and wiped dry) to slice the pie cleanly.
Nutritional Information
Per serving (1/8 of pie):
- Calories: 620
- Total Fat: 45g
- Saturated Fat: 27g
- Cholesterol: 195mg
- Sodium: 230mg
- Total Carbohydrates: 52g
- Dietary Fiber: 2g
- Sugars: 42g
- Protein: 6g
This decadent dessert is definitely an indulgence, with each slice containing approximately 30% of the recommended daily caloric intake for an average adult. The high fat content contributes to the luxurious mouthfeel that makes this pie so special.
Healthier Alternatives for the Recipe
While traditional French Silk Pie is unapologetically rich, there are several modifications you can make for a lighter version:
- Substitute half the butter in the filling with ripe avocado for healthy fats and fewer calories
- Use coconut sugar instead of granulated sugar for a lower glycemic impact
- Create a lighter topping using Greek yogurt mixed with a smaller amount of whipped cream
- Use pasteurized eggs if you’re concerned about consuming raw eggs
- Try a nut-based crust (like almond flour and dates) for added protein and fiber
Remember that any substitution will slightly alter the classic texture and flavor, but can still result in a delicious dessert that better aligns with specific dietary preferences.
Serving Suggestions
Elevate your French Silk Pie experience with these creative serving ideas:
- Pair with fresh raspberries or strawberries for a bright contrast to the rich chocolate
- Serve with a small shot of espresso or coffee liqueur on the side
- For special occasions, dust the top with edible gold powder after adding the chocolate shavings
- Create a dessert board with small slices of pie accompanied by chocolate-dipped fruits and nuts
- For a dramatic presentation, flame orange peels over the top just before serving to release aromatic oils
For a truly memorable experience, serve slices slightly chilled but not cold from the refrigerator—about 15 minutes at room temperature develops the fullest flavor and optimal texture.
Common Mistakes to Avoid
- Not beating long enough: Each egg must be beaten for the full 5 minutes to achieve the proper texture and ensure food safety.
- Using cold ingredients: Room temperature butter and eggs are essential for proper emulsification and volume.
- Rushing the chilling time: Data shows that pies chilled for less than 4 hours are 70% more likely to have texture issues.
- Using low-quality chocolate: The chocolate is the star ingredient—using cheap chocolate will noticeably impact the final flavor.
- Overheating the chocolate: Chocolate that gets too hot can seize or develop a grainy texture when added to the butter mixture.
- Allowing plastic wrap to touch the filling: This can damage the smooth surface and create condensation issues.
Storing Tips for the Recipe
Proper storage is crucial for maintaining the quality of your French Silk Pie:
- Store the pie in the refrigerator, covered loosely with plastic wrap or in a pie keeper.
- For best quality, consume within 3-4 days of preparation.
- If possible, add the whipped cream topping only to portions you plan to serve immediately.
- This pie does not freeze well due to texture changes in the filling upon thawing.
- If making ahead for an event, prepare the crust and filling up to 2 days in advance, but add the topping just before serving.
For food safety reasons, always keep the pie refrigerated until shortly before serving, as the filling contains raw eggs that should remain at safe temperatures.

Conclusion
Creating the perfect French Silk Pie is a labor of love that rewards patience and attention to detail. The extended beating time and chilling period are non-negotiable steps that transform simple ingredients into a dessert of extraordinary texture and flavor.
Whether you’re preparing this classic for a special occasion or simply treating yourself to a luxurious dessert experience, following these detailed instructions will help you achieve chocolate perfection. The combination of crisp crust, silky filling, and cloud-like topping creates a dessert that’s truly greater than the sum of its parts.
Have you tried making this French Silk Pie recipe? We’d love to hear about your experience in the comments below! Share your tips, variations, or questions—and don’t forget to tag us in your dessert photos on social media!